Orion PREMIUM SERIES Installation And User Manual
15” tft-lcd monitor (security)
Hide thumbs
Also See for PREMIUM SERIES:
- Installation and user manual (15 pages) ,
- Installation and user manual (15 pages)
Table of Contents
Advertisement
Quick Links
Advertisement
Table of Contents

Related Manuals for Orion PREMIUM SERIES


Summary of Contents for Orion PREMIUM SERIES
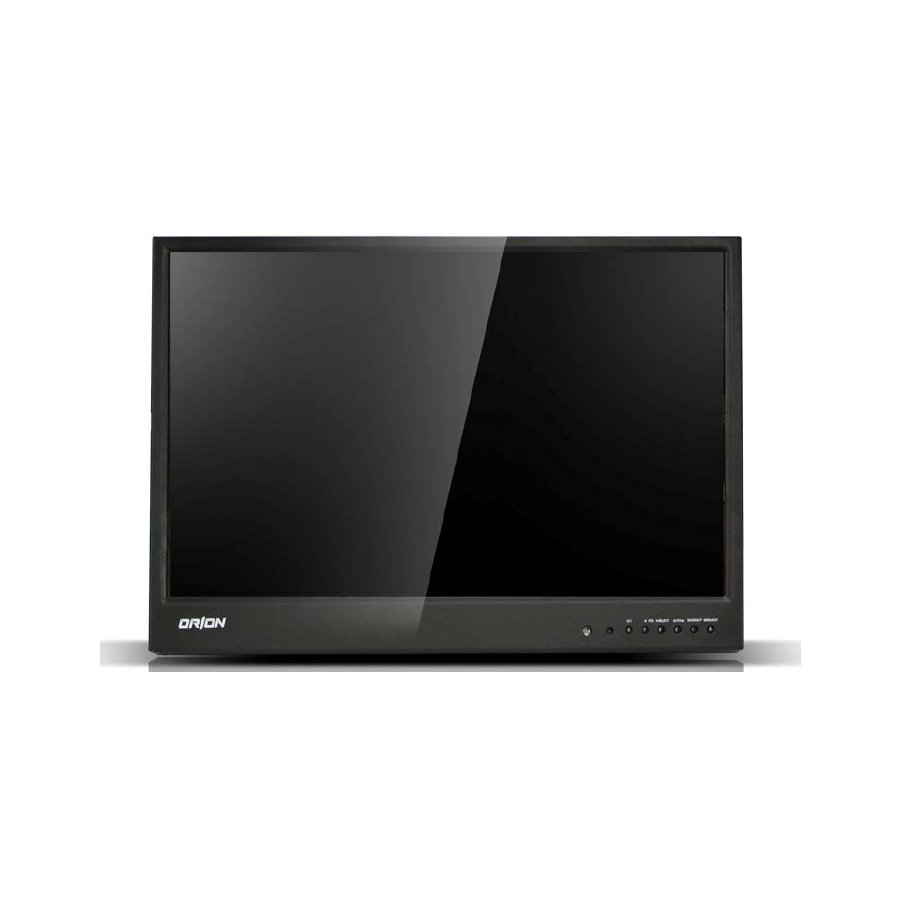
- Page 1 Installation and User’s Guide Installation and User’s Guide PREMIUM SERIES LCD MONITOR 15” TFT-LCD MONITOR (SECURITY) http://www.orionimages.com All contents of this document may change without prior notice, and actual product appearance may differ from that depicted herein...
-
Page 2: Warning Statements
Installation and User’s Guide http://www.orionimages.com Warning Statements Follow this safety instruction to use the monitor properly and prevent the damages. * This safety instruction has “ Warning” and “ Caution” as below. WARNING: If the user does not follow this instruction, it may cause the serious damage to the user. - Page 3 Installation and User’s Guide http://www.orionimages.com Warning Statements Do not install this monitor on the outside For cleaning do not use liquid cleaners. and near water. If may cause damage to Never touch the power plug with wet- the product, electric shock and fire. hands.
- Page 4 Installation and User’s Guide http://www.orionimages.com Cautions Install this monitor some distance Place this product on a stable place. From the wall and do not install unless If not, it may fall, causing serious Damages to the monitor and people. Proper ventilation is provided. The openings must not be blocked by When carrying this monitor, be careful curtain, rug or other similar surface.
-
Page 5: Table Of Contents
Installation and User’s Guide http://www.orionimages.com TABLE OF CONTENTS 1. INSTALLATION ......................... 1.1 Parts ……........................1.2 Connection …..…......................2. FEATURES …........................2.1 Specifications …….……....................3. OSD SETTING ......................9-12 4. CONTROL BUTTON ............................................. 5. APPENDIX 5.1 D-SUB Connector PIN Assignment …….……............6. -
Page 6: Installation
Installation and User’s Guide http://www.orionimages.com INSTALLATION 1.1 Parts Remove the package cover and place the product on a flat and secure surface or in the installation location. Check whether all the following device and accessories are included with the main system. 7300 Bolsa Avenue, Westminster CA 92683 / Tel: 714-766-6300 / Fax: 714-766-6310... -
Page 7: Connection
Installation and User’s Guide http://www.orionimages.com INSTALLATION 1.2 Connection DC 12V IN RGB IN RGB signal input VIDEO1 IN Composite signal input for VIDEO1 VIDEO1 OUT Video looping output for VIDEO1 VIDEO2 IN Composite signal input for VIDEO2 VIDEO2 OUT Video looping output for VIDEO2 S-VIDEO (Y/C) IN Y/C separated signal input S-VIDEO (Y/C) OUT... -
Page 8: Features
Installation and User’s Guide http://www.orionimages.com FEATURES 2.1 Specifications (15 Inch) VIDEO Screen Size 15” Pixel Type Active Matrix TFT Max. Resolution 1024 x 768 @ 60Hz (XGA) Pixel Pitch 0.297 x 0.297mm 250 cd/㎡ Brightness Contrast Ratio 450 : 1 Aspect Ratio Viewing Angle (H/V) 130 / 110... -
Page 9: Osd Menu Description
Installation and User’s Guide http://www.orionimages.com OSD (On Screen Display) SETTING 3.1 OSD MENU Description MENU SELECTION Press the MENU key to access the Main menu. Use the arrow key to highlight a selection Press the OK or button to select an item. Use the arrow key to highlight a selection. -
Page 10: Osd (On Screen Display) Setting
Installation and User’s Guide http://www.orionimages.com OSD (On Screen Display) SETTING Press the MENU/EXIT key and then ▼/◀ or ▲/▶ key to select the PICTURE menu. Press the OK or ▶ button and then ▲/▶ button to select the adjustment item you need Press the OK or ▶... - Page 11 Installation and User’s Guide http://www.orionimages.com OSD (On Screen Display) SETTING D. RGB Setup Menu Press the MENU button and then ▲/▼ button to select the RGB SETUP menu. Press the ▶ button and then ▲/▼ button to select the adjustment item you need. Press the ▶...
- Page 12 Installation and User’s Guide http://www.orionimages.com OSD (On Screen Display) SETTING E. Function Menu (Continue) Press the MENU button and then ▲/▼ button to select the FUNCTION menu. Press the ▶ button and then ▲/▼ button to select the adjustment item you need. Press the ▶...
-
Page 13: Control Button
Installation and User’s Guide http://www.orionimages.com CONTROLL BUTTON Menu/EXIT: Activates and exits the OSD. SOURCE/ : Select input source, and select the OSD menu. ▲ AUTO/ Move the OSD menu and auto adjustment of RGB source. ▶/SELECT: Increase the level of volume and select the OSD menu. ◀... -
Page 14: Appendix
Installation and User’s Guide http://www.orionimages.com APPENDIX 5.1 D-SUB Connector PIN Assignment PIN NO. PIN Name PIN NO. PIN Name RED VIDEO GREEN VIDEO SIGNAL CABLE DETECT BLUE VIDEO GROUND GROUND SDA (for DDC) GROUND H-SYNC RED GROUND V-SYNC GREEN GROUND SCL (for DDC) BLUE GROUND pg14... -
Page 15: Information To The User
Installation and User’s Guide http://www.orionimages.com INFORMATION TO THE USER This equipment has been tested and found to comply with the limits for a Class B digital device, pursuant to part 15 of the FCC Rules. These limits are designed to provide reasonable protection against harmful interference in a residential installation. -
Page 16: Troubleshooting
Installation and User’s Guide http://www.orionimages.com TROUBLESHOOTING * When the following troubles are occurred, follow the trouble shooting. Before contacting a service center. Troubleshooting Troubleshooting Tip 1. Make sure if the power supply is connected property The screen doesn’t show up Turn on the power. -
Page 17: Year Limited Warranty
2Year Limited Warranty All Orion Images products carry a limited warranty from ship date against defects in materials and workmanship. Orion Images is not liable for improper installation that results in damage to mounts, adapters, display equipment or personal injury.