Table of Contents
Advertisement
Advertisement
Table of Contents

Related Manuals for Electrolux EHGC77BS


Summary of Contents for Electrolux EHGC77BS
-
Page 1: Gas Cooktops
EHGC77BS, EHGC97BS, EHGF77BX & EHGF97BX... -
Page 2: Table Of Contents
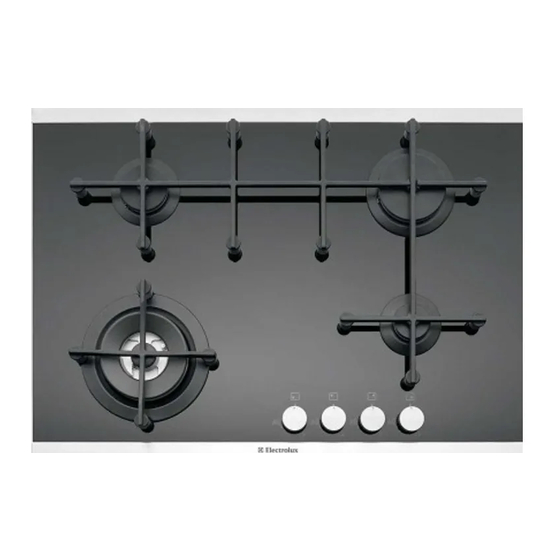
Congratulations Congratulations and thank you for choosing our gas cooktop. We are sure you will find your new cooktop a pleasure to use and a great asset to your cooking. Before you use the cooktop, we recommend that you read through the whole user manual which provides the description of the cooktop and its functions. - Page 3 Figure 1a Figure 1b EHGC77BS EHGF77BX 1. removable cast iron trivet side 1. removable cast iron trivet side 2. removable cast iron trivet top 2. removable cast iron trivet top 3. removable wok trivet 3. removable wok trivet 4.
- Page 4 Figure 2a Figure 2b EHGC97BS EHGF97BX 1. removable cast iron trivet side 1. removable cast iron trivet side 2. removable cast iron trivet top 2. removable cast iron trivet top 3. removable wok trivet 3. removable wok trivet 4. burners – each unit has a small, medium (2 per), 4.
-
Page 5: General Warnings
1 General Warnings Please read the user manual carefully and store in a handy caution place for later reference. Pass the user manual on to possible new owners of the cooktop. Read the following carefully to avoid an electric shock or fire. -
Page 6: Using Your Cooktop
2 electrolux e:line gas cooktops installation Using your cooktop Installation Controls • An authorised person must install this appliance and Each burner is controlled by a control knob. The markings on MUST provide a certificate of compliance. This the control panel indicate which burner the knob controls, and certificate should be retained along with purchase the setting for that burner (see Figure 4). -
Page 7: Burners
3 Burners Choice of burner Figure 5 For your convenience there is a choice of burners – Choice of flame height • A small burner for special low heat and slow cooking. • A medium burner for normal cooking and simmering (one on the four burner model and two on the five burner model). -
Page 8: Cleaning And Care
4 electrolux e:line gas cooktops cleaning and care Cleaning and care How to use the razor blade scraper: caution 1. Pull back the protective cover until the blade is visible. 2. Make sure that the razor blade is clean and not worn. -
Page 9: Troubleshooting
5 Troubleshooting If you have a problem with the cooktop, check the table below. You may be able to solve the problem and this will save you from paying for a service call. You will have to pay for a service call even in the warranty period if the problem is one listed below. -
Page 10: Technical Data
6 electrolux e:line gas cooktops technical data Technical data We reserve the right to alter these specifications. This appliance conforms to AS 4551. Table 2 Features EHGC77BS EHGF77BX EHGC97BS EHGF97BX Cooking zones Yes, triple ring Yes, triple ring Yes, triple ring... -
Page 11: Installation Instructions
3. The particular instructions as given below. Figure 6a Figure 6b EHGF77BX – Additional Flush Fit detail EHGC77BS & EHGF77BX – Proud Fit (Stainless Steel model only) Gas supply Gas supply connection location connection location... -
Page 12: Installation Procedure
8 electrolux e:line gas cooktops installation Installation procedure 1. The bench cutout should be made as per cutout EHGC97BS & EHGF97BX dimensions in Table 2 and Figure 6. 2. Adjacent walls, cupboards and protection for Combustible surface combustible materials: Ensure that the appliance is installed with Section 5.12.1 of AS 5601 (Australia) or... -
Page 13: Gas Connection
9 Operation on N.G./S.N.G. Gas connection Figure 8a – Proud Fit Foam seal S/S trim (where fitted) This appliance is supplied for use with natural Gas. However, it can be converted for use with LPG. Refer to LP conversion on page 10. -
Page 14: Lp Conversion
10 electrolux e:line gas cooktops LP Gas Conversion Operation on N.G./S.N.G. Checking the gas supply Assembly of Regulator 1. Check the manometer zero point is correct. The assembly of the regulator to the cooktop manifold is 2. Connect the manometer to the cooktop pressure point. -
Page 15: Electrical Connection
11 1. Remove the hotplate burners to access the hotplate Figure 11 Hex nut assembly, fully injectors. Replace the factory fitted NG injectors with the screwed down appropriate injectors, as supplied (see Table 3). -
Page 16: Testing Appliance Operation
12 electrolux e:line gas cooktops testing the appliance Testing appliance operation After installation, test the appliance and ensure that it caution operates correctly before handing it over to the customer. The following procedure is recommended: 1. Turn on the gas and electricity supply and attempt... -
Page 17: Warranty
To the extent permitted by law, the will, at no extra charge if your appliance is readily accessible without liability of Electrolux (if any) arising out of or in relation to the Appliance special equipment, and subject to these terms and conditions, repair or any services supplied by Electrolux shall be limited (where it is fair or replace any parts which it considers to be defective. - Page 18 “Oh! How did you know? That’s exactly what I wanted!” That’s the kind of feeling that the designers at Electrolux seek to evoke in everyone who chooses or uses one of our products. We devote time, knowledge, and a great deal of thought to anticipating and creating the kind of appliances that our customers really need and want.