
Related Manuals for Humminbird Matrix 10


Summary of Contents for Humminbird Matrix 10
- Page 1 Operations Manual Operations Manual 531369-1_A Matrix 12 Matrix 10 Matrix 17 Matrix 20 Matrix 37 Matrix 27...
-
Page 2: Table Of Contents
Thank you for choosing Humminbird®, America's #1 name in fishfinders. Humminbird® has built its reputation by designing and manufacturing top-quality, thoroughly reliable marine equipment. Your Humminbird® is designed for trouble-free use in even the harshest marine environment. In the unlikely event that your Humminbird® does require repairs, we offer an exclusive Service Policy - free of charge during the first year after purchase, and available at a reasonable rate after the one-year period. - Page 3 NOTE: Entries in this Table of Contents which list (with Temp/Speed or GPS Receiver, or (with PC Connect Cable Only) require the purchase of separate accessories. You can visit our website at www.humminbird.com to order these accessories online or contact our Customer Resource Center at 1-334-687-0503.
-
Page 4: How Sonar Works
QuadraBeam™ sonar. Find the correct sonar description that applies to your unit. Single Beam Sonar Your Matrix 10, 12 or 20 uses a 200 kHz single beam sonar system with a 20° area of coverage. Depth capability is affected by such factors as boat speed, wave action, bottom hardness, water conditions and transducer installation. -
Page 5: What's On The Display
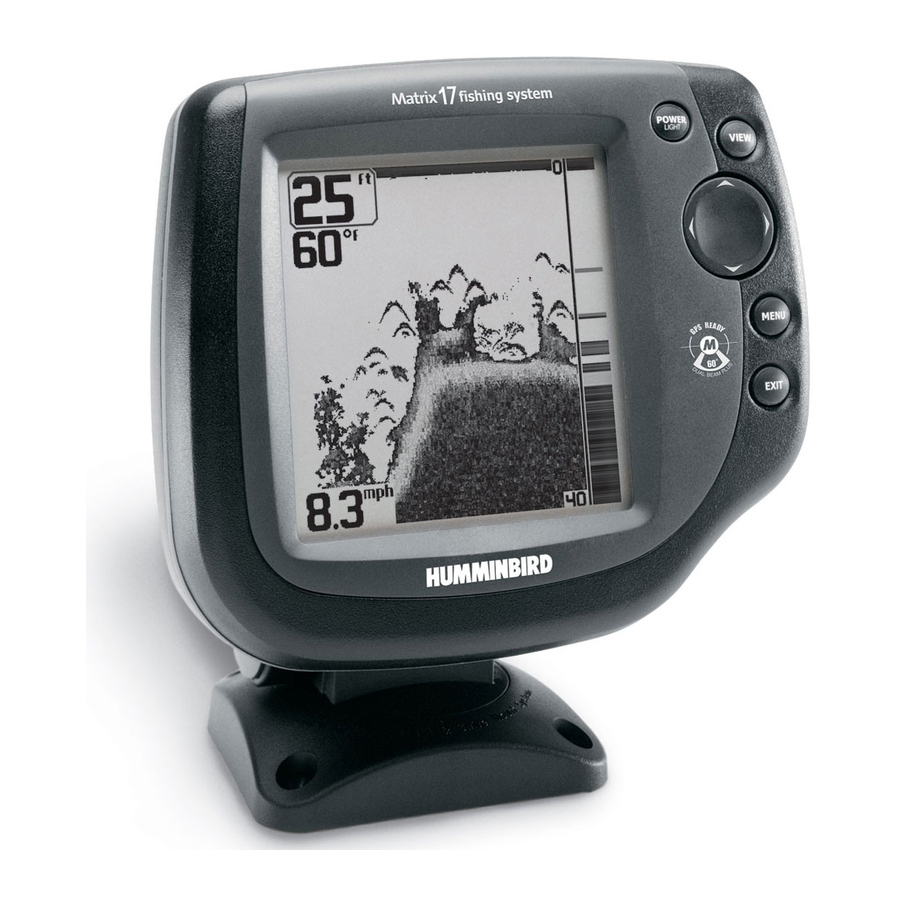
What’s On the Display The Matrix Fishing System can display a variety of useful information about the area Depth - water depth; can be set to alarm Cursor - available in Freeze Frame and can when the water becomes too shallow. depth of a sonar return and bottom depth Speed - if a Temp/Speed accessory or GPS Receiver is attached, the Matrix can display the... -
Page 6: Views
Views The views available on your Matrix Fishing System are: • Sonar View • Zoom View • 200/83 kHz Split Sonar View (DualBeam PLUS™ and QuadraBeam Only) • Big Digits View • Side Beam View (QuadraBeam Sonar View is the default view. When the VIEW key is pressed, the display cycles through the available views. -
Page 7: Real Time Sonar (Rts®) Window
Real Time Sonar (RTS®) Window A Real Time Sonar (RTS®) Window appears on the right side of the display in the Sonar View only. The RTS® Window always updates at the fastest rate possible for depth conditions and shows only the returns from the bottom, structure and fish that are within the transducer beam. -
Page 8: 200/83 Khz Split Sonar View
200/83 kHz Split Sonar View (DualBeam PLUS™ and QuadraBeam Only) Split Sonar View displays sonar returns from the 83 kHz wide beam on the left side of the screen and displays sonar returns from the 200 kHz narrow beam on the right side of the screen. -
Page 9: Side Beam View
(QuadraBeam Only) Side Beam View shows sonar information from both the left and right 90° 455 kHz beams and the 200 kHz down-looking beam in one view. The top portion of the display presents a historical log of sonar returns from the 200 kHz down-looking sonar. The bottom portion of the display presents a historical log of sonar returns from the 455 kHz right- and left-looking sonar. -
Page 10: Key Functions
Inverse is a method where weak returns are shown with dark pixels and strong returns with lighter pixels. This has the benefit of ensuring that weak signals will be clearly visible on the display. Structure ID® represents weak returns as light pixels and strong returns as dark pixels. -
Page 11: Menu Key
MENU Key The MENU key is used to access the menu system. Start-Up Options Menu - Press the MENU key during the power up sequence to view the Start-Up Options menu. X-Press Menu - Press the MENU key once for the Sonar X-Press Menu allows you to access frequently-used settings without having to navigate through the whole menu system. -
Page 12: Accessory Bus
NOTE: Accessories to enable WeatherSense , GPS Functionality and the SmartCast Wireless Sonar Link require separate purchases. You can visit our website at www.humminbird.com or contact our Customer Resource Center at 1-334-687-0503 for additional details. Powering Up the Unit Turn on your Matrix Fishing System by pressing the POWER/LIGHT key. -
Page 13: Start-Up Options Menu
User Mode (Normal or Advanced) - An Advanced Mode is provided for users who desire the highest level of control over the Fishing System and Normal Mode for users who desire greater simplicity and fewer menu choices. Additional Advanced menu choices will be displayed throughout the menu system when you navigate to specific menus while in Advanced Mode. -
Page 14: Simulator
PC Connect Cable accessory. NOTE: The PC Connect Cable requires a separate purchase. For more information visit our website at www.humminbird.com or contact our Customer Resource Center at 1-334-687-0503. Exit PC Connect mode by powering the Fishing System off. -
Page 15: Sonar X-Press™ Menu
Sonar X-Press The Sonar X-Press settings most frequently-used. Press the MENU key once while in any of the Sonar Views to access the Sonar X-Press Menu. NOTE: Upper Range only appears in Advanced User Mode when in Sonar, Split Sonar or Big Digits View. NOTE: Zoom Level only appears in Sonar Zoom View. -
Page 16: Lower Range
Lower Range Lower Range sets the deepest depth range that will be displayed. Automatic is the default setting. When in automatic mode, the lower range will be adjusted by the unit to follow the bottom. Selecting a specific setting locks the depth range into Manual mode. Use both Upper and Lower Range together to view a specific depth range manually when looking for fish or bottom structure. -
Page 17: Zoom Level (Sonar Zoom View Only)
Zoom Level (Sonar Zoom View Only) Zoom Level sets the magnification level for the Sonar Zoom View, and is only available on the X-Press Menu when the Sonar Zoom View is active. Use Zoom to increase the display resolution to separate sonar returns that are very close together. To adjust the Zoom Level: 1. -
Page 18: Beam Select
Beam Select (DualBeam PLUS™ and QuadraBeam Beam Select sets which sonar returns from the transducer will be displayed on the screen. When set to 200/83 kHz, the returns from both beams are blended by starting with the 83 kHz wide beam return, dimming it, and then overlaying it with the 200 kHz narrow beam return. -
Page 19: Fish Sensitivity
2. Use the LEFT or RIGHT 4-WAY Cursor Control keys to change the RTS® Window setting. (Wide, Narrow, Off, Default = Wide [Default = Off for Matrix 10]) 83 kHz Sensitivity changes the sensitivity of the 83 kHz beam. Increasing the 83 kHz Sensitivity will display additional weak returns and decreasing the 83 kHz Sensitivity will display fewer weak returns. -
Page 20: Depth Lines (Advanced)
Depth Lines (Advanced) Depth Lines divide the display into four equal sections which are separated by three horizontal depth lines. The depth of each line is displayed along the depth scale. You can either turn Depth Lines On or Off. The Depth Lines menu choice is available when User Mode is set to Advanced (see Setup Menu Tab: User Mode). -
Page 21: Noise Filter (Advanced)
Transducer Select allows you to select which transducer you want to use . NOTE: The Matrix 37 supports the WideSide transducer which requires a separate purchase. You can visit our website at www.humminbird.com to order the WideSide transducer online or contact our Customer Resource Center at 1-334-687-0503. -
Page 22: Alarms Menu Tab
Alarms Menu Tab From any view, press the MENU key twice to access the Main Menu System. The Alarms tab will be the default selection. NOTE: When an alarm is triggered, you can silence it by pressing any key. The alarm will be silenced, and will not be triggered again until a new instance of the alarm condition is detected. -
Page 23: Setup Menu Tab
Setup Menu Tab From any view, press the MENU key twice to access the tabbed Main Menu System, then press the RIGHT cursor key until the Setup tab is selected. NOTE: Units - Temp Units - Distance (If Temp/Speed or GPS Receiver is Connected) Units - Speed (If Temp/Speed or GPS Receiver is Connected)) Triplog Reset... -
Page 24: Units - Speed (With Temp/Speed Or Gps Receiver)
Units - Speed (with Temp/Speed or GPS Receiver) Units - Speed selects the units of measure for speed-related readouts, and will appear in the menu if a Temp/Speed Accessory is connected and the paddlewheel has moved at least once, or if a GPS Receiver is connected. To change the Units - Speed setting: 1. - Page 25 Select Views (Advanced) Select Views sets the available views to either hidden or visible in the view rotation. The view will be removed from the view rotation if it is set to Hidden and will be displayed in the view rotation if it is set to Visible.
- Page 26 Default Sonar View To Select Readouts: 1. Make sure you are in Advanced User Mode, then highlight Select Readouts on the Setup main menu. 2. Use the RIGHT 4-WAY Cursor Control key to initiate this procedure. 3. The Select Readouts submenu will appear, showing a list of all Readouts. Use the UP or DOWN Cursor keys to select a particular Readout position, then use the RIGHT or LEFT Cursor keys to change what will be displayed at that position.
- Page 27 (with accessories attached) NOTE: Accessories to enable WeatherSense , GPS Functionality and the SmartCast Wireless Sonar Link require separate purchases. You can visit our website at www.humminbird.com or contact our Customer Resource Center at 1-334-687-0503 for additional details. Accessories Menu Tab...
- Page 28 Troubleshooting Before contacting the Humminbird Customer Resource Center, please read the following section. Taking the time to review these troubleshooting guidelines may allow you to solve a performance problem yourself, and therefore avoid sending your unit back for repair. Matrix Doesn’t Power Up If your Matrix doesn’t power up, use the Installation Guide that also comes with it...
- Page 29 PC Connect Cable: Purchase the PC Connect Cable to connect the Matrix Fishing System to a PC in order to upload product software updates and new features obtained from www.humminbird.com. This accessory requires the MSWindows- compatible HumminbirdPC™ software downloaded from our website to your PC in order to communicate with the Matrix Fishing System.
- Page 30 Depth Capability ... 800 ft (250 m) - Matrix 10, 12 or 20 1500 ft (450 m) - Matrix 27 and Matrix 37 Power Output ... 250 Watts (RMS), 2000 Watts (Peak to Peak) - Matrix 10, 12 or 20 300 Watts (RMS), 2400 Watts (Peak to Peak) - Matrix 17 500 Watts (RMS), 4000 Watts (Peak to Peak) - Matrix 27 and Matrix 37 Operating Frequency ...
- Page 31 Contact Humminbird Contact the Humminbird Customer Resource Center in any of the following ways: By Telephone (Monday - Friday 8:00 a.m. to 4:30 p.m. Central Standard Time): 334-687-0503 By e-mail (typically we respond to your e-mail within three business days): custserv@techsonic.com...