
Related Manuals for Carrier TST-EEPC06111SCS00


Summary of Contents for Carrier TST-EEPC06111SCS00
- Page 1 Carrier Room Thermostats Turn to the Experts. TST-EEPC06111SCS00 TST-EEPD06111SCS01 TST-EEPC06121SCS00 TST-EEPD06121SCS01 Owner’s Guide Series 6 Classic and Deluxe Designs Control at Your Fingertips...
-
Page 2: Making Life Easier
MAKING LIFE EASIER Take a few minutes to review the features and functions listed in this manual. Carrier gives you control over your comfort with simple instructions, responsive push buttons and an easy to read backlit display (on electronic models). - Page 3 MODEL NOMENCLATURE TST - E S N C 06 2 1 1 S C S 01 01: Remote Sensor E:Embedded S:Surface mount 1: AC85V~260V 2: AC24V 1: Cooling water 2 pipe 2: Cooling water 4 pipe 3: Direct Expansion C: Classic series D: Deluxe series N: Non-programmable P: Programmable...
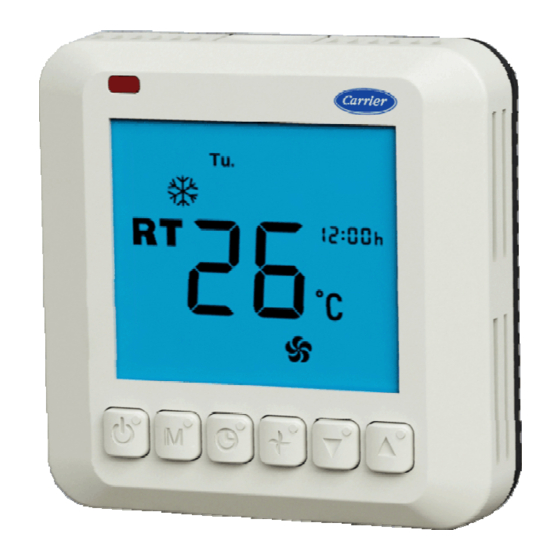
- Page 4 Ventilation mode Shows room temperature, desired temperature, Heat mode other feature information as required. Cool mode Current Time. is displayed while setting your : AUTO desired temperatures : LOW-speed or flashed while : MED-speed setting mode. : HI-speed Power Button Up Button Turn on/off Increase the desired...
- Page 5 SETTING AND OPERATING Setting your temperature set points 1.Press the UP or DOWN button. The LCD readout will be illuminated and the heating or cooling temperature set point will be displayed, but will not change. Next to the temperature display, indicateswhich temperature set point is being displayed.
-
Page 6: Setting And Operating
SETTING AND OPERATING NOTE: Your COOL setting must be at least 2℃ ℃ ℃ ℃ (4℉ ℉ ℉ ℉ ) higher than your HEAT setting. Your thermostat will automatically change your previously set temperature to maintain that 2℃ ℃ ℃ ℃ (4℉ ℉ ℉ ℉ ) difference. Setting fan operation Press the FAN button to chooses between AUTO, LOW, MED or HI... -
Page 7: Setting Mode Operation
SETTING AND OPERATING Setting mode operation 1. Press the MODE button. 2. On the LCD readout, the symbols , or will flash as the MODE Button is pressed. Set Current Time Press clock button once, hours flash – set the hours using the Up/Down key . -
Page 8: Programming Thermostat Schedules
SETTING AND OPERATING Programming Thermostat Schedules Before programming the thermostat, plan the thermostat daily schedule. The schedule is divided into 7 days (Monday through Sunday). Each day has 4 time periods (1,2, 3, 4). Each time period has a start time, heating set point, and cooling set point. - Page 9 SETTING AND OPERATING 3. Press the clock button once, The heating set point and the heat annunciator will be displayed. Press the Up and Down buttons to set heating set point. 4. Press the clock button once, The cooling set point and the cool annunciator will be displayed.
- Page 10 SETTING AND OPERATING Table 1 Daily Schedule Planner SCHEDULE DAY OF WEEK Tim/Heat/Cool Tim/Heat/Cool Tim/Heat/Cool Tim/Heat/Cool Monday Tuesday Wednesday Thursday Friday Saturday Sunday...
-
Page 11: You Have A System Error Message
WHAT IF… You have a system error message… The temperature sensor failure indicator sends an E1 reading to the LCD display. This means your thermostat’s indoor temperature sensor is no longer able to measure temperatures. You will need to contact your dealer to repair the problem. -
Page 12: Warranty
Turn to the Experts. www.carrier.com 1-800-CARRIER A member of the United Technologies Corporation family. © Carrier Corporation 2005 Manufacturer reserves to discontinue, or change at any time, specifications or designs without notice or without incurring obligations.