Table of Contents
Advertisement
Quick Links
IMPORTANT SAFETY INFORMATION: Always read this manual first
before attempting to install or use this fireplace. For your safety, always
comply with all warnings and safety instructions contained in this manual
to prevent personal injury or property damage.
To view the full line of Dimplex products, please visit
www.dimplex.com
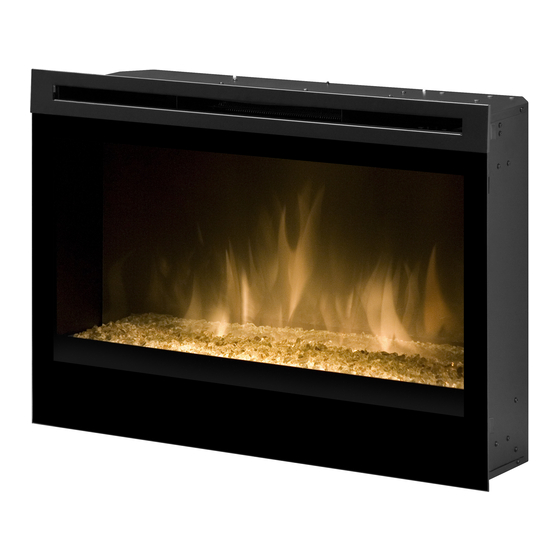
Owner's Manual
Model
DFG3033
7210600100R04
Advertisement
Table of Contents

Related Manuals for Dimplex DFG3033


Summary of Contents for Dimplex DFG3033
- Page 1 For your safety, always comply with all warnings and safety instructions contained in this manual to prevent personal injury or property damage. To view the full line of Dimplex products, please visit www.dimplex.com 7210600100R04...
-
Page 2: Table Of Contents
CAUTION: Procedures and techniques which, if not carefully followed, will result in damage to the equipment. W ARNING: Procedures and techniques which, if not carefully followed, will expose the user to the risk of fire, serious injury, or death. www.dimplex.com... -
Page 3: Welcome & Congratulations
Welcome & Congratulations Thank you and congratulations for choosing to purchase an electric fireplace from Dimplex, the world leader in electric fireplaces. Please carefully read and save these instructions. CAUTION: Read all instructions and warnings carefully before starting installation. Failure to follow these instructions may result in a possible electric shock, fire hazard and will void the warranty. -
Page 4: Important Instructions
IMPORTANT INSTRUCTIONS When using electrical appliances, ner, contact Dimplex Technical basic precautions should always Service at 1-888-346-7539. be followed to reduce the risk of ⑦ Do not use outdoors. fire, electric shock, and injury to persons, including the following: ⑧... -
Page 5: Save These Instructions
IMPORTANT INSTRUCTIONS gasoline, paint, or flammable ⑱ Always use a certified liquids are used or stored. electrician should new circuits or outlets be required. ⑭ Do not modify the electric fireplace. Use it only as described ⑲ Always use properly in this manual. - Page 6 FCC CAUTION: Any changes or modifications not expressly approved by the party responsible for compliance could void the user's authority to operate this equipment. www.dimplex.com...
-
Page 7: Fireplace Installation
To reduce the risk of fire, IMPORTANT: If not using electric shock or injury to persons, a Dimplex mantel, the fireplace always use a licensed electrician. must be installed in an enclosure WARNING: To reduce the risk... -
Page 8: New Wall Construction
Ad- ditional appliances on the same circuit may exceed the current rating of the circuit breaker. Option #3 - Hardwire 1. Wire a dedicated, properly www.dimplex.com... - Page 9 Fireplace Installation electrical codes for rated power 7. Connect the white wire consumption. (neutral) from the unit to the neutral wire from power sup- 2. Remove the outer jacket and ply (Figure 3). strip the individual conductor from the end. 8.
-
Page 10: Operation
(Figure 5). control switch is in the Flame A. Main On/Off Switch or Flame & Heat positions, the Supplies power to the 3 Position fireplace unit will not operate Manual Control Switch. with the remote control. www.dimplex.com... -
Page 11: Remote Control
Operation C. Initialization Button unplug the unit and call Dim- Used to synchronize the remote plex North America Limited at control with the fireplace. 1-888-346-7539 for technical NOTE: The heater on your support. Please have your fireplace may emit a slight, harm- model and serial number less odor when first used. - Page 12 Your remote will now have a dif- Heat On/Off button on the ferent frequency communicating remote control. with the fireplace. 6. Release the Initialization But- ton on the unit. 7. Press the Flame/Heat On/Off button to turn the Flame/ www.dimplex.com...
- Page 13 Operation Figure 7 - Remote Control Functions Room Temperature Set Temperature Dimmer Flame Speed Control Sleep Timer Flame & Heat On/Off Temperature Down Temperature Up Dimmer Down Dimmer Up Flame Speed Down Flame Speed Up Sleep Timer Down Sleep Timer Up Remote Control Functions button to decrease or increase the brightness of the upper...
- Page 14 When B is higher then A the heat will come on. To turn the heat off, lower the B so that it’s setting is lower then the A. The default temperature setting is 72°F (22°C). NOTE: When using the www.dimplex.com...
- Page 15 Operation Child Lock Figure 8 (Figure 8) 1. Depress tab on the battery Unlocked Locked cover on the back of the remote control and remove the battery cover (Figure 6). 2. Move Child Lock tab to the right to lock the remote control.
-
Page 16: Maintenance
60 Watts per bulb. 7. Insert new bulb(s). Helpful Hints: It is a good idea to replace all light bulbs at one 8. Push flicker rod back onto time if they are close to the end motor shaft and replace op- www.dimplex.com... - Page 17 Maintenance Upper Light Bulb Requirements Figure 9 Upper bulbs Quantity of two clear chandelier or candelabra bulbs with an E-12 Flicker rod (small) socket base, 15 Watt rat- Glass media ing. Do not exceed 15 Watts per and tray bulb. CAUTION: Allow at least five minutes for light bulbs to cool before touching bulbs to avoid ac-...
-
Page 18: Glass Cleaning
To remove fingerprints or other marks, the glass can be cleaned with a damp cloth. To prevent scratching, do not use abrasive cleaners or spray liquids on the glass surface. www.dimplex.com... -
Page 19: Warranty
1 year following the lowing model of your newly purchased date of first purchase; and (b) thereafter, a Dimplex electric fireplace DFG3033 and replacement of parts warranty on defec- to newly purchased Dimplex fireplace tive products and parts (with no in-home surrounds (mantels) and trims. - Page 20 • For products (other than surrounds (mantels) and trims) for the period What Dimplex will do in the event of a commencing at 12:01 a.m. on the defect day after the first anniversary of In the event a product or part covered by...
- Page 21 Warranty Dimplex is unable to repair or replace COSTS OR DAMAGES, OR IF SUCH such product or part, or if repair or re- LOSSES, COSTS, OR DAMAGES ARE placement is not commercially practica- FORESEEABLE. IN NO EVENT WILL ble or cannot be timely made, Dimplex...
-
Page 22: Replacement Parts List
Flicker Rod ........5901250100RP Dimplex North America Limited 1367 Industrial Road Cambridge ON Canada N1R 7G8 © 2013 Dimplex North America Limited www.dimplex.com...