Table of Contents
Advertisement
Advertisement
Table of Contents

Related Manuals for Vision Fitness T10


Summary of Contents for Vision Fitness T10
- Page 1 OWNER’S GUIDE Non-Folding Treadmill...
- Page 4 Service to your treadmill should only be performed by your Vision Fitness retailer. Please contact your authorized Vision Fitness retailer should service be required. If a question or problem arises which cannot be handled by your Vision Fitness retailer, please contact us: Vision Fitness...
-
Page 5: Table Of Contents
Table of Contents GENERAL SAFETY INSTRUCTIONS ..........2 GROUNDING INSTRUCTIONS, POWER REQUIREMENTS .......... 3 OTHER SAFETY TIPS ............ 4 ASSEMBLY & PLACEMENT ........5 POWER SWITCH & SAFETY KEY ......8 QUICK SPEED & ELEVATION KEYS ..... 7 CONTACT HEART RATE ..........8 TREADMILL OVERVIEW .......... -
Page 6: Safety Instructions
ELECTRIC SHOCK, OR INJURY TO PERSONS: • Do not remove the treadmill motor covers or roller covers. Service should be performed only by an authorized Vision Fitness retailer. • Connect this treadmill to a properly grounded outlet only. See Grounding Instructions. -
Page 7: Grounding Instructions
GROUNDING INSTRUCTIONS This treadmill must be grounded. If it should malfunction or breakdown, grounding provides a path of least resistance for electric current to reduce the risk of electric shock. This treadmill is equipped with a cord having an equipment-grounding conductor and a grounding plug. -
Page 8: Other Safety Tips
OTHER SAFETY TIPS FOR YOUR VISION FITNESS TREADMILL CAUTION: RISK OF INJURY TO PERSONS To avoid injury, stand on the siderails before starting treadmill. Read Instruction Manual before using. CAUTION: If you experience chest pains, nausea, dizziness or shortness of breath, stop exercising immediately and consult your physician before continuing. -
Page 9: Assembly & Placement
Assembly Guide. It is recommended, when possible, that assembly be performed by an authorized Vision Fitness retailer. If you have any questions regarding any part or function of your treadmill, contact your Vision Fitnes retailer. -
Page 10: Power Switch
SAFETY MAGNET KEY & CLIP Your Vision Fitness treadmill will not start unless the Safety Magnet Key is inserted into the circle in the front of the console. You should attach the clip end to your clothing. -
Page 11: Quick Speed & Elevation Keys
QUICK SPEED AND QUICK ELEVATION KEYS Use the QUICK SPEED and QUICK ELEVATION keys as an option to increase and decrease the speed and elevation to your desired setting. First press the QUICK SPEED or QUICK ELEVATION key, then press the numbered keys (0-9). HEART RATE ELEVATION TIME... -
Page 12: Power Switch & Safety Key
CONTACT HEART RATE HAND PULSE HEART RATE SENSORS The Contact Hand Pulse Sensors are included on this treadmill to monitor your heart rate. To use, grasp both of the sensors with a comfortable grip during your workout. The console will display your heart rate. -
Page 13: Treadmill Overview
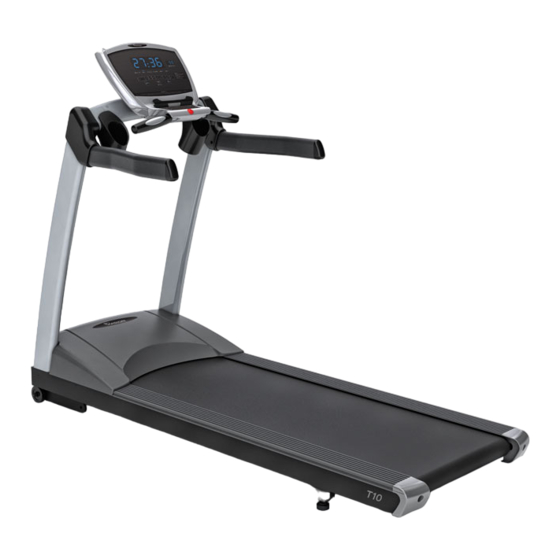
CONSOLE HANDLEBARS SIDE RAILS MOTOR COVER RUNNING BELT LEVELERS TRANSPORT WHEELS... -
Page 14: Moving & Leveling
MOVING YOUR VISION FITNESS TREADMILL Your Vision Fitness treadmill has a pair of transport wheels built into the front legs. To move, firmly grasp the back end of the frame, carefully lift and roll. CAUTION: Our treadmills are well-built and heavy, weighing up to 300 pounds! Use care and additional help if necessary. -
Page 15: Introduction
CONSOLE INTRODUCTION Simply press the START key to begin exercising, or you can select a workout time and enter your weight. HEART RATE ELEVATION TIME DISTANCE CALORIES SPEED PACE Change Display Hold to Scan Start Press for Easy Start Stop Hold to Reset CHOOSING A TIME Use the number keys or either set of arrow keys to select a workout... -
Page 16: Console Display
CONSOLE DISPLAY SCAN FUNCTION To scan through the functions during your workout, press the ENTER key. To continuously scan, press and hold ENTER until the console double-beeps (about two seconds). The selected function is displayed when the function light is on above the word. HEART RATE ELEVATION TIME... -
Page 17: User Engineering Mode
USER ENGINEERING MODE Your treadmill offers a User Engineering Mode that can access certain data and help to troubleshoot your treadmill. The User Engineering Mode is designed for you to access functions that will not affect important treadmill settings. To access this mode, please hold down the SPEED DOWN and ENTER keys while the treadmill is at the start-up mode. - Page 18 USER ENGINEERING MODE (CONTINUED) PAUSE TIME P14 represents the pause time. The default pause time is five minutes. You can modify the pause time from 20 seconds to 10 minutes. You can modify this time by using the number keys or the SPEED arrow keys.
- Page 19 AUTO-CALIBRATION DO NOT STAND ON THE BELT WHEN PERFORMING THE AUTO CALIBRATION! “AUTO” appears in the data window for the auto-calibration function. To begin auto-calibration, press START. The treadmill will run through minimum and maximum speed and elevation. The auto- calibration will take three to five minutes.
-
Page 20: Limited Home Use Warranty
LABOR - TWO YEARS Vision Fitness shall cover the Labor cost for the repair of the device for a period of two years from the date of original purchase, so long as the device remains in the possession of the original owner. -
Page 21: Warranty Registration
Vision Fitness shall not be responsible for incidental or consequential damages. Parts and Electronic components reconditioned to As New Condition by Vision Fitness or its vendors may sometimes be supplied as warranty replacement parts and constitute fulfillment of warranty terms. Any warranty replacement parts shall be warranted for the remainder of the original warranty term. - Page 24 1600 Landmark Drive • Cottage Grove, WI 53527 toll free 800.335.4348 • fax 608.839.8731 www.visionfitness.com 2012 Vision Fitness. All Rights Reserved. REV 1.1...