Table of Contents
Advertisement
Advertisement
Table of Contents

Related Manuals for Vax 6121


Summary of Contents for Vax 6121
- Page 1 Инструкция Vax 6121 Перейти в карточку товара 8 800 775 98 98...
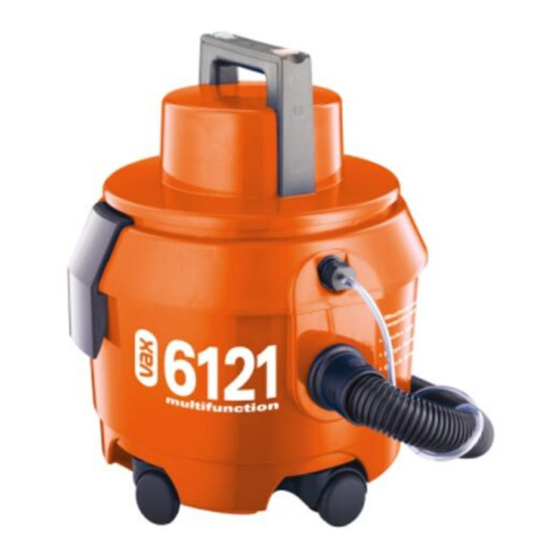
- Page 2 Vax 6121(C) User Guide v1.qxd 19/11/07 15:10 Page 1 Multifunction Vax model number: 6121 6121C Please read carefully before using this cleaner. www.vax.co.uk Always fully extend the mains cable before use. Retain for future reference.
- Page 3 Vax 6121(C) User Guide v1.qxd 19/11/07 15:10 Page 2 www.vax.co.uk 1. Diagram 6121 A N T I A L L E R G E N A D D I T I V E Fig.1/1 1 Water pump button (green) 13 Solution tube to machine connector...
-
Page 4: Safety Information
Do not use with a damaged cord or plug. If the supply cord and/or plug is damaged, they must be replaced PLEASE KEEP THESE INSTRUCTIONS by the manufacturer, a Vax Service Agent or similarly FOR FURTHER USE. qualified persons in order to avoid hazard. -
Page 5: 2. Remove The Motor Top From The Unit, Turn On Its Side
Vax 6121(C) User Guide v1.qxd 19/11/07 15:10 Page 4 www.vax.co.uk 3. Vacuuming 4. Fit the plug to the solution intake port (Fig.3/4). IMPORTANT: Always remove the power plug from the wall outlet before assembling, servicing or removing accessories. IMPORTANT: Only the red power button should be “ON”... - Page 6 Vax 6121(C) User Guide v1.qxd 19/11/07 15:10 Page 5 Fig.3/10 Fig.3/7 Fit the combination floor tool by pushing on to the Replace the motor top, ensuring that the dust bag is not extension tube (Fig 3/11). trapped. Ensure the motor top is secured to the base with the two clips (Fig.3/8).
- Page 7 Vax 6121(C) User Guide v1.qxd 19/11/07 15:10 Page 6 www.vax.co.uk 4. Accessories Carpet Cleaning For carpet cleaning, press the rocker switch on the combination floor tool as shown to raise the brushes The accessories can be attached directly to the handle by (Fig.3/13).
-
Page 8: Preparing The Carpet
Water Tank and fill with warm (max 40°C) water to point • Allow carpet to dry completely. Try not to walk on the indicated on the tank. Add 1 capful of Vax AAA solution carpet until it is dry. (for carpets) per litre of water (unless otherwise stated on •... - Page 9 Vax 6121(C) User Guide v1.qxd 19/11/07 15:10 Page 8 www.vax.co.uk 7. Assembly 1. Push solution tube to machine connector (A) firmly into Solution Port (A1). Twist solution tube connector (A1) a quarter turn to the right to lock into place (Fig.7/1).
- Page 10 Vax 6121(C) User Guide v1.qxd 19/11/07 15:10 Page 9 8. Usage 1. Plug in machine to power supply. 2. Press the red button to turn on the power. 3. Press the green button to activate the pump. Washing Carpets 1. On the Fibreflow wash head ensure that the rocker switch (A) is towards the back of the head to allow water to flow through the head (Fig.8/1).
-
Page 11: Dust Bag And Filters
Vax 6121(C) User Guide v1.qxd 19/11/07 15:10 Page 10 www.vax.co.uk 9. Dust Bag and Filters: Removal and Replacement IMPORTANT: Always unplug the machine from the electrical output before removing the dust bag. IMPORTANT: Do NOT use the vacuum cleaner without ALL of the filters in place. - Page 12 Vax 6121(C) User Guide v1.qxd 19/11/07 15:10 Page 11 10. Maintenance IMPORTANT: Ensure that the machine is switched off and unplugged from the socket before carrying out any maintenance. Cleaning the Pre-Motor Filter. 1. Remove the motor top from the unit, turn on its side and remove the float housing in an anti-clockwise direction to unscrew (Fig.10/1).
-
Page 13: Troubleshooting
Vax 6121(C) User Guide v1.qxd 19/11/07 15:10 Page 12 www.vax.co.uk 11. Troubleshooting Technical Specification WARNING: To reduce the risk of personal injury, Voltage: 220-240V ~50Hz unplug the vacuum cleaner before performing Wattage: 1300W maintenance or troubleshooting checks. Capacity: Clean water tank - 4 litres Dirty water tank - litres PROBLEM: The cleaner won't run. - Page 14 Vax 6121(C) User Guide v1.qxd 19/11/07 15:10 Page 13 This page has been left intentionally blank. technical specification...
- Page 15 Vax 6121(C) User Guide v1.qxd 19/11/07 15:10 Page 14 www.vax.co.uk This page has been left intentionally blank.
- Page 16 Vax 6121(C) User Guide v1.qxd 19/11/07 15:10 Page 15 This page has been left intentionally blank.
- Page 17 15:10 Page 16 EEC STATEMENT OF COMPLIANCE Manufacturer/EEC importer: Vax Limited, hereby on our own responsibility, declare that the product 6121/6121C Multifunction is manufactured in compliance with the following Directives: Safety: 2006/95/EC Low Voltage Directive EMC: 2004/108/EC Electromagnetic Compatibility Directive Waste electrical products should not be disposed of with household waste.
- Page 18 Vax 6121 Описание...