
Related Manuals for Niles ABA-1D


Summary of Contents for Niles ABA-1D
- Page 1 M O D E L ABA-1D ABA-1 D ABA-1 D AMPLIFIER A OR B SELECTOR NILES ® I N S T A L L A T I O N & O P E R A T I O N G U I D E...
-
Page 2: Table Of Contents
Installation Considerations 3 Features and Benefits Installation The ABA-1D offers a number of improvements over other A-B selectors. Operation Interchangeable Decora inserts for fast, easy color change. Specifications 10 Inserts and buttons (sold separately) are available in a vari- ety of colors. - Page 3 / / A A P P E E A A K K E E R R M M P P L L I I F F I I E E R R E E L L E E C C T T O O R R 100% tested, electronically and acoustically, for frequency response, distortion and power handling.
-
Page 4: Installation Considerations
M M P P L L I I F F I I E E R R E E L L E E C C T T O O R R Installation Considerations The ABA-1D is a Decora-style module and is designed to use TOOLS standard Decora-style cover plates and mounting hardware. - Page 5 ABA-1D connections is not recommended — the wire may not fit into the connectors. Never use solid-core, alu- minum, or "Romex" type wire with the ABA-1D. When run- ning speaker wires inside walls, most states and municipalities "TECH TIP"...
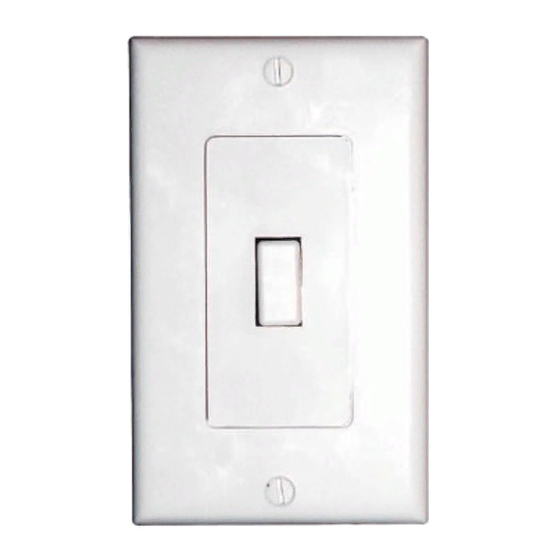
- Page 6 1. Obtain the ABA-1D Decora insert and button in the desired color from your Niles dealer. 2. Holding the ABA-1D as shown in (Figure 1), locate the two plastic mounting tabs at the top rear of the Decora insert. Using two fingers, simultaneously press both tabs...
- Page 7 DO NOT use pliers or other tools as these may damage the button. "TECH TIP" 4. Locate the new Decora insert. Hold the ABA-1D so that it is Do not exert facing you. Insert the two bottom tabs into the bottom slots...
- Page 8 M M P P L L I I F F I I E E R R E E L L E E C C T T O O R R (a) Electrical Box (b) Speaker Wire (c) ABA-1D Speaker Selector (supplied) (d) Snap-on Color Insert (supplied) (e) Button (supplied) (f) Device Screws (2 supplied)
-
Page 9: Installation
ABA-1D to the negative terminals on the amplifier and speakers. See (Figure 3). 4. Secure the ABA-1D to the electrical box or p-ring. Insert the " long device screws into the oblong-shaped screw holes on the top and bottom of the ABA-1D. Note that the oblong... - Page 10 M M P P L L I I F F I I E E R R E E L L E E C C T T O O R R shape of the screw holes allow you to position the ABA-1D so that it is vertical. Position the ABA-1D so that the screws are aligned with the threaded holes in the electrical box or p- ring.
-
Page 11: Operation
1. Make sure the power is OFF on the amplifier(s) or receiv- Handling er(s) and set the volume(s) to minimum. 350 Watts/channel 2. If you are using a Niles speaker selection system in con- continuous power (RMS) junction with the ABA-1D, locate the ON/OFF button which corresponds to the ABA-1D. - Page 12 Corporation www.nilesaudio.com 12331 S.W. 130 Street Miami, Florida 33186 ©1999 Niles Audio Corporation. Niles and the Niles logo are registered Tel: (305) 238-4373 trademarks of Niles Audio Corporation. Decora® is a registered trademark of Fax: (305) 238-0185 Leviton Manufacturing Company. DS00105A...