Advertisement
Quick Links
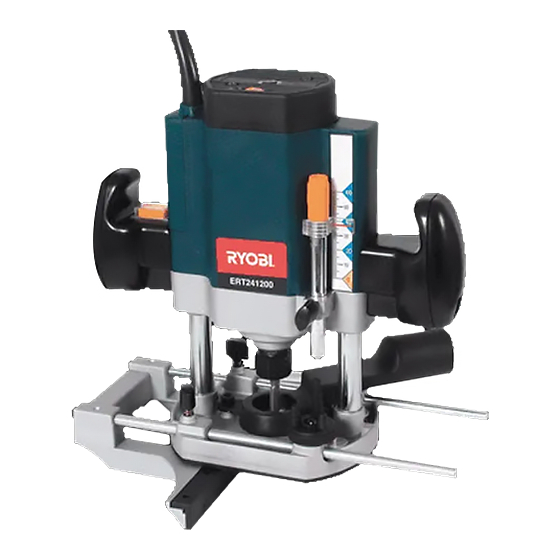
OWNER'S OPERATING MANUAL
1200 WATT ELECTRONIC ROUTER
SPECIFICATIONS :
Power Input....................1200 watt
No Load Speed..............15000 - 33000 r.p.m.
Collet Capacity...............1/2", 1/4"
Weight............................3.8 kg
THANK YOU FOR BUYING A RYOBI ELECTRONIC ROUTER
Your new router has been engineered and manufactured to Ryobi's high standard for
dependability, ease of operation, and operator safety. Properly cared for, it will give you years of
rugged, trouble free performance.
CAUTION: Carefully read through this entire owner's manual before using your
Pay close attention to the Rules for Safe Operation, Warnings, and Cautions.
If you use your router properly and only for what it is intended, you will enjoy years of safe,
reliable service.
Thank You again for buying Ryobi tools.
MODEL ERT241200
router.
SAVE THIS MANUAL FOR FUTURE REFERENCE.
D O U B L E
D O U B L E
D O U B L E
D O U B L E
D O U B L E
I N S U L A T E D
I N S U L A T E D
I N S U L A T E D
I N S U L A T E D
I N S U L A T E D
Advertisement

Related Manuals for Ryobi ERT241200


Summary of Contents for Ryobi ERT241200
- Page 1 Weight......3.8 kg THANK YOU FOR BUYING A RYOBI ELECTRONIC ROUTER Your new router has been engineered and manufactured to Ryobi's high standard for dependability, ease of operation, and operator safety. Properly cared for, it will give you years of rugged, trouble free performance.
-
Page 2: Rules For Safe Operation
RULES FOR SAFE OPERATION The purpose of safety rules is to attract your attention to possible 10. ALWAYS WEAR SAFETY GLASSES. Everyday eyeglasses dangers. The safety symbols and the explanations with them, have only impact resistant lenses, they are not safety glasses. require your careful attention and understanding. - Page 3 ON/OFF SWITCH (Fig 1) Fig 1 Your ERT241200 Router starts and stops by depressing the On/Off Switch located on the body of the tool. Push the switch down to start the Router. It will lock into place, allowing you to remove your finger while the Router remains in operation.
- Page 4 DUST EXTRACTION (Fig 2 ) Mount the dust port on the base with hexagon screws supplied. It is advisable to have the outlet on the opposite side from the On/Off switch on the body of the Router to allow free access to the On/Off switch.
-
Page 5: Bench Top
Lock Lever Lock Lever Fig 5 Wing Screw Scale Reading Depth Set Pole Trip Depth Set Block Fig 7 5. Release the lock lever and allow the bit to come free of the Fig 8 CUTTING Lock Lever BLADE Fig 6 LAMINATE BEARING to the required depth it is essential that the depth setting... - Page 6 the Router it should always be moved from left to right as you Fig 10 are facing the workpiece. When cutting edges, move the Router anti-clockwise for outside edges and clockwise when cutting inside edges. RATE OF FEED The rate at which the Router is moved through the material has a significant effect on the quality of the cut and the length of service you will get from your Router and bits.
- Page 7 RYOBI NEW ZEALAND PTY. LTD. AUCKLAND: 503 Mt Wellington Highway, Mt Wellington, N.Z. Tel: (09) 573 0230 - Free Call: 0800 279 624 - Fax: (09) 573 0231 - Email: info@ryobi.co.nz Contact during normal business hours. This Guarantee Form Should Be Retained By The Customer At All Times For your record and to assist in establishing date of purchase (necessary for in-guarantee service) please keep your purchase docket and this form completed with the following particulars.