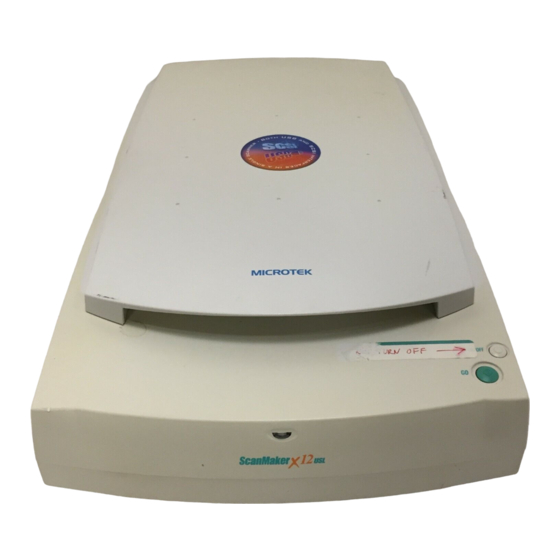
Microtek ScanMaker X12USL Installation Manual
Hide thumbs
Also See for ScanMaker X12USL:
- User manual (160 pages) ,
- Tutorial (16 pages) ,
- Reference manual (6 pages)
Table of Contents
Advertisement
Quick Links
Microtek Scanner
Installation Guide
for the ScanMaker
This document provides information on how to install your Microtek scanner on a PC or Mac using the scanner's SCSI
interface. For PC SCSI installation, see pages 1 to 5. For Mac SCSI installation, see pages 6 to 8.
1. Unpack scanner
Open your scanner package and check the
components as stated in your packing list. Install the
software first, then the hardware. Before proceeding
any further, check that you have the items listed on
the packing list. If any item is missing, contact
Microtek.
Energy Star Notice
As an ENERGY STAR Partner,
Microtek International, Inc. has
determined that this scanner
meets the ENERGY STAR
guidelines for energy efficiency.
Copyright © 1999 Microtek International Inc.
SCSI Installation on the PC
Power Cord
SCSI ID Dial
SCSI Port 2
http://www.microtekusa.com
®
X12
USL
Your Microtek ScanMaker scanner comes with two
built-in interfaces: SCSI and USB. For SCSI
installation, use the scanner' s SCSI port. See the
graphic below to locate the different ports on the
back of the scanner, including the scanner accessory
port.
Terminator Switch
Note: Make sure the SCSI ID number for your scanner,
which is preset to 6, does not conflict with the SCSI IDs of the
other devices on your SCSI chain. If you need to change the
SCSI ID on your scanner, turn the dial and choose a SCSI ID
number from 0 to 5 (do not use 7, 8, or 9).
Version
®
for PC (Windows
95/98/NT4.0)
& Mac (OS 8.1 or later)
Accessory Port
USB Port
SCSI Port 1
I49-002681B
MQ0009109
Advertisement
Table of Contents

Related Manuals for Microtek ScanMaker X12USL


Summary of Contents for Microtek ScanMaker X12USL
- Page 1 & Mac (OS 8.1 or later) This document provides information on how to install your Microtek scanner on a PC or Mac using the scanner's SCSI interface. For PC SCSI installation, see pages 1 to 5. For Mac SCSI installation, see pages 6 to 8.
-
Page 2: Install Software
Microtek Software Installer. Do not restart 2. Insert the Microtek CD-ROM into your CD- your computer until all the software has ROM drive. The Microtek Software Installer been installed. -
Page 3: Connect Scanner
ASPI-compliant SCSI interface card in your computer, please view the digital file SCSI_card_PC.pdf in the SCSI Card Installation Guide folder on your Microtek CD- ROM. 2. Connect the SCSI cable from one of the scanner’... -
Page 4: Test Your Scanner
Scanners. Verify that your scanner is listed here. Click “OK” to close all dialog boxes. 3. In Windows, go to “Start, Programs, Microtek ScanWizard 5 for Windows”, and select Scanner Test. When started successfully, the screen below appears. -
Page 5: Scanning An Image
6. Reading the documentation 1. Place the image to be scanned on your scanner. 1. Insert the Microtek CD-ROM into your CD- 2. Press the scanner’ s “Go” button, or double-click ROM drive. the ScanWizard 5 icon on the desktop to launch ScanWizard 5. - Page 6 If any item is missing, contact 3. Insert the Microtek CD-ROM into your CD- Microtek. ROM drive, and double-click the CD-ROM when it appears on your Macintosh desktop to open Your Microtek ScanMaker scanner comes with two built-in interfaces: SCSI and USB.
- Page 7 SCSI interface card in your computer, please view the digital file SCSI_card_MAC.pdf in the SCSI Card Installation Guide folder on your Microtek CD-ROM. 4. Press the scanner’ s power button; this will turn on the scanner. The green light on the front of the scanner will blink for a few seconds and then stay on solid.
- Page 8 4. Scanning an image 5. Reading the documentation 1. Place the image to be scanned on your scanner. 1. Insert the Microtek CD-ROM into your CD- 2. Press the scanner’ s “Go” button to launch ROM drive. ScanWizard 5. 2. Launch the Adobe Acrobat Reader program.