Honda GXV340 Owner's Manual
Lpg fueled engine
Hide thumbs
Also See for GXV340:
- Owner's manual (54 pages) ,
- Operating and maintenance manual (32 pages) ,
- Applications manual (84 pages)
Table of Contents
Advertisement
Advertisement
Table of Contents

Related Manuals for Honda GXV340


Summary of Contents for Honda GXV340
- Page 3 The illustrations in this manual are.based on the GXV340 DAP5 engine. Honda Motor Co., Ltd. reserves the right to make changes at any time without notice and without incurring any obligation. No part of this publication may be reproduced without written permission.
-
Page 4: Table Of Contents
CONTENTS ........... 1. ENGINE SAFETY ............2. COMPONENT IDENTIFICATION ....3. BATTERY CONNECTIONS (for DC electric starter) 4. REMOTE CONTROL LINKAGE ..........5. PRE-OPERATION CHECK ............6. STARTING THE ENGINE ..........................7. OPERATION 8. STOPPING THE ENGINE ......................... -
Page 5: Engine Safety
It is illegal in some areas to operate an engine without a spark arrester. Check local laws and regulations. An optional spark arrester for this product is available from your authorized Honda engine dealer. -
Page 6: Component Identification
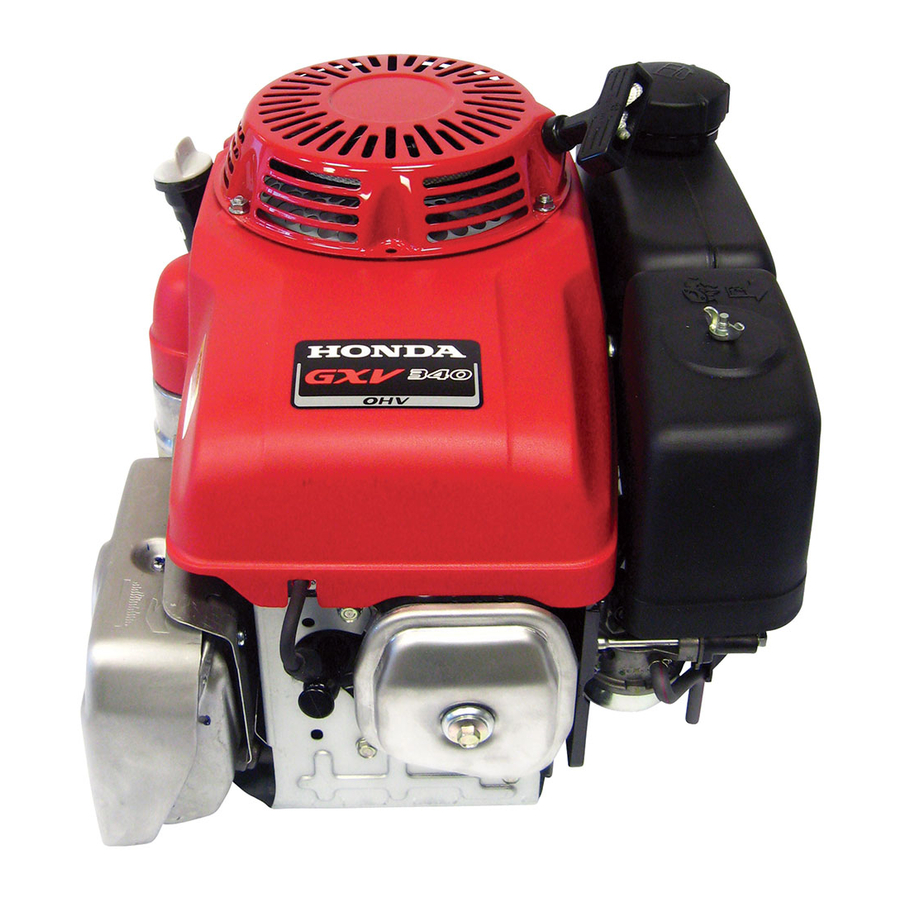
2. COMPONENT IDENTIFICATUON’ RECOIL STARTER STARTER GRIP AC STARTER BUTTON (Oil MUFFLER SERIAL NUMBEn AND ENGINE TYPE OIL FILLER CAP OIL DRAJN PLUG SPARK AIR GLEANER... -
Page 7: Battery Connections (For Dc Electric Starter)
3. BATTERY CONNECTIONS (for DC electric starter) Use a 12 volt battery with an ampere-hour rating of at least 18 AH. connect the battery positive (+) cable to the starter solenoid terminal as shown. Connect the battery negative (-1 cable to an engine mounting bolt, frame bolt, or other good engine ground connection. -
Page 8: Remote Control Linkage
4. REMOTE CONTROL LINKAGE The control lever is provided with a hole for cable attachment. Install a solid wire cable as shown below. Do not use braided wire cable. SOLID WIRE CABLE 5xl6mmBOLT 5 mm SPRING WASHER... -
Page 9: Pre-Operation Check
SAE 30, API service classification SF/CC, SF/CD or SF/CC, CD is recom- mended. The following are examples of oils that meet Honda’s quirements for LPG-fueled engines: Pennzoil HD 30 Valvoline HP0 30 Castro1 .HD 30 NOTE: For engines that are run in temperatures below O°C (32OF), Mobil 1 ~... - Page 10 2. AIR CLEANER CAUTION: Never run the engine without the air cleaner. Rapid engine wear will result from contaminants, such as dust and dirt, being drawn through the carburetor and into the engine. Check the air cleaner elements to be sure they are clean and in good condi- tion.
- Page 11 3. FUEL Check that there is sufficient fuel in the fuel tank. NOTE: This engine is designed for use with LPG only. Do not use gasoline. LPG is extremely flammable and is explosive under certain conditions. Refuel in a well ventilated area with the engine stopped.
-
Page 12: Starting The Engine
6. STARTING THE ENGINE 1. Turn the fuel valve ON at the source. 2. Move the control lever to the START position. START 3. Start the engine following the directions that apply to the starter on your engine. Starter Recoil 1. - Page 13 Electric Starter (AC or 120 volt Type) 1. Connect your power cord to the switch box and the male end of the power cord to a properly grounded 120 Volt A/C outlet. CAUTION ONLY WITH GROUND OUTLET 3-WIRE CORD. VOLT A.C.
-
Page 14: Operation
7. OPERATION When the engine warms up, move tne control lever from the START posi- tion to the operating position for the desired engine speed. FAST SLOW OIL ALERT BUZZER (oil alert type only) The “OIL ALERT” buzzer will warn you when the engine oil needs to be replenished. - Page 15 If you always operate the engine at an altitude higher than 6000 feet above sea level, have an authorized Honda engine dealer adjust the fuel mixture for optimum performance at that altitude.
-
Page 16: Stopping The Engine
8. STOPPING THE ENGINE 1. Move the control lever to the STOP position. 2. Turn the fuel valve OFF at the source. -
Page 17: Maintenance
Maintenance Schedule NOTE: (1) Service more frequently when used in dusty areas. (2) These items should be serviced by an authorized Honda dealer, unless the owner has the proper tools and is mechanically proficient. See the Honda Shop Manual. - Page 18 1. Oil change Drain the oil while the engine is still warm to assure rapid and complete draining. 1. Remove the oil filler cap and drain plug to drain the oil. 2. Install the drain plug and tighten it securely. 3.
- Page 19 2. Air cleaner service A dirty air cleaner will restrict air flow to the carburetor. To prevent car- buretor malfunction, service the air cleaner regularly. Service more fre- quently when operating the engine in extremely dusty areas. Never use gasoline or low flash point solvents for cleaning air cleaner...
- Page 20 3. Spark plug service Recommended spark plug: BPR5ES (NGK) W 1 GEPR-U (ND) CAUTION: Use only the recommended spark plugs or equivalent. Spark plugs which have an improper heat range may cause engine damage. To ensure proper engine operation, the spark plug must be properly gapped and free of deposits.
- Page 21 4. Check that the spark plug washer is in good condition and thread the spark plug in by hand to prevent cross-threading. 5. After the spark plug is seated, tighten with a spark plug wrench to com- press the washer. NOTE: When installing a new spark plug, tighten l/2 turn after the spark plug seats to compress the washer.
- Page 22 4. Fuel mixture adjustment Refer to the fuel mixture adjustment instructions of the LPG equipment manufacturer. After fuel mixture is correctly adjusted, turn the throttle stop screw to ob- tain the standard idle speed. Standard idle speed: 1,400rpm f 150 (No load). THROTTLE STOP SCREW...
-
Page 23: Transporting/Storage
10. TRANSPORTING/STORAGE To avoid severe burns or fire hazards, let the engine cool before transporting it or storing it indoors. When transporting the engine, turn the fuel valve to the OFF position. Before storing the unit for an extended period; 1. -
Page 24: Troubleshooting
If there is no spark, replace the plug. If OK, reinstall the spark plug and try to’start the engine again accord- ing to the instructions. 6. If the engine still does not start, take the engine to an authorized Honda engine dealer. -
Page 25: Speclflcatlob.is
12. SPECIFICATIONS GXV340 Dimensions GJ02 Description code Other type Length x Width x Height AC starter type x 385 x 410 43Ox405x4lOmm (16.9 x 15.9 x 16.1 (16.9 x 15.1 x 16.1 AC starter type Other type Dry weight 35.5 kg (78.3... -
Page 26: 13: Wiring Diagram
13. WIRING DlJtGRAM mr- _-_ --y--- -_-.-... -
Page 27: Warranty Service
Your purchase of a Honda engine is greatly appreciated by both your dealer and American Honda Motor Co., Inc. We want to assist you in every way possible to assure your complete satisfaction... - Page 28 If you are dissatisfied with the decision made by the dealership's management, contact the Honda Regional Engine Distributor for your area (www.honda-engines.com/dea.htm). If you are still dissatisfied after speaking with the Regional Engine Distributor, you may contact the Honda Office as shown.
- Page 29 MEMO...
- Page 30 MEMO’...
- Page 31 MEMO...