Chauvet Intimidator User Manual
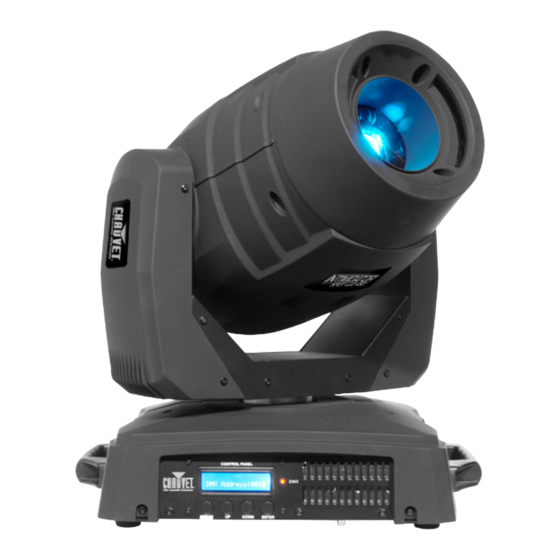
Spot led 450
Hide thumbs
Also See for Intimidator:
- Quick reference manual (136 pages) ,
- User manual (28 pages) ,
- Features & specification (1 page)
Table of Contents
Advertisement
Quick Links
Advertisement
Table of Contents

Related Manuals for Chauvet Intimidator


Summary of Contents for Chauvet Intimidator
- Page 1 User Manual...
-
Page 2: Table Of Contents
Reset Software ..........................17 Factory Defaults ..........................17 Changing Gobos ........................18 5. Technical Information ....................19 Product Maintenance ........................ 19 6. Technical Specifications ....................20 Returns ............................. 21 Contact Us ..........................21 Page 2 of 21 Intimidator™ Spot LED 450 User Manual Rev. 2... -
Page 3: Before You Begin
Failure to report damage to the carrier immediately may invalidate your claim. In addition, keep the box and contents for inspection. For other issues, such as missing components or parts, damage not related to shipping, or concealed damage, file a claim with CHAUVET® within 7 days of delivery. Text Convention Meaning 1–512... -
Page 4: Product At A Glance
This product is not intended for permanent installation. · Keep this User Manual for future use. If you sell the product to another user, be sure to give this document to the next owner. Page 4 of 21 Intimidator™ Spot LED 450 User Manual Rev. 2... -
Page 5: Introduction
2. I NTRODUCTION Overview LCD Screen Front Panel View Button Menu Power In Back Panel View DMX In DMX Out Fuse Holder Intimidator™ Spot LED 450 User Manual Rev. 2 Page 5 of 21... -
Page 6: Dimensions
Dimensions 24 in 610 mm 11.9 in 303 mm 16.6 in 423 mm Page 6 of 21 Intimidator™ Spot LED 450 User Manual Rev. 2... -
Page 7: Setup
3. S ETUP AC Power The Intimidator™ Spot LED 450 has an auto-ranging power supply and it can work with an input voltage range of 100~240 VAC, 50/60 Hz. To determine the product’s power requirements (circuit breaker, power outlet, and wiring), use the current value listed on the label affixed to the product’s back panel, or... -
Page 8: Mounting
Mounting Before mounting the product, read and follow the safety recommendations indicated in the Safety Notes. Orientation The Intimidator™ Spot LED 450 may be mounted in any position; however, make sure adequate ventilation is provided around the product. · Rigging Before deciding on a location, always make sure there is easy access to the product for maintenance and programming. -
Page 9: Operation
Basic 8-channel mode Temp. Disp T1__, T2__, T3__ Displays LED temperature Does not reset fixture ResetSystem Resets fixture Does not load factory defaults Load Set Loads factory defaults Intimidator™ Spot LED 450 User Manual Rev. 2 Page 9 of 21... -
Page 10: Configuration (Dmx)
DMX mode uses. If you choose a starting address that is too high, you could restrict the access to some of the product’s channels. The Intimidator™ Spot LED 450 uses up to 14 DMX channels in its ADVANCED personality, which defines the highest configurable address to 499. -
Page 11: Dmx Channel Modes, Assignments, And Values
Reverse prism rotation with increasing speed 248 ó 255 Static prism effect 000 ó 255 Motorized focus, zoom out to zoom in Focus 000 ó 255 0–100% Dimmer Intimidator™ Spot LED 450 User Manual Rev. 2 Page 11 of 21... - Page 12 184 ó 199 Sound-active movement 4 200 ó 215 Sound-active movement 5 216 ó 231 Sound-active movement 6 232 ó 247 Sound-active movement 7 248 ó 255 Sound-active movement 8 Page 12 of 21 Intimidator™ Spot LED 450 User Manual Rev. 2...
-
Page 13: Basic Mode
Closed 004 ó 007 Open 008 ó 076 Strobe effect with increasing speed Shutter 077 ó 145 Pulse strobe 146 ó 215 Random shutter 216 ó 255 Open Intimidator™ Spot LED 450 User Manual Rev. 2 Page 13 of 21... -
Page 14: Configuration (Standalone)
Press <ENTER> and Slave, Fast, Slow, or Sound shows on the display. Use <UP> or <DOWN> to select Fast (Automatic mode, fast program) or Slow (Automatic mode, slow program). Press <ENTER>. Page 14 of 21 Intimidator™ Spot LED 450 User Manual Rev. 2... -
Page 15: Master/Slave Mode
Master/Slave The Master/Slave mode allows a single Intimidator™ Spot LED 450 unit (the “master”) to control the actions of one or more Intimidator™ Spot LED 450 units (the “slaves”) without Mode the need of a DMX controller. The master unit will be set to operate in either Automatic or Sound-Active mode, while the slave units will be set to operate in Slave mode. -
Page 16: Manual Pan/Tilt Operation
Press <ENTER>. Pan/Tilt Angle You are able to select the ranges for the pan and tilt angles on the Intimidator™ Spot LED 450 to achieve the effect you like. Range To select the pan angle range, do the following: Press <MENU>... -
Page 17: Display
(resets the software settings). Press <ENTER>. Factory Defaults To load the factory default settings on the Intimidator™ Spot LED 450, do the following: Press <MENU> and menu items show on the display with a blinking < next to the selected menu item. -
Page 18: Changing Gobos
Changing To change the gobos in the Intimidator™ Spot LED 450, you do not need to remove the gobo wheel. Simply: Gobos Turn off and disconnect fixture from power outlet. Place the product on a flat, level surface with the top facing up. -
Page 19: Technical Information
Gently polish the external optics and glass/transparent surfaces until they are free of haze and lint. Always dry the glass/transparent surfaces carefully after cleaning them. Do not spin the cooling fans using compressed air because you could damage them. Intimidator™ Spot LED 450 User Manual Rev. 2 Page 19 of 21... -
Page 20: Technical Specifications
104° F (40° C) Fan cooled I/O Connectors Connector Type Channel Range 3-pin XLR Sockets 8, 14 Ordering Product Name Item Code UPC Number Intimidator™ Spot LED 450 08010611 781462209599 Page 20 of 21 Intimidator™ Spot LED 450 User Manual Rev. 2... -
Page 21: Returns
You must send the merchandise prepaid, in its original box, and with its original packing and accessories. CHAUVET® will not issue call tags. Clearly label the package with the RMA number. CHAUVET® will refuse any product returned without an RMA number.