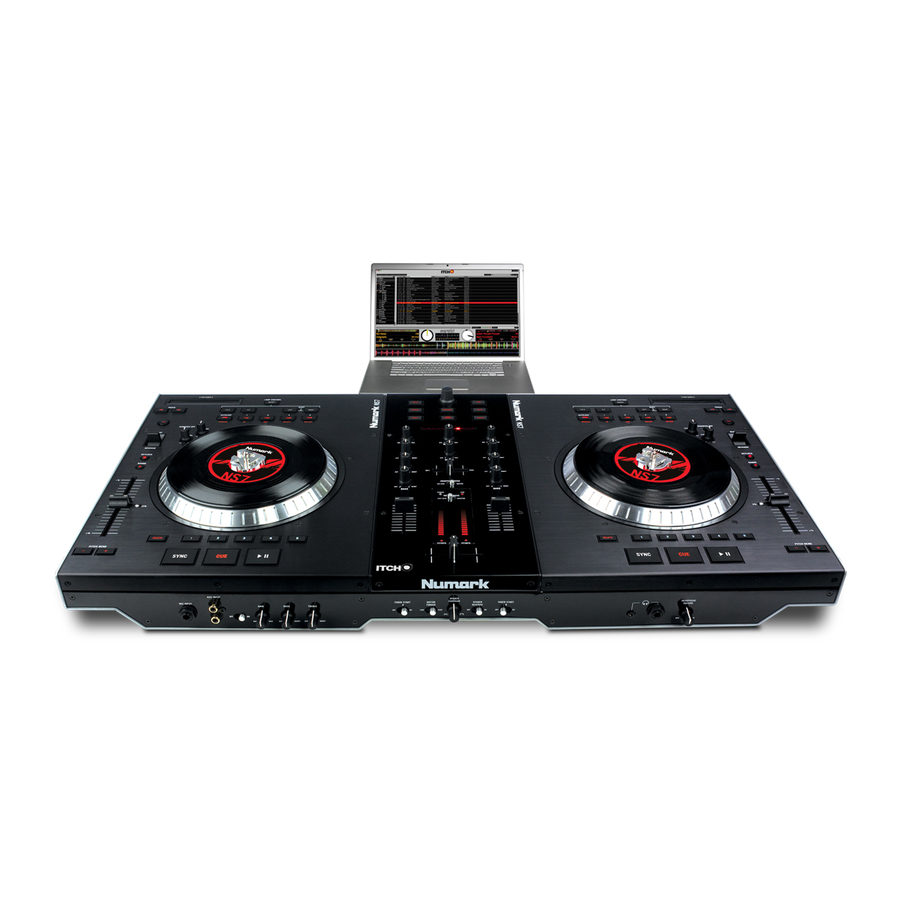
Numark NS7 Reference Manual
Performance controller with serato itch
Hide thumbs
Also See for NS7:
- Quick start manual (45 pages) ,
- Reference manual (200 pages) ,
- Service manual (67 pages)
Table of Contents
Advertisement
Advertisement
Table of Contents

Related Manuals for Numark NS7


Summary of Contents for Numark NS7
- Page 1 REFERENCE MANUAL...
-
Page 2: Table Of Contents
CONNECTION DIAGRAM ........................4 REAR PANEL OVERVIEW........................5 FRONT PANEL OVERVIEW .......................5 TOP PANEL OVERVIEW ........................6 MIXER CONTROLS..........................6 TRANSPORT CONTROLS .......................7 USING SERATO ITCH WITH THE NS7.....................9 GETTING STARTED ........................9 STARTING THE SOFTWARE .......................9 IMPORTING MUSIC ........................9 PREPARING YOUR FILES ......................10 SOFTWARE OVERVIEW .......................11 SOFTWARE SETUP ........................13... - Page 3 USING PITCH / TEMPO CONTROLS ..................22 USING CUE POINTS........................22 LOOPING ............................23 BLEEP / REVERSE........................23 RECORDING ..........................24 TRANSITIONING BETWEEN DJs WITH NS7 & SERATO ITCH ..........24 USING THE NS7 AS A SOUND CARD....................25 UPDATING THE FIRMWARE......................26 NS7 CALIBRATION ..........................27 TROUBLESHOOTING........................30 TECHNICAL SPECIFICATIONS ......................31...
-
Page 4: Introduction
ITCH (included in this package). If you have an existing Serato Scratch LIVE library, you can use all those tracks, loops, and cue points in ITCH, so there's no need to create a new library. Here are a few features that you’ll come to love when using NS7 with Serato ITCH: High-resolution, precise MIDI-over-USB control at over ten times the speed of standard MIDI High-definition, post-mixing analog audio output (over XLR and RCA connections) with 24-bit, 44.1kHz digital-to-analog... -
Page 5: Platter Assembly
PLATTER ASSEMBLY Remove NS7 from the packaging. Remove the two platter assemblies from package (underneath NS7). Place NS7 on a flat, stable surface for operation. Ensure unit has adequate air flow to all ventilation ports (especially if installed in a case). -
Page 6: Software Installation
Serato ITCH before installing it on your computer. WINDOWS (XP & VISTA) IMPORTANT: Do NOT connect the NS7 to your PC before you are prompted to do so. The installer will prompt you to connect it at the appropriate time. -
Page 7: Connection Diagram
CONNECTION DIAGRAM BACK COMPUTER HOUSE AMP BOOTH AMP FRONT HEADPHONES MICROPHONE CD PLAYER... -
Page 8: Rear Panel Overview
BOOTH knob on the top panel. POWER IN – Use the included power cable to connect NS7 to a power outlet. While the power is switched off, plug the cable into NS7 first, then plug the cable into a power outlet. -
Page 9: Top Panel Overview
Note: The crossfader is user-replaceable if it should ever wear out. Simply remove the facepanel, then remove the screws holding it in position. Replace the fader with a quality authorized replacement from your local Numark retailer only. MASTER VOLUME – Adjusts the output volume of the Program Mix. -
Page 10: Transport Controls
TRANSPORT CONTROLS USEFUL TERMS: Audio Pointer: The current position in a track from where audio will play. When you select a track and begin playing, the Audio Pointer will usually start from the beginning and stop at the end. Cue Point: A marked position in a track, which will be permanently stored by the software. You can set, return to, or delete Cue Points with the CUE CONTROLS. - Page 11 26. MODE – Press this to switch between Manual Mode and Autoloop Mode, which changes the functions of the bottom four LOOP CONTROL buttons. In Manual Mode, the LOOP CONTROL buttons function as IN, OUT, SELECT, and RELOOP (explained above). In Autoloop Mode, the LOOP CONTROL buttons will set 1-, 2-, 4-, and 8-beat loops, respectively. Each loop will start at the Audio Pointer’s location when the button is pressed.
-
Page 12: Using Serato Itch With The Ns7
All Programs Serato ITCH Mac OSX: Applications (on your hard drive) Connect NS7 before opening Serato ITCH. When the software launches, it will automatically detect the NS7. IMPORTING MUSIC Supported File Types Note: Serato ITCH will load and Serato ITCH supports the following file types:... -
Page 13: Preparing Your Files
Offline Player The Offline Player is available whenever the NS7 is disconnected from your computer. The Offline Player's sound will be sent through your computer's default audio device (e.g., your computer's soundcard). This player is a useful tool for auditioning tracks and preparing your Crates. -
Page 14: Software Overview
SOFTWARE OVERVIEW More complete descriptions of these features are given in later sections of this manual, but this is a brief overview of the key features in Serato ITCH: Album Art: Displays the cover art for the album selected. Files: Displays the Files Panel, which enables you to search for tracks on your hard drive. Browse: Displays the Browse Panel, which enables you to browse for tracks by genre, BPM, etc. - Page 15 29. Pitch: Applied pitch offset as a percentage (%) (determined by the position of the PITCH FADER). 30. Pitch Range: Current range of the NS7’s PITCH FADER. 31. Playback Mode: Toggles between “Single” and “Continuous” Playback Modes. Single Playback Mode plays only one track, stopping when it is finished.
-
Page 16: Software Setup
First Cue Point” option. Tip: Even if this option is unchecked, pressing the NS7’s LOAD A or LOAD B button twice quickly will load the opposite Deck’s track to that Deck as well, with the Audio Pointer in the same position (the same as “Instant Doubles”). -
Page 17: Library
Program Mix (as though the crossfader were halfway between them) regardless of the crossfader's position. EQ: When the NS7's EQ knobs are in their maximum (right-most) position, they will boost that frequency range by the number of decibels specified here. -
Page 18: The Library
DJing style. The Crates area can be accessed by pressing the CRATES button on the NS7 or by clicking inside the Crates area with the mouse. The “+” button on the software allows you to create a new Crate. To add files to a Crate, drag and drop the track(s) from the library into the Crate. -
Page 19: Columns
ALBUM. You can narrow your search by selecting the specific genre, BPM, artist, or album title you’re looking for, and the software will show the results on the Main Library window. You can move between the four filters with the FWD / BACK buttons in the NS7’s Navigation Controls, the computer keyboard, or by clicking with the mouse. -
Page 20: Preparing & Reviewing Tracks
You can also access this panel by pressing the PREPARE button on the NS7. You can drag tracks (or whole Crates) from the Main Library into the Prepare Panel, or drag them onto the Prepare button. You can also press the LOAD PREPARE button on the NS7 when the selector is on the track or Crate you want to add. -
Page 21: Mixing With The Ns7
LOADING A TRACK TO THE DECK Once you have located the file you want to load in the Library, you can load it either with the NS7, the mouse, or the keyboard. To get started, load a track to a Deck: Hardware Controls: Use the LOAD A or LOAD B buttons on the NS7 to load a selected track to Deck A or Deck B (respectively). -
Page 22: Equalization
PREVIEWING IT IN THE HEADPHONES The HEADPHONE MODE switch on the NS7 controls what audio signal is sent to the headphones. When set to “MASTER,” you will hear the Program Mix. Switch it to “CH1 CH2” to preview your music in the Cue Channel. Use the HEADPHONE MIX fader to balance between the audio levels of the left and right Decks in the headphones while cueing. -
Page 23: Getting The Tracks In Time
The default range of the PITCH FADER is ±8% from the track’s initial tempo. You can change its range to ±16% or ±50% by pressing the PITCH RANGE button on the NS7. The range will be displayed in the software in the Deck, in the Range field under the Artist and Track Name. -
Page 24: Dropping A Track In
Mute: The MIC / AUX signal will be muted. The gain knob next to the MIC and AUX inputs on the NS7 control the gain before the signal is sent to ITCH for mixing. You can also give this signal an extra boost by increasing the Mix Overdrive setting in the Mixer tab of the Setup screen. (See MIXER in the... -
Page 25: Using Pitch / Tempo Controls
USING CUE POINTS To create a Cue Point, simply press any unlit HOT CUE BUTTON on the NS7. The button will then light up white to show that there is a Cue Point set. Once it is set, you can jump to it at any time by pressing that HOT CUE BUTTON. -
Page 26: Looping
SCRATCH OFF button so the PLATTER’s motor is off.) Tip: As you are adjusting your loop point with the PLATTER, a lit LED will “wrap around” on the NS7’s BPM METER. It will rest on the white center LED whenever the loop’s length has been doubled or halved exactly. This feature will only work properly if there is a BPM entered for that track. -
Page 27: Recording
To smoothly transition between two DJs with one NS7 and two laptops with Serato ITCH: While either deck is playing, play a "transition" track (through the Program Mix) from an audio source connected to the NS7's AUX INPUT. Make sure your levels are appropriately matched by adjusting the MIC / AUX controls on the front panel. -
Page 28: Using The Ns7 As A Sound Card
USING THE NS7 AS A SOUND CARD The NS7 is equipped with a USB port which allows you to play content and control the Serato ITCH software using the NS7. The USB interface works with your computer just like a standard USB sound card. Be sure you have installed the software and drivers on the software CD (included;... -
Page 29: Updating The Firmware
UPDATING THE FIRMWARE Occasionally, there may be an available firmware update for the NS7. If your computer is connected to the internet, Serato ITCH will automatically detect if you need to update it. Follow these steps when you need to update your firmware: Note: Audio output will stop during a firmware update. -
Page 30: Ns7 Calibration
NS7 CALIBRATION If you load new firmware to the NS7, or if you ever experience problems with your knobs or faders (a very rare occurrence), the NS7 can be recalibrated. Follow these instructions to calibrate the unit. IMPORTANT NOTES: When setting the knobs and faders during calibration, set the faders last (to ensure they don’t accidentally move during adjustment). - Page 31 Set all faders and knobs to the minimum or left-most position. The PITCH FADERS should be at the top, which is their minimum. The left Deck’s HOT CUE BUTTON 1 will light up. Press the lit left Deck’s HOT CUE BUTTON 1. It will flash twice. On the left Deck’s STRIP SEARCH sensor: Touch and hold the right-most position.
- Page 32 10. Set all faders and knobs to the middle/center position. The left Deck’s HOT CUE BUTTON 1 will light up. 11. Press the lit left Deck’s HOT CUE BUTTON 1. The left Deck’s HOT CUE BUTTONS 1-5 will flash, indicating that calibration is complete. 12. Turn the NS7’s power off then on again before reconnecting it to your computer.
-
Page 33: Troubleshooting
Make sure both USB connections are to your computer or NS7. secure. I'm seeing a “Hardware Disconnected” The software was opened before NS7 was message in the software. Close the software and reopen after connected. properly connecting and powering on NS7. -
Page 34: Technical Specifications
Sample Rate: 44.1 kHz Bit Depth: 24-bit HARDWARE (NS7 only, with assembled and mounted platters) Weight: 35.5 lbs. (16.1 kg) Dimensions (W x D x H): 30" x 15 7/8" x 3 7/8" (762 mm x 403.2 mm x 98.4 mm) - Page 35 www.numark.com...