Advertisement
®
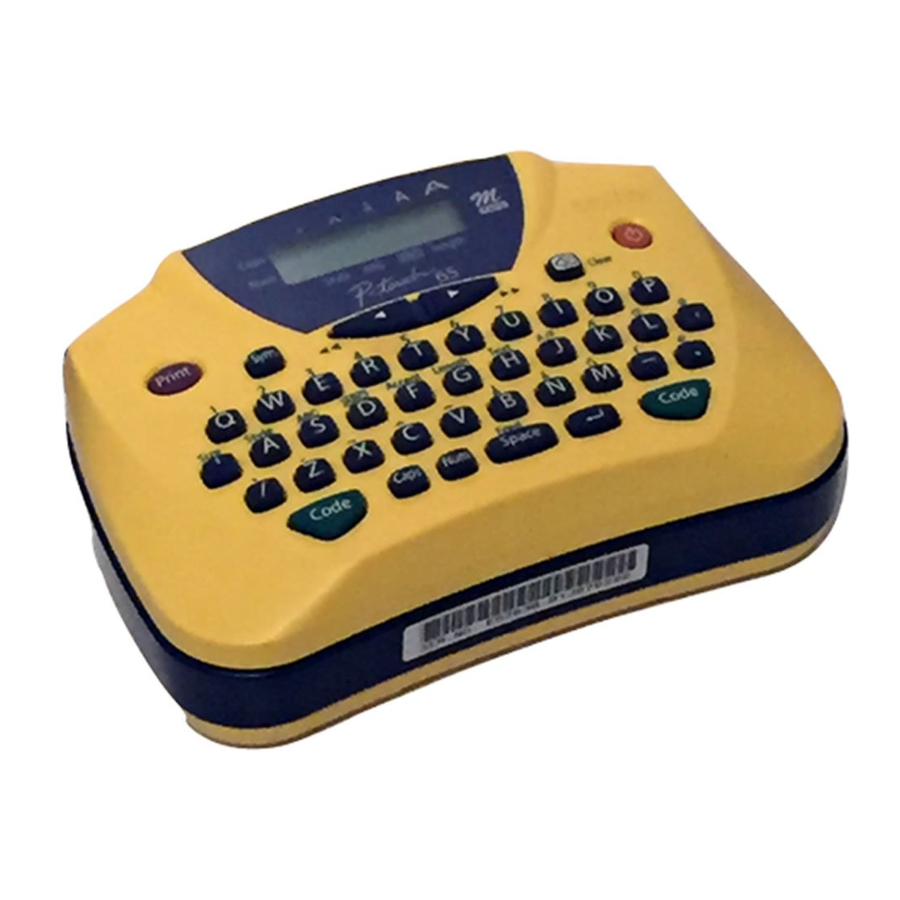
With the P-Touch HOME&HOBBY, you can make labels quickly and easily. Simply switch on the P-Touch, type in your text, then
print out your label. You can choose from five different text sizes, nine character styles, and seven framing settings. The text can be
printed on either one or two lines and can include accented characters and special symbols. In addition, nine preset layout formats are
available for you to type in and print out labels quickly. Six tape colours (white, silver, gold, blue, green and pink) and two tape widths
(3/8" (9 mm) and 1/2" (12 mm)) are available for creating personalized labels.
Canadian Department of Communications Compliance Statement
This digital apparatus does not exceed the Class B limits for
radio noise emissions from digital apparatus as set out in the
interference-causing equipment standard entitled "Digital Appa-
ratus", ICES-003 of the Department of Communications
Care and precautions
1) Use a soft, dry cloth to clean the machine.
2) Use only AA-size (LR6) alkaline batteries .
3) Do not expose the machine or the tape cassette to high
temperatures, high humidity, or excessive dust.
4) If you do not intend to use the machine for an extended
period of time, remove the batteries.
5) Do not touch the tape cutter button while printing or
replacing the cutter unit.
6) Do not touch the cutter blade.
7) Do not block the tape exit slot.
8) Do not put labels in your mouth.
9) Do not stick labels onto skin.
10) If the machine "locks up" (i.e., it does not respond
when a key is pressed), press
to turn off the
machine; then, while holding down
and
press
once to turn the machine on again.
How to make a label
1) Insert the batteries.
2) Insert a tape cassette.
3) Turn on the P-Touch by pressing
4) Type in and format the text.
Your text can be up to 55 characters long including spaces. See
"Advanced functions" for more details on formatting your text.
5) Print the label by pressing
.
Before printing, be sure that the back cover is attached,
otherwise the label cannot be printed.
6) Cut off the label.
The tape cutter button is equipped with a safety mecha-
nism. Do not try to force the cutter button since it cannot
be operated if no cassette is installed and the back cover is
removed. If the cutter button is forcefully operated, correct
printing may no longer be possible.
7) Peel off the backing.
Please read this instruction leaflet before using the P-Touch. Keep
it in a handy place for future reference.
Use only tape cassettes bearing the
logo with this machine.
TAPE
Changing the batteries
1) Remove the back cover by pressing in on the rough
area at the top end of the machine and pulling off the
back cover.
2) If batteries are already installed, remove them.
Before removing the batteries, pull out the tape cas-
sette if one is installed.
3) Insert six new AA-size (LR6) alkaline batteries in the
direction shown by the illustration on the bottom of the
battery compartment. The positive end of the three bat-
teries in the bottom row point downward, while the
positive end of the top three batteries point in the
opposite direction.
,
.
When inserting new batteries, always insert them pos-
itive end first. When removing old batteries, always
remove them negative end first.
Always replace all six batteries at the same time with
brand new ones.
4) Attach the back cover by inserting the two hooks on the
bottom end of the back cover into the slots on the bot-
tom end of the machine, then pushing down firmly on
the cover until it snaps into place.
Changing the tape cassette
LA3100001
Printed in China
1) Remove the back cover by pressing in on the rough
area at the top end of the machine and pulling off the
back cover.
2) If a tape cassette is already installed, pull it straight out
and remove the paper tab from the new tape cassette.
Make sure that the end of the tape in the new cassette
feeds under the tape guides.
3) Insert the tape cassette, making sure that it clicks into place.
Check that the cassette fits properly around the two
metal guides in the cassette compartment.
The 3/8" (9 mm) wide and 13' 1 1/2" (4 m) long starter
tape cassette is included with the P-Touch
HOME&HOBBY and cannot be purchased separately.
Back cover
Metal guides
4) Attach the back cover by inserting the two hooks on the
bottom end of the back cover into the slots on the bot-
tom end of the machine, then pushing down firmly on
the cover until it snaps into place.
5) Feed the tape by holding down
then cut the tape by pressing in on the tape cutter button.
The amount of tape remaining is visible through the
window in the back of the P-Touch.
When there is only a small amount of tape left, green
tape appears.
Changing the cutter unit
When the cutter becomes blunt and ceases to cut the tape
cleanly, replace it.
1) Remove the back cover and the tape cassette.
2) Grasp the tab on the top of the cutter unit and pull out
the cutter, taking care not to touch the blade.
3) Grasp the tab on the new cutter unit and insert it as
shown below.
Tab
Cutter unit
Tape exit slot
CAUTION
•
When changing the cutter unit, be sure not to
touch the cutter blade.
•
Keep the cutter unit in a safe place that is out of
the reach of small children.
Cleaning the print head
If dust accumulates on the print head, blank horizontal
lines may appear through the printed label. If this hap-
pens, clean the print head as follows:
1) Turn off the P-Touch.
2) Remove the back cover and the tape cassette.
3) Use a dry cotton swab to gently wipe the print head
and rubber pinch roller with an up-and-down motion.
Tape guides
Thermal print head
4) Re-insert the tape cassette, attach the back cover, turn
Tape cutter
button
on the machine, hold down
the tape, and then try printing.
5) If blank lines remain in the printed label, repeat steps 1
through 4, this time using a cotton swab dipped in iso-
propyl (rubbing) alcohol.
Accessories
The following accessories are available:
Tape cassettes
and pressing
,
Black on silver
Black on gold
Black on blue
Black on green
Black on pink
Black on white
Replacement cutter
unit
Most retailers and distributors carry a full line of tape cas-
settes. If you wish to order accessories for your P-Touch
direct from Brother, please refer to the "Accessory Order
Form" included separately.
Rubber pinch
roller
and press
to feed
1/2" (12 mm)
3/8" (9 mm)
M-931
M-921
M-831
M-821
M-531
M-521
M-731
M-721
M-E31
M-E21
M-K231
M-K221
TC7
Advertisement

Related Manuals for Brother P-touch PT-65


Summary of Contents for Brother P-touch PT-65
-
Page 1: Cleaning The Print Head
2) Insert a tape cassette. 1) Remove the back cover and the tape cassette. direct from Brother, please refer to the “Accessory Order 3) Turn on the P-Touch by pressing 2) Grasp the tab on the top of the cutter unit and pull out Form”... -
Page 2: Function Keys
Function keys • Cursor movement ( Advanced functions The following frame settings are available TEXT ROUND WOODEN POINTING You can move the cursor ( _ ) to view or edit parts of the text (no frame) Tape cutter button Backspace key •...