Table of Contents
Advertisement
Quick Links
Advertisement
Table of Contents

Related Manuals for iOptron iExplore 70AZ


Summary of Contents for iOptron iExplore 70AZ
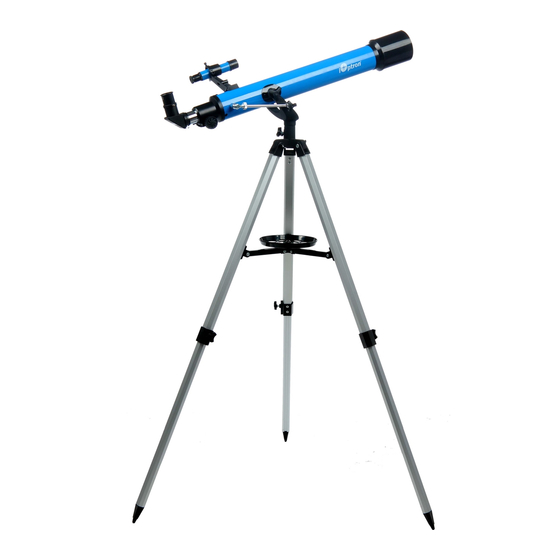
- Page 1 70AZ Telescope Instruction Manual For product #6003 www.iOptron.com...
-
Page 2: Table Of Contents
Table of Contents Table of Contents ..........................2 1. Telescope Assembly........................3 1.1. iExplore 70AZ Assembly Terms ....................3 1.2. Telescope Assembly ......................... 5 2. Using the Telescope ........................7 2.1.1. Moving the Telescope ......................7 2.1.2. Selecting an Eyepiece......................8 2.1.3. -
Page 3: Telescope Assembly
1. Telescope Assembly 1.1. iExplore 70AZ Assembly Terms Figure 1. iExplore 70AZ (1). Optical tube assembly (OTA) (10). Tripod legs (2). Finderscope (11). Yoke (altazimuth) mount (3). Finderscope mounting socket (12). Altitude lockig knob (4). Eyepiece (13). Azimuth locking knob (5). - Page 4 Figure 2. Parts list...
-
Page 5: Telescope Assembly
1.2. Telescope Assembly The numbers in brackets refer to the keys shown in Figure 1 & Figure 2. 1. Unpack and identify the components of your telescope using the list shown in previous pages. 2. Take the Tripod legs (#10) out of the package. Lock each one with supplied Tripod locking screws (#15). 3. - Page 6 Figure 6. Install Altitude adjustment rod 7. Retract the Altitude locking knob (#12) so the hole is clear in the eyebolt on the mount (see Figure 7). Put the OTA inside the yoke (altazimuth) mount so that the Altitude adjustment rod (#7) is on the same side as the Altitude locking knob (see Figure 1).
-
Page 7: Using The Telescope
Figure 10. Attach finderscope 10. The iExplore 70AZ equipped with a star diagonal (#5). This diagonal produces an image in the eyepiece that is correctly oriented vertically, but is reversed left-to-right horizontally. Insert the diagonal (#5) into the focuser drawtube and the eyepiece (#4) into the diagonal. Tighten the thumbscrews to a firm feel only. -
Page 8: Selecting An Eyepiece
Figure 13. Using Barlow lens 2.1.4. Installing & Using the 1.5x Erecting Eyepiece The iExplore 70AZ comes with a 1.5x erecting eyepiece, primarily for daytime terrestrial viewing. This eyepiece produces an image in the eyepiece that is correctly oriented both vertically and horizontally. -
Page 9: Focusing Telescope
Install and use this eyepiece the same way you do with the Barlow lens. You cannot use the Barlow lens when using this eyepiece. 2.1.5. Focusing Telescope After selecting the desired eyepiece, aim the telescope tube at a land-based target at least 200 yards away (e.g. -
Page 10: Observation Tips
lock. 2.3. Observation Tips When selecting a location for observing, get as far away as possible from direct artificial light such as street lights, porch lights, and automobile headlights. The glare from these lights will greatly impair your dark-adapted night vision. Set up on a grass or dirt surface, not asphalt, because asphalt radiates more heat, which disturbs the surrounding air and degrades the images seen through the telescope. -
Page 11: Technical Specifications
Barlow Lens Erecting Eyepiece 1.5X Finding Scope 5X24 Tripod Aluminum Total Weight 6 lbs. Warranty One year limited May 2011 V1.0 iOptron reserves the rights to revise this instruction without notice. Actual color/contents/specfication may differ from those described in this instruction. -
Page 12: Ioptron One Year Limited Warranty
A. iOptron warrants your telescope, mount, or controller to be free from defects in materials and workmanship for one year. iOptron will repair or replace such product or part which, upon inspection by iOptron, is found to be defective in materials or workmanship.