PRESONUS TubePre V2 Owner's Manual
Hide thumbs
Also See for TubePre V2:
- Owner's manual (29 pages) ,
- Quick start manual (14 pages) ,
- Owner's manual (37 pages)
Advertisement
Quick Links
Advertisement

Related Manuals for PRESONUS TubePre V2


Summary of Contents for PRESONUS TubePre V2
- Page 1 TubePre V2 Owner’s Manual ™ www.presonus.com...
-
Page 2: Important Safety Instructions
Important Safety Instructions two blades, with one wider than the other. A The exclamation point within an equilateral grounding-type plug has two blades and a third triangle is intended to alert the user to the grounding prong. The wide blade and the third prong presence of important operating and are provided for your safety. - Page 3 REACh This product is compliant with the European EU Directives on the Protection Union Directive EC1907/206 for the Registration, of the Environment and Other Evaluation, Authorization, and Restriction of Euro Stuff chemicals (REACh) and contains none or less than 0.1% of the chemicals listed as hazardous chemicals in the REACh regulation.
- Page 4 Follow these basic instructions to start using your TubePre V2 right away. Basic hookup diagrams are on pages 8 and 9. Hardware Read the full anatomical breakdown of your TubePre V2. Resources Read the TubePre V2 technical specifications, information on troubleshooting and...
- Page 5 With separate instrument and microphone inputs, the TubePre V2 is a handy direct-injection (DI) box for guitars and bass. The TubePre V2 proves that dynamic preamps can come in small packages! We encourage you to contact us with questions or comments regarding this product.
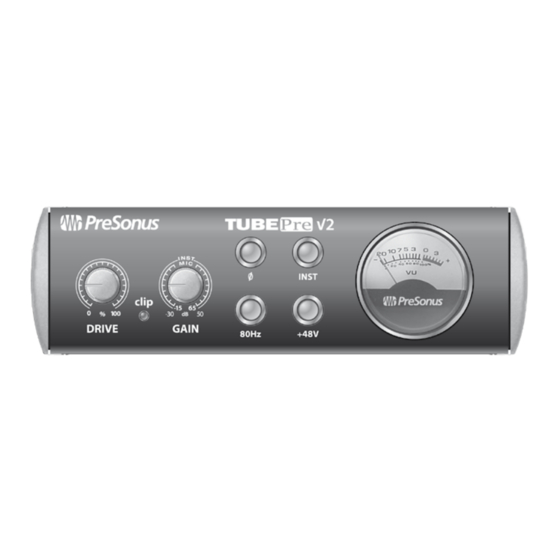
- Page 6 PreSonus TubePre V2 Overview Summary of Features Summary of Features • 12AX7 vacuum-tube-based preamp • Tube Drive tube-saturation control • 48V phantom power • 80 Hz high-pass filter • Polarity reverse switch • Lighted VU meter • Clip LED •...
- Page 7 Owner’s Manual Overview What’s in the Box What’s in the Box In addition to this manual, your PreSonus TubePre V2 package contains the following: • PreSonus TubePre V2 • 12 VDC, 1A power supply...
- Page 8 Getting Started Quick Start Guide This Quick Start Guide is designed to help you connect and use your TubePre V2 as quickly as possible. The following step-by-step instructions are based on a common studio environment. Your setup may vary based on your needs and applications.
- Page 9 Quick Start Guide Getting Started Connect the audio output (TRS or XLR) of your TubePre V2 to a line input on your audio interface or mixer. For the best sound quality, PreSonus recommends using balanced cables. If your microphone requires phantom power, press the 48V button on the front panel.
- Page 10 Speak into the microphone while monitoring the TubePre V2 (again, following the monitoring instructions for your audio interface or mixer), and turn the Drive knob clockwise until the desired effect is achieved. Your TubePre V2 is now ready to use!
- Page 11 However, adding the TubePre V2’s selection of timbres greatly expands your choice of sounds. When using the TubePre V2 as a front end for a recording device, it is important to watch the preamp’s output levels. Turning up the gain and...
- Page 12 PreSonus TubePre V2 Quick Start Guide Using the TubePre V2 as a DI Hookup Diagram: Using the TubePre V2 as a DI...
- Page 13 Owner’s Manual Quick Start Guide Using the TubePre V2 with an Audio Interface Hookup Diagram: Using the TubePre V2 with an Audio Interface...
- Page 14 PreSonus TubePre V2 Connections Front-Panel Layout Hardware Front-Panel Layout Drive control. The Drive knob controls the signal level being routed through the 12AX7 vacuum tube. The effect ranges from subtle to extreme, depending on the setting; the more signal being sent to the tube, the more distortion you will hear.
- Page 15 Owner’s Manual Connections Front-Panel Layout Gain control. The Gain (input gain) knob controls the amount of boost applied to the preamplified signal and provides the following gain structure: • Microphone input. 80 dB of variable gain (-15 dB to +65 dB) •...
- Page 16 Instrument input. The ¼” TS connector in the input section of the TubePre V2 is for use with a passive instrument (e.g., guitar or bass). NOTE: An active instrument has an internal preamp and should be plugged into a line input rather than an instrument input.
- Page 17 Unbalanced output could be connected to an onstage amplifier while the Balanced output is connected to the P.A. system or monitor mixer. In this way, your TubePre V2 can be used as a direct box for live performance and recording. Power Supply Connector. This is the connection for...
- Page 18 Vacuum Tube Care and Maintenance Resources Vacuum Tube Care and Maintenance Your TubePre V2 is equipped with a 12AX7 vacuum tube. This tube works well in a wide variety of situations; however, some owners may wish to experiment with other compatible vacuum tubes to explore additional tonal possibilities.
- Page 19 Owner’s Manual Resources Vacuum Tube Care and Maintenance 4.1.1 How to Replace the Tube Unplug the unit. Proceed with caution, as the tube could be hot. There is one screw on the top and one screw on the bottom of the chassis that connect the left side panel (as viewed from the front of the unit).
-
Page 20: Specifications
PreSonus TubePre V2 Resources Specifications Specifications INPUTS: Mic Input: Connector Type XLR, female, balanced -131 dB, 20 kHz BW, max gain, Rs=40Ω, A-wtd -128 dB, 20 kHz BW, max gain, Rs=40Ω, unwtd Frequency Response 20 Hz - 20 kHz, -0.3 dB, +4 dBu, unity gain... - Page 21 Check our Web site at www.PreSonus.com for answers to frequently asked questions and for troubleshooting techniques specific to the TubePre V2. Make sure your TubePre V2 and all equipment connected to it are powered on. Disconnect/reconnect your TubePre V2 power supply.
- Page 22 TubePre V2 itself, please let the Customer Service representative know. If your TubePre V2 is still under warranty, a replacement power supply will be provided to you free of charge. If your TubePre V2 is no longer under warranty, you may purchase a replacement at www.PreSonus.com/store.
- Page 23 Owner’s Manual Resources PreSonus Limited Warranty PreSonus Limited Warranty PreSonus Audio Electronics, Inc., warrants this product to be free of defects in material and workmanship for a period of one year from the date of original retail purchase. This warranty is enforceable only by the original retail purchaser.
- Page 24 PreSonus TubePre V2 Resources PreSonus Limited Warranty an implied warranty lasts, so the above limitation may not apply to you. In no event will PreSonus be liable for incidental, consequential, or other damages resulting from the breach of any express or implied...
-
Page 27: Cooking Instructions
Added bonus: PreSonus’ previously Top Secret recipe for… Jambalaya Ingredients: • 5 lbs link andouille sausage • 3 lbs boneless chicken • 2 lbs ground beef • 3 lbs onions (yellow or purple) • 2 stalks of celery • 1 lb bell peppers (green or red) •... -
Page 28: Emc Statement
TubePre V2 Owner’s Manual EMC Statement: NOTE: This equipment has been tested and found to comply with the limits for a Class B digital device, pursuant to part 15 of the FCC Rules. These limits are designed to provide reasonable protection against harmful interference in a residential installation.