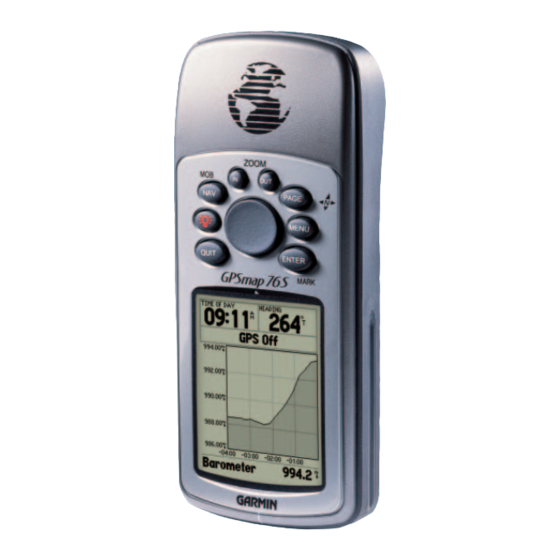
Garmin GPSMAP 76S Quick Start Manual
Chartplotting receiver
Hide thumbs
Also See for GPSMAP 76S:
- Owner's manual (76 pages) ,
- Specification sheet (2 pages) ,
- Declaration of conformity (1 page)
Table of Contents
Advertisement
Quick Links
Download this manual
See also:
Owner's Manual
Advertisement
Table of Contents

Related Manuals for Garmin GPSMAP 76S


Summary of Contents for Garmin GPSMAP 76S
- Page 1 GPSMAP 76S chartplotting receiver quick start guide...
-
Page 2: Unit Overview
Internal Antenna Interface keys 180 x 240 Four Level Gray, Backlit Display Quick Start Unit Overview External Antenna Connection Battery Compartment External Data/Auxilary Power Port... -
Page 3: Quick Start
Quick Start Unit Overview Remove the batteries from your GPSMAP 76S if you don’t expect to use it for several months. Be sure to observe the proper polarity when inserting the batteries. Follow the battery manufacturer’s instructions on the proper care and handling of the batteries. -
Page 4: Installing The Lanyard
Quick Start Installing the Lanyard To install the Lanyard: 1. Place the loop of the Lanyard through the slot opening at the bottom of the GPSMAP 76S. 2. Route the strap through the loop and pull tight. -
Page 5: Interface Keys
The ENTER key is used to activate a data fi eld or confi rm a selection. If the ENTER key is pressed and held, the GPSMAP 76S will store the cur- rent location and display the Mark Waypoint page. - Page 6 Plot Page. You can cycle through these pages by pressing either the PAGE or QUIT key. When the GPSMAP 76S is turned on a Welcome Page will be displayed, followed by an Information Page and a Warning Page. Acknowledge each of these pages by pressing the PAGE key while they are displayed.
-
Page 7: Using The Built-In Simulator
Using the Built-in Simulator Highlighted Field While learning the basic operation of the GPSMAP 76S, let’ s put the unit into Simulator Mode. The Simulator Mode is great for practicing with the unit while inside and satellite signals are not available. When the GPSMAP 76S is in Simulator Mode, the GPS receiver is turned off (this will help conserve battery power) and the unit cannot be used for actual navigation. -
Page 8: Using The Interface Keys
The Interface keys are your link with the GPSMAP 76S. Let’ s take a few minutes and see what some of the Interface keys are used for. With the GPS Information Page displayed, press the PAGE key several times. Notice that each time you press the PAGE key, the next main page will be displayed. -
Page 9: Entering Data
When the ENTER/MARK key is held down, the MARK function of the key is activated and the GPSMAP 76S will capture it’ s current position. The unit will then display the Mark Waypoint Page. By default, the unit will assign a square as the symbol and a number as the name and the ‘OK’... - Page 10 1. Using the ROCKER key, highlight the ‘OK’ Button and press the ENTER key. These are the same steps that you will use to enter names and change numbers and select options in all of the fi elds in the GPSMAP 76S. Here are a couple of tips: 1.
-
Page 11: Basic Navigation
Map Pointer You should now have enough knowledge to move through the main pages, option menus and enter data into your GPSMAP 76S. Now let’ s learn how to navigate! The main use of a GPS is to be able to navigate to a known position. Let’ s create a waypoint directly on the Map Page using the Map Pointer. - Page 12 For a GPS to navigate, it has to be moving. Fortunately you can simulate movement in the GPSMAP 76S. Press the PAGE key until the Compass Page is displayed. At the top of the Compass Page there are two data fi elds, ‘Speed’ and ‘Bearing’.
-
Page 13: Initializing The Gps Receiver
2. Select ‘Stop Simulator’ then press the ENTER key. Initializing the GPS Receiver Before the GPSMAP 76S can be used for navigation, the receiver has to be initialized and the compass calibrated. Take the unit outside where it will have an unobstructed view of the sky and turn it on. -
Page 14: Calibrating The Electronic Compass
After the GPS receiver is initialized the Electronic Compass needs to be calibrated. Press the PAGE key until the Compass Page is displayed. When calibrating the compass the GPSMAP 76S needs to be held level. During the calibration process you will need to slowly turn the unit through two full circles. -
Page 15: Starting To Navigate
‘HOME’, assign the ‘Residence’ Symbol and store the waypoint. Begin walking holding the GPSMAP 76S in front of you with the top of the unit pointed toward the sky. As you move, you will see that the unit leaves a bread crumb trail on the map indicating where you have been. - Page 16 At a walking pace, the GPSMAP 76S by default uses the compass feature for navigation. If you would prefer, the GPSMAP 76S can use the GPS receiver instead. To turn the compass feature off, press and hold the PAGE key. A message “Compass Turned Off”...
- Page 17 Reference...
- Page 18 © Copyright 2002 GARMIN Ltd. or its subsidiaries GARMIN International, Inc. 1200 East 151 Street, Olathe, Kansas 66062, U.S.A. GARMIN (Europe) Ltd. Unit 5, The Quadrangle, Abbey Park Industrial Estate, Romsey, SO51 9AQ, U.K. GARMIN Corporation No. 68, Jangshu 2 Road, Shijr, Taipei County, Taiwan www.garmin.com...