Table of Contents
Advertisement
Quick Links
Advertisement
Table of Contents

Related Manuals for Dual XPR510D


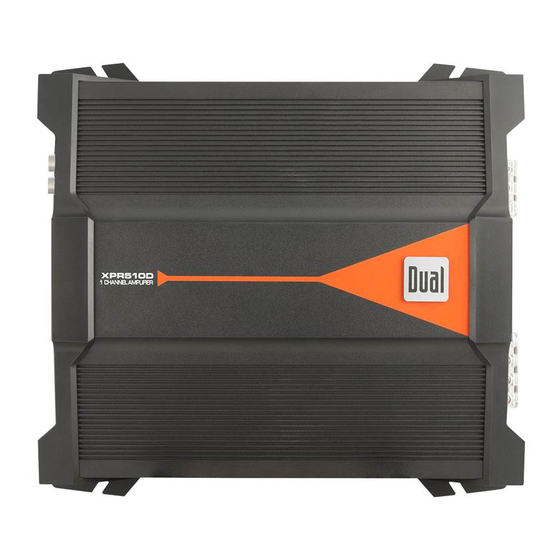
Summary of Contents for Dual XPR510D
- Page 1 XPR510D INSTALLATION / OWNER'S MANUAL Mobile Power Amplifiers...
- Page 2 Preparation Please read entire manual before installation. Due to the technical nature of amplifiers, it is highly recommended that your Dual amplifier is installed by a professional installer or an authorized dealer. Before You Start • Disconnect negative battery terminal. (consult a qualified technician for instructions) •...
-
Page 3: Connection Descriptions
Connection Descriptions Note: Be sure to follow specific instructions included with your amplifier installation kit (not included with this amplifier). The information below should be used a general guideline only. Power Wire (BAT+) • Disconnect negative battery terminal before proceeding. Consult a qualified technician for instructions if you are unsure. -
Page 4: Power And Speaker Connections
Audio Inputs and Controls Amplifier Bridge Bass Frequency RCA Line Inputs Bass Boost Gain Remote Bass Control Crossover Frequency Control Protect & Power LEDs Subsonic Filter Power and Speaker Connections Remote Connection Speaker Connections Fuse(s) Ground Connection +12VDC Battery Connection... -
Page 5: Typical Wire Routing
Typical Wire Routing REMOTE AMP TURN-ON (REM) 18” MAX +12V POWER (BAT+) VEHICLE GROUND (GND) SUBWOOFER (2 OHM MINIMUM) Remote Bass Control Single subwoofer connection shown. See page 6 for additional details. Main Power Connections Connect +12V, GND and REM wires accordingly. A suitable fuse MUST be installed on the +12V lead within 18"... -
Page 6: Amplifier Connections
Amplifier Connections Speaker Connections Connect speaker wires observing polarity. The XPR510D is a 1 channel amplifier but has two positive and two negative speaker terminals. When connecting one subwoofer, only use one positive and one negative terminal. When connecting two subwoofers, connect one subwoofer to each set of positive and negative terminals. -
Page 7: Signal Connections
Connecting Two Amplifiers - Bridge Mode The XPR510D features an Amplifier Bridge mode, where two XPR510D amplifiers can be connected together. When two XPR510D amplifiers are connected together, the power from both amplifiers is combined. 2 OHM MINIMUM Amplifier 1... - Page 8 Configuration/Setup Gain The gain control is used to obtain the best possible match between the head unit audio output and the amplifier input. • Begin by turning the input level control fully counterclockwise. • Next, turn up the head unit volume control around 3/4 of the way up.
-
Page 9: Limited One-Year Warranty
2. If you require service during the the original purchase. warranty period, you must carefully pack the product (preferably in the Dual Electronics Corp. agrees, at our original package) and ship it by prepaid option, during the warranty period, transportation with a copy of the original... -
Page 10: Specifications
Specifications Power Output: 750 Watts x 1 channel @ 4 ohms 1500 Watts x 1 channel @ 2 ohms Peak Music Power Output: 1500 Watts Signal to noise ratio: 75dBA (reference: 1 watt into 4 ohms) Frequency response: 40Hz ~ 180Hz Amplifier dimensions: 2.76"... - Page 11 Notes...
- Page 12 Dual Electronics Corp. Toll Free: 1-866-382-5476 www.dualav.com ©2013 Dual Electronics Corp. NSA0413-V01...