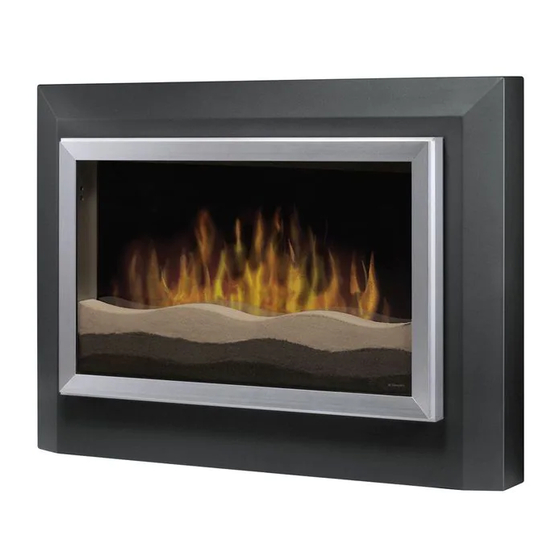
Dimplex RWF-DG Owner's Manual
Hide thumbs
Also See for RWF-DG:
- Service manual (15 pages) ,
- Owner's manual (19 pages) ,
- Service manual (16 pages)
Advertisement
IMPORTANT SAFETY INFORMATION: Always read this manual fi rst before attempting to install or use this
fi replace. For your safety, always comply with all warnings and safety instructions contained in this manual to
prevent personal injury or property damage.
To view the full line of Dimplex products, please visit www.dimplex.com
Owner's Manual
Model
RWF-DG
7208570200rev02
Advertisement
Table of Contents

Related Manuals for Dimplex RWF-DG


Summary of Contents for Dimplex RWF-DG
- Page 1 IMPORTANT SAFETY INFORMATION: Always read this manual fi rst before attempting to install or use this fi replace. For your safety, always comply with all warnings and safety instructions contained in this manual to prevent personal injury or property damage. To view the full line of Dimplex products, please visit www.dimplex.com 7208570200rev02...
-
Page 2: Table Of Contents
www.dimplex.com... -
Page 3: Welcome & Congratulations
Welcome & Congratulations Thank you and congratulations for choosing to purchase an electric fi replace from Dimplex, the world NO NEED TO RETURN TO THE STORE leader in electric fi replaces. Questions With the Assembly? Please carefully read and save these instructions. -
Page 4: Important Instructions
The heater must not be located immediately below a shock or fi re, or damage to the heater socket-outlet CAUTION RISK OF ELECTRIC SHOCK DO NOT OPEN NO USER-SERVICABLE PARTS INSIDE SAVE THESE INSTRUCTIONS www.dimplex.com... -
Page 5: Fireplace Installation
WARNING: The supplied mounting bracket is NOTE: It is recommended that the bottom of the designed for use with Dimplex wall mounted unit not be mounted higher than 40 inches (102 cm) fi replaces only. Improper use, or use for purposes from the ground (mounting bracket no higher than other than intended, may cause damage or injury. - Page 6 Panel Mounting Holes Fix the unit in place by inserting two (2) screws through 2 of the 4 available back panel holes, and into the wall studs. If studs are unattainable please use wall anchors (Figure 6). Replace glass assembly. www.dimplex.com...
-
Page 7: Operation
Off Switch to Off and waiting fi ve (5) minutes before Front View switching the unit back on. CAUTION: If you need to continuously reset the heater, unplug the unit and call Dimplex customer service at 1-888-DIMPLEX (1-888-346-7539). Remote Operation The fi replace is supplied with an integrated on/off remote control. -
Page 8: Maintenance
To remove fi ngerprints or other marks, the glass can be cleaned with a damp cloth. The glass should be completely dried with a lint free cloth to prevent water spots. To prevent scratching, do not use abrasive cleaners or spray liquids on the glass surface. www.dimplex.com... -
Page 9: Warranty
Products purchased in these States, provinces, or territories made, Dimplex may, in lieu of repair or replacement, choose to are sold AS IS without warranty or condition of any kind refund the purchase price for such product or part. -
Page 10: Replacement Parts
Flicker Rod ....5901070200RP Dimplex North America Limited 1367 Industrial Road Cambridge ON Canada N1R 7G8 © 2010 Dimplex North America Limited www.dimplex.com... -
Page 11: Troubleshooting Guide
Troubleshooting Guide Problem Possible Cause Corrective Action Circuit breaker trips or fuse Improper circuit current Additional appliances may exceed the current rating of the blows when unit is turned on. rating. circuit breaker or fuse. Plug unit into another outlet or install on a dedicated 15-amp circuit.