Advertisement
Advertisement
Table of Contents

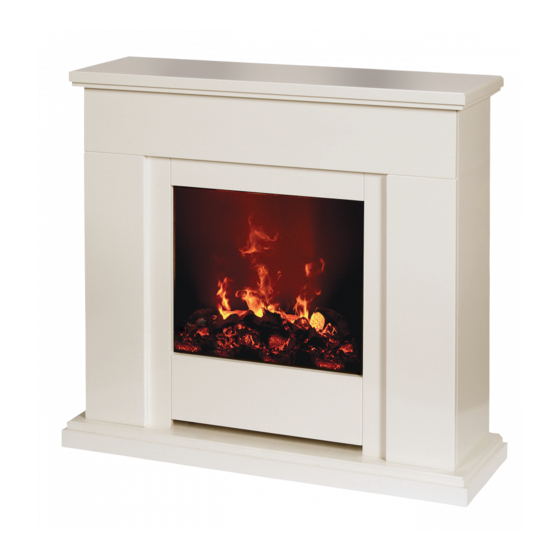
Summary of Contents for Dimplex OPTIMYST RTOPCS20
- Page 1 RETAIL OPTIMYST SUITE RTOPCS20 08/51758/0 Issue 4 The product complies with the European Safety Standards EN60335-2-30 and the European Standard Electromagnetic Compatibility (EMC) EN55014, EN60555-2 and EN60555-3 These cover the essential requirements of EEC Directives 2006/95/EC and 2004/108/EC...
- Page 2 Fig. 1 Fig. 2 Fig. 3 Fig. 4a Fig. 4...
- Page 3 Fig. 5 Fig. 5a Fig. 5b Fig. 6 Fig. 7 Fig. 8...
- Page 4 Fig. 9 Fig. 10 Fig. 11 Fig. 12 Fig. 13 Fig. 14...
- Page 5 Fig. 15 Fig. 16 Fig. 17...
-
Page 6: General Information
Dimplex Retail Optimyst Suite RTOPCS20 Introduction Thank you for choosing this Dimplex electric fire. Please read this information guide carefully to be able to safely install, use and maintain your product. Important Safety Advice When using electrical appliances, basic precautions should always be followed to reduce the risk of fire, electrical... -
Page 7: Installation Instructions
Installation Instructions This section describes how to set up your fire. Before installing this appliance in an existing chimney, we recommend that; 1. You have your chimney cleaned by a competent chimney sweep. 2. You block off the chimney flue. This procedure is important for the efficient operation of the heating unit and will also reduce heat loss up the chimney. - Page 8 Control Knob ‘D’:- Controls the intensity of the flame effect. Turning the control knob to the left increases the flame effect, turning the control knob to the right will decrease the flame effect. SETTING THE THERMOSTAT Ensure the fire is plugged in and switch it on to the full heat setting. Turn the Control Knob ‘C’ fully to the right (max temperature setting) to warm the room rapidly.
-
Page 9: Changing Lamps
6. Remove the defective lamp, by gently lifting vertically and disengaging the pins from the lamp holder, (Fig.4 and 4a). Replace with a Dimplex OPTIMYST, 12V, 50W, Gu5.3 base, 8º beam angle, coloured lamp. (Purchased from our website http://spares.dimplex.co.uk) 7. Carefully insert the two pins of the new lamp into the two holes in the lamp holder. Push firmly in place. (Fig.4 and 4a). -
Page 10: Additional Information
Extended Parts and Labour Warranty Your 1 year warranty is extended for an additional 12 months when you register the product with Dimplex, within 28 days of purchase. If you do not register the product with Dimplex within 28 days, your product will remain guaranteed for 1 year only. -
Page 11: Troubleshooting
PATENT / PATENT APPLICATION Products within the Optimyst range are protected by one or more of the following patents and patent applications: Great Britain GB 2402206, GB 2460259, GB 2460453 , GB 2418014, GB 2465738, GB 2449925, GB 2465537 , GB 2455277 , GB1020534.2, GB1020537.5, GB1110987.3 United States US 7967690, US 2010299980, US 2011062250, US 2008028648, US 13/167,042 Russia RU2008140317... - Page 12 Republic of Ireland Tel. 01 8424833 SO30 2DF GDC Group Ltd, All rights reserved. Material contained in this publication may not be reproduced in whole or in part, without prior permission in writing of Dimplex. A division of GDC Group Ltd.


