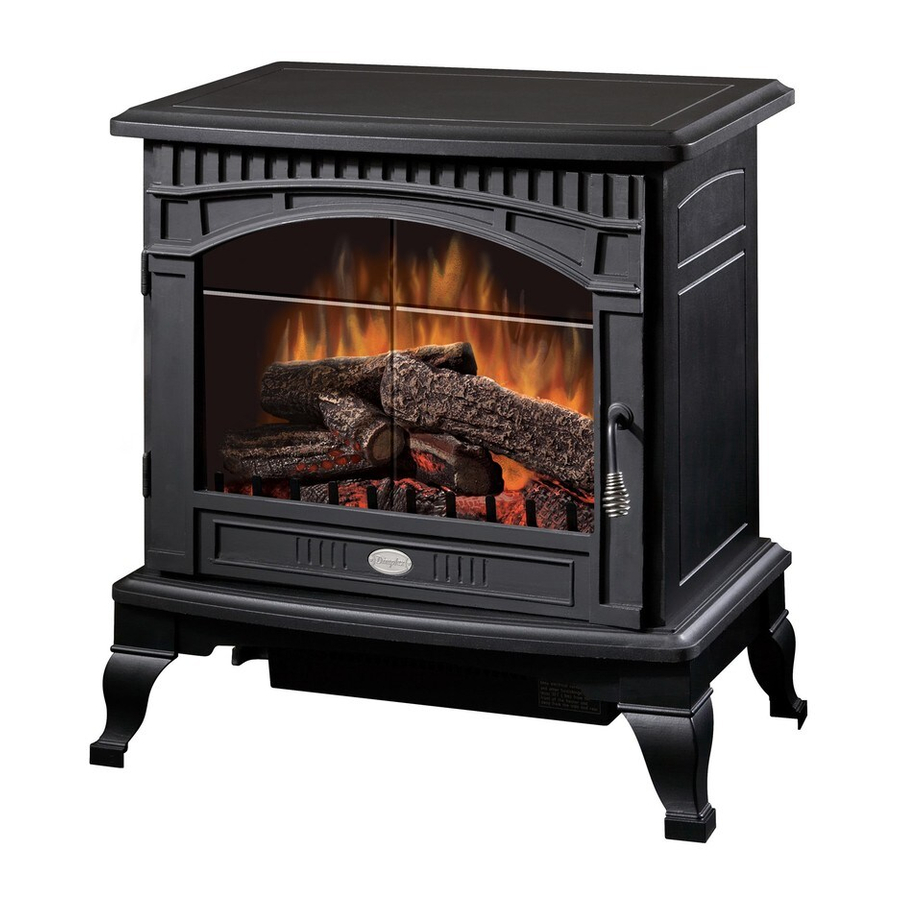
Dimplex DS5629 Service Manual
Hide thumbs
Also See for DS5629:
- Owner's manual (14 pages) ,
- Service manual (12 pages) ,
- Practical user's manual (11 pages)
Table of Contents
Advertisement
IMPORTANT SAFETY INFORMATION: Always read this manual first before attempting to service
this stove. For your safety, always comply with all warnings and safety instructions contained in this
manual to prevent personal injury or property damage.
Dimplex North America Limited
1367 Industrial Road Cambridge ON Canada N1R 7G8
1-888-346-7539 www.dimplex.com
In keeping with our policy of continuous product development, we reserve the right to make changes without notice.
© 2011 Dimplex North America Limited
Service Manual
Model Number
DS5629
UL Part Number
6900471359
REV
PCN
DATE
01
-
9-Sep-11
02
13147
16-Apr-12
7400490000R02
Advertisement
Table of Contents

Summary of Contents for Dimplex DS5629
-
Page 1: Model Number
Dimplex North America Limited 1367 Industrial Road Cambridge ON Canada N1R 7G8 9-Sep-11 1-888-346-7539 www.dimplex.com 13147 16-Apr-12 In keeping with our policy of continuous product development, we reserve the right to make changes without notice. © 2011 Dimplex North America Limited 7400490000R02... -
Page 2: Table Of Contents
NOTE: Procedures and techniques that are considered important enough to emphasize. CAUTION: Procedures and techniques which, if not carefully followed, will result in damage to the equipment. WARNINg: Procedures and techniques which, if not carefully followed, will expose the user to the risk of fire, serious injury, or death. www.dimplex.com... -
Page 3: Operation
It can be reset by switching the 3-Position Switch to Plastic OFF and waiting 5 minutes before switching the unit back Strip CAUTION: If you need to continuously reset the Battery heater, unplug the unit and call Dimplex North America Cover Limited at 1-800-668-6663. -
Page 4: Maintenance
Locate and examine the bulbs to determine which bulb(s) required replacement. Locate and remove the light bulb(s). Insert new bulb(s). Install the logset into the unit, pushing firmly against the glass. Replace the logset retaining screw into the ember bed. Close the door. www.dimplex.com... -
Page 5: Exploded Parts Diagram
ExPLODED PARTS DIAgRAM Cutout ......2300270100RP Capacitor ......2300030100RP Partially Reflective Glass . -
Page 6: Wiring Diagram
WIRINg DIAgRAM www.dimplex.com... -
Page 7: Light Bulb Replacement
LIgHT BULB REPLACEMENT Figure 4 CAUTION: If unit was operating prior to servicing allow at least 5 minutes for lights to cool off to avoid accidental burning of skin. WARNINg: Disconnect power before attempting any maintenance to reduce the risk of electric shock or damage to persons. -
Page 8: Flicker Motor Replacement
WARNINg: If the stove was operating prior to servic- ing, allow at least 10 minutes for light bulbs and heating elements to cool off to avoid accidental burning of skin. WARNINg: Disconnect power before attempting any maintenance to reduce the risk of electric shock or damage www.dimplex.com... -
Page 9: Switches
WARNINg: Disconnect power before attempting any Figure 8 maintenance to reduce the risk of electric shock or damage to persons. Gently place stove on it’s back on a flat surface. Remove the heater cover retaining screws located on the bottom of the stove and lower heater/light assembly onto the floor. -
Page 10: Heater Assembly Replacement
Disconnect the heater wiring connections from the heater noting their original locations. Remove the 4 heater mounting screws and remove the heater from the unit. Reassemble in the reverse order as above. www.dimplex.com... -
Page 11: Troubleshooting Guide
TROUBLESHOOTINg gUIDE PROBLEM CAUSE SOLUTION general Circuit breaker trips or fuse Short in unit wiring. Trace wiring in unit. blows when unit is turned on Improper circuit current rating Additional appliances may exceed the current rating of the circuit breaker or fuse. Plug unit into another outlet or install unit on a dedicated 15 amp circuit. - Page 12 Grinding or excessive noise with Moving flame rod hitting or rubbing Ensure rod is straight and mounted properly in the the heater off against internal components bracket, spinning freely away from other components. Replace if necessary. Defective flame motor Replace flame motor www.dimplex.com...


