Advertisement
. . . . . . . . . . . . . . . . . . . . . . . . . .
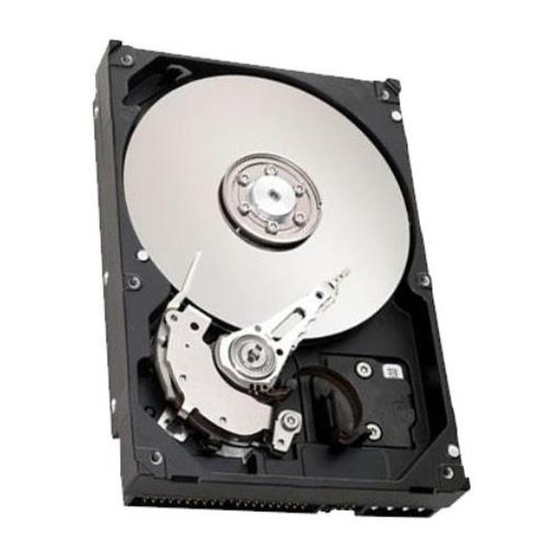
ST9144 Family:
. . . . . . . . . . . . . . . . . . . . . . . . . .
ST9051A, ST9052A,
. . . . . . . . . . . . . . . . . . . . . . . . . .
ST9077A, ST9096A,
. . . . . . . . . . . . . . . . . . . . . . . . .
.
ST9144A
. . . . . . . . . . . . . . . . . . . . . . . . . .
Installation Guide
. . . . . . . . . . . . . . . . . . . . . . . . . .
Advertisement

Related Manuals for Seagate ST9144 Family

Summary of Contents for Seagate ST9144 Family
- Page 1 ......ST9144 Family: ......
-
Page 2: Table Of Contents
Installation overview ..... 3 ST9144 family drives ..... 5 AT interface setup . -
Page 3: Read Before You Begin
The head/disc assembly is sealed and does not contain any user-serviceable components. Tampering with the factory seal voids the warranty. Seagate customer serv- ice centers are the only facilities authorized to service Seagate drives. Seagate does not sanction any third-party repair facilities. -
Page 4: Technical Support Service
Seagate distributor to purchase additional boxes. Seagate recommends shipping by an air-ride carrier experienced in handling computer equipment. Technical support services Product technical support is available for all Seagate products by calling the SeaFAX, SeaFONE, and SeaBOARD services. These are toll calls. SeaFAX: 408/438-2620 You can use a Touch-Tone telephone to access Seagate’s... -
Page 5: Installation Overview
ST9144 Family Installation Guide, Rev. B With this service you can access: Specifications and configuration for Seagate products. Reprints of Seagate documentation. A directory of information and helpful utilities that you can download to your own computer. The FINDTYPE.EXE utility is designed to make drive installa- tion easier. - Page 6 Caution. If an installed drive is low-level formatted, all user data will be lost. Seagate Technology, Inc. assumes no liability for lost user data. Partitioning. A drive can be subdivided into partitions that behave as individual drives within the system.
-
Page 7: St9144 Family Drives
Default drive geometry Seagate AT interface drives mimic (translate) other drive geome- tries. If none of the drive types offered by the CMOS support the number of heads, cylinders and sectors per track shown by the following table, and your system does not support a “user-de-... - Page 8 ST9144 Family Installation Guide, Rev. B Note that the final drive capacity shown by the CMOS and total sectors cannot exceed the values indicated in the last column of the following table as defined by the following equation: (Sectors) (Heads) (Cylinders) Total Sectors per Drive If your BIOS offers a “custom drive”...
- Page 9 In accordance with the ATA/CAM specification, after a hard reset is received from the host, the BIOS must reset any emula- tion/translation parameters for the drive. The ST9144 family AT interface drives use 4 bytes of Error Correction Code (ECC) with the Read Long/Write Long com- mands.
- Page 10 ST9144 Family Installation Guide, Rev. B Drive configuration Master/Slave configuration. Refer to the table below to con- figure up to two drives on a single AT bus. System Configuration Pins A-B Pins C-D Drive is Master, no Slave present Removed...
- Page 11 Pin 1 size: M3x0.5 Master/Slave Configuration Jumpers Key - Pin 20 (Removed) Drive is Master, no Slave drive present Drive is Master, Seagate Slave drive present Drive is Slave to another ST9144 Family Master Reserved Positions (Do Not Use)
- Page 12 ST9144 Family Installation Guide, Rev. B Drive Formatting Seagate AT Interface drives are low-level formatted at the factory and do not need low-level formatting. Drive partitioning should be done using the DOS FDISK utility. Use DOS 3.3 or higher. If you are partitioning the boot drive, make sure that the primary DOS partition is marked active.
- Page 13 ST9144 Family Installation Guide, Rev. B 44-Pin AT interface connector assignments Signal Signal /Host Reset Ground Host Data 7 Host Data 8 Host Data 6 Host Data 9 Host Data 5 Host Data 10 Host Data 4 Host Data 11...
-
Page 14: Power Management Mode Descriptions
ST9144 Family Installation Guide, Rev. B Power management mode descriptions The ST9144 family drives feature four-phase power management with Active, Idle, Standby and Sleep modes. Power management is required for low-power portable systems, and is enabled through a system-dependent set-up procedure. Consult your system documentation for power management information. - Page 15 ST9144 Family Installation Guide, Rev. B Idle and standby timers. Default time delays for both the Idle timer and the Standby timer are set by the drive at power-on. These delays can also be specified by the user via the system Setup utility.
- Page 16 ST9144 Family Installation Guide, Rev. B Standby mode. The drive enters Standby mode when a Standby Immediate command is been received from the host. The drive can also enter Standby mode after a specifiable length of time has elapsed with the drive in Idle mode. The Standby timer is system-dependent, and is usually established by the user with a system utility such as Setup.
-
Page 17: Drive Mounting
ST9144 Family Installation Guide, Rev. B Drive mounting The drive can be mounted in any of the approved orientations shown in Figure 2. A minimum clearance of 0.030 inches (0.762 mm) should be allowed around the entire perimeter of the drive to allow for cooling airflow. -
Page 18: Installation Trouble-Shooting
ST9144 Family Installation Guide, Rev. B Mounting specifications The ST9144 family drives are built with metric mounting screw threads. Screw insertion depth is limited to 0.150 inches (3.81 mm) maximum on the side mounting holes and 0.190 inches (4.82 mm) maximum on the bottom mounting holes. - Page 19 ST9144 Family Installation Guide, Rev. B Note. Most cables have a stripe down one side to designate the Pin 1 location. Make sure Pin 1 on the interface cable connector is connected to Pin 1 on the drive interface connec- tor and Pin 1 on the host connector.
- Page 20 Notes...
- Page 21 Notes...
- Page 22 Notes...
- Page 23 Notes...
- Page 24 Notes...
- Page 25 Notes...
- Page 26 Notes...
- Page 27 Notes...
- Page 28 Seagate Technology, Inc. 920 Disc Drive, Scotts Valley, CA 95066-4544, USA Publication Number: 36182-001, Rev. B...