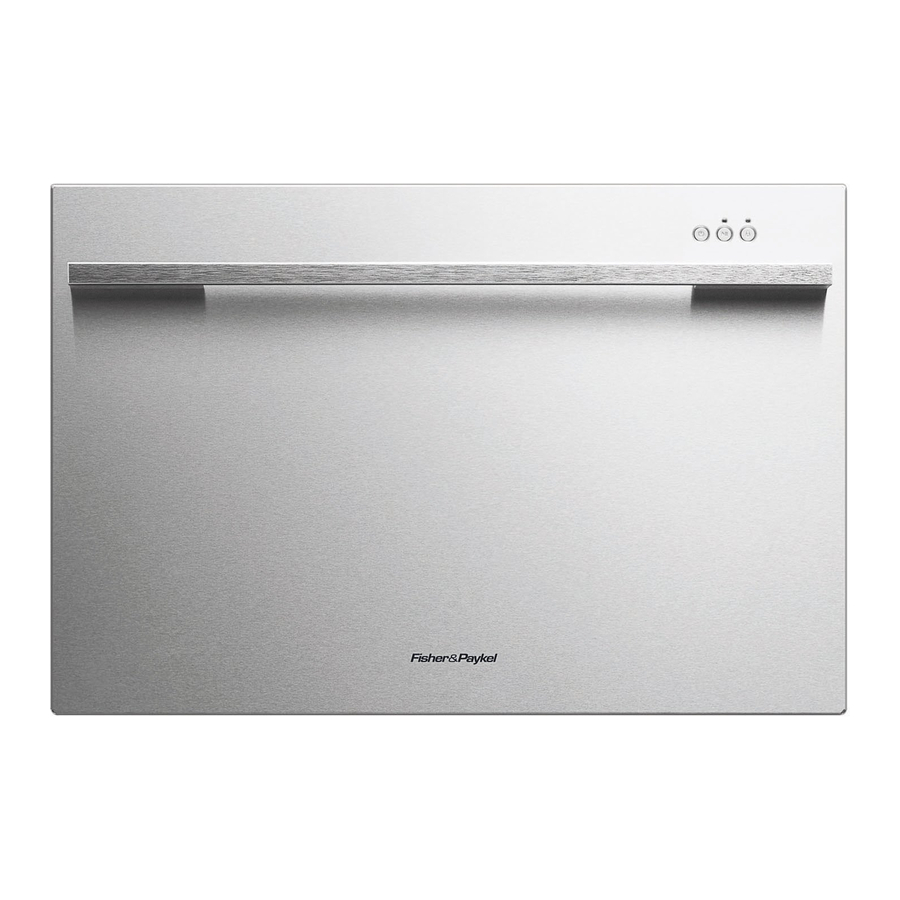
Fisher & Paykel DishDrawer DD60 Series User Manual
Fisher & paykel dishwasher user manual
Hide thumbs
Also See for DishDrawer DD60 Series:
- Service manual (78 pages) ,
- User manual (60 pages) ,
- Diagnostic service manual (21 pages)
Table of Contents
Advertisement
Advertisement
Table of Contents

Related Manuals for Fisher & Paykel DishDrawer DD60 Series


Summary of Contents for Fisher & Paykel DishDrawer DD60 Series
- Page 1 User guide DishDrawer® DD60 models NZ AU...
-
Page 3: Table Of Contents
(models with LCD) Operation Wash programme chart Caring for your dinnerware Dishwasher standards test Racking features and accessories Loading suggestions Detergent dispenser Dishwasher detergent and tablets Rinse aid dispenser Option adjustments Care and cleaning Troubleshooting Fault codes Warranty and service Important! -
Page 5: Safety And Warnings
HYDROGEN GAS IS EXPLOSIVE. If the hot water system has not been used for such a period, before using the dishwasher, turn on all hot water taps and let the water flow from each for several minutes. This will release any accumulated hydrogen gas. -
Page 6: Important Safety Instructions
Safety and warnings Important safety instructions Installation This DishDrawer® must be installed and located in accordance with the Installation instructions before it is used. If you did not receive Installation instruction sheets with your DishDrawer®, you can order them by calling your Authorised Service Agent or from the Fisher & Paykel website, www.fisherpaykel.com. - Page 7 Close supervision is necessary if this appliance is used by or near children. Do not allow children to play inside, on or with this appliance or any discarded appliance. If a dishwasher cleaner is used, we would strongly recommend a wash programme with detergent should be run immediately afterward, to prevent any damage to the DishDrawer®.
-
Page 8: Controls (Models With No Lcd)
Controls (models with no LCD) If you have a double DishDrawer®, each drawer has its own controls and can run independently of the other. Power button button turns the DishDrawer® on or off. Opening the drawer will automatically turn the DishDrawer® on for 30 seconds. -
Page 9: Controls (Models With Lcd)
Keylock The Keylock feature disables all the buttons on the DishDrawer®. To activate, press and hold the above the button is lit when Keylock is activated. To cancel the Keylock feature, press and hold the button disappears. Childlock The Childlock feature locks the drawer and disables all the buttons. To activate, press and hold the above the button is lit when Childlock is activated. - Page 10 Controls (models with LCD) If you have a double DishDrawer®, each drawer has its own control panel and can run independently of the other. Power button button turns the DishDrawer® on or off. Opening the drawer will automatically turn the DishDrawer®...
- Page 11 Keylock The Keylock feature disables all the buttons on the control panel. To activate, press and hold the appears in the electronic display when the Keylock feature is activated. Childlock The Childlock feature locks the drawer and disables all the buttons on the control panel. To activate, press and hold the appears in the electronic display when the Childlock feature is activated.
-
Page 12: Operation
Operation Load dishes Remove all food scraps and load the dishes. Add detergent Check rinse aid Press the button Select a wash programme The length of the wash programme will appear on the electronic display (models with LCD only). Select (optional) Check Ensure there is nothing obstructing the... -
Page 13: Wash Programme Chart
Also the only recommended programme if you are using dishwasher tablets. pre wash 45 pre wash main wash 70 main wash 55 post rinse post rinse final rinse 65 final rinse 65... -
Page 14: Caring For Your Dinnerware
Iron and cast iron objects can rust and stain other items. Copper, pewter and brass tend to stain. Woodware Wooden items are generally sensitive to heat and water. Regular use in the dishwasher may cause deterioration over time. If in doubt, wash by hand. -
Page 15: Dishwasher Standards Test
DishDrawer®. Wash programme Detergent quantities Rinse aid setting Maximum place setting (per drawer) Accessories to be used in the Dishwasher standards test Height setting of adjustable racks Correct orientation of glass supports on both sides of drawer Recommended loading pattern... - Page 16 Racking features and accessories Cutlery basket Mix spoons, knives and forks within each section to stop cutlery nesting together. Most cutlery is placed with the handle pointing down. For your safety, knives and sharp utensils should have their handles up. Small light items like baby bottle teats are best placed under the anti-nesting grids to prevent them from being displaced.
-
Page 17: Racking Features And Accessories
Adjustable racks You can adjust these independently of each other to any height: Fold up to unlock the rack. Adjust the height to suit by sliding up or down. Fold down to lock in position. Fold the racks away if you need the space. Racking features and accessories Glass supports These clip on the rack... - Page 18 Loading suggestions When loading your DishDrawer®, make sure that you place items so that water coming from the rotating spray arm below can reach all areas (wash performance will be reduced if it can’t) nothing blocks the water from getting to items on the adjustable racks. Typical breakfast load Typical dinner party load Typical heavy load...
-
Page 19: Loading Suggestions
How NOT to load your DishDrawer® Overcrowded and wash water will not reach some of the dinnerware. Cups, glasses and bowls must have their openings facing down. Ensure dishware items are not forced into or protrude out of the drawer, as this may prevent the lid from properly sealing which could result in a service call. -
Page 20: Detergent Dispenser
Only use powdered detergent recommended for domestic automatic dishwashers in the detergent dispenser. Dishwasher detergents are strongly alkaline and can be dangerous if swallowed. Avoid contact with skin and eyes. Keep children and infirm persons away from the DishDrawer® when the drawer is open. -
Page 21: Dishwasher Detergent And Tablets
Tablets can either be placed in the cutlery basket or alternatively, placed directly in the wash compartment as below. If you are using dishwasher tablets with a built-in rinse aid component, you may need to reduce the rinse aid setting. See ‘Option adjustments’ for instructions. -
Page 22: Rinse Aid Dispenser
If there is excessive foam at the end of the wash or you are using dishwasher tablets with built-in rinse aid, reduce the setting. If dishes are wet or streaky after drying, increase the setting. -
Page 23: Option Adjustments
Reduce the Rinse aid setting if there is excess foam after a wash programme or if you are using dishwasher tablets with built-in rinse aid. Increase the Rinse aid setting if dishes are wet or streaky after a wash programme. - Page 24 Option adjustments...
- Page 25 Option adjustments...
-
Page 26: Care And Cleaning
Care and cleaning Important! Disconnect the DishDrawer® from the power supply before any cleaning or maintenance. Cleaning the surfaces Important! We do not recommend the use of the following cleaning aids on your DishDrawer® as they may damage the surfaces: Plastic or stainless steel scouring pads Abrasive, solvent, household cleaners Acid or alkaline cleaners... - Page 27 The spray arm and filter plate may need cleaning about once a month in normal use or more often should the need arise. If a dishwasher cleaner/descaler is used, you must run a wash programme with detergent immediately afterward to prevent any damage to your DishDrawer®.
- Page 28 Care and cleaning Cleaning the spray arm and filter plate Ensure the DishDrawer® is cool before you start cleaning and follow the instructions for removing the drain filter and spray arm. Unplug the DishDrawer® or turn it off at the power supply.
-
Page 29: Troubleshooting
Detergent must be placed in the large compartment. Scrape all food scraps off dinnerware prior to loading. Use recommended brands of dishwasher detergent. Refer to the detergent section or the detergent manufacturer’s instructions. Clean the filter plate and drain filter. - Page 30 Troubleshooting Problem Possible Cause Continuous A fault has occurred. beeping Intermittent DishDrawer® is in pause beeping mode. DishDrawer® will Power supply is not not start connected. The drawer is not closed properly. Keylock or Childlock feature is on. button not pressed. Excess water in the Drain hose(s) bent or DishDrawer®...
-
Page 31: Fault Codes
How to recognise a fault code When a fault has occurred, the DishDrawer® will continuously beep every second. The fault code will be displayed on the electronic display for models with LCD and on the wash programme selector for models with no LCD. Each fault code is shown in the following chart. - Page 32 Fault codes Fault codes Possible causes What to do Flood switch has been Turn the water and power supply to the activated. DishDrawer® off and call your Authorised Service Centre or Customer Care. Motor problem. Call your Authorised Service Centre or Customer Care.
-
Page 33: Fault Codes
Fault codes Possible causes What to do Fill fault. Turn the DishDrawer® water supply on. impeller and can rotate about the centre. If the DishDrawer® is full of water, it will need to be emptied manually. Customer Care. Fault in the other Check other drawer, attend to fault code drawer preventing the on that drawer. -
Page 34: Warranty And Service
Warranty and service Before you call for service or assistance ... Check the things you can do yourself. Refer to the installation instructions and your user guide and check that: your product is correctly installed you are familiar with its normal operation. If after checking these points you still need assistance, please refer to the Service &... - Page 36 Copyright © Fisher & Paykel 2009. All rights reserved. The product specifications in this booklet apply to the specific products and models described at the date of issue. Under our policy of continuous product improvement, these specifications may change at any time.