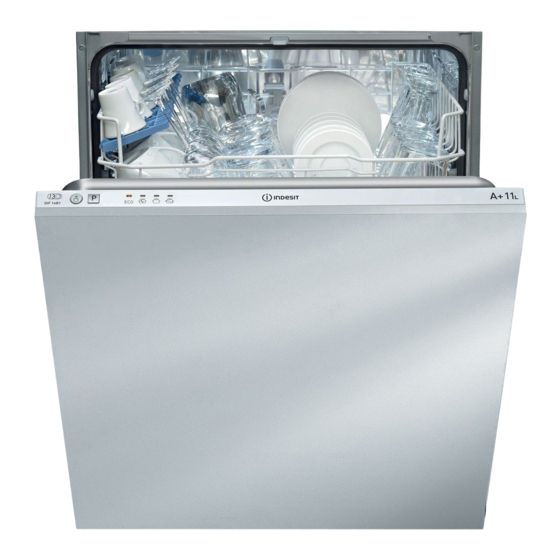
Indesit DIF 04 Operating Instructions Manual
Hide thumbs
Also See for DIF 04:
- Installation manual (80 pages) ,
- Operating instructions manual (13 pages) ,
- Operating instructions manual (12 pages)
Advertisement
Quick Links
English, 1
English, 1
English, 1
English, 1
English, 1
Positioning and levelling
Connecting the water and electricity supplies
Advice regarding the first wash cycle
Technical data
Electrical connection
Overall view
Control panel
Lower rack
Cutlery basket
Upper rack
Starting the dishwasher
Measuring out the detergent
Wash options
Table of wash cycles
Measuring out the rinse aid
Measuring out the refined salt
Shutting off the water and electricity supplies
Cleaning the dishwasher
Preventing unpleasant odours
Cleaning the sprayer arms
Cleaning the filters
Leaving the machine unused for extended
periods
General safety
Disposal
Saving energy and respecting the environment
Advertisement

Summary of Contents for Indesit DIF 04
- Page 1 English, 1 English, 1 English, 1 English, 1 English, 1 Positioning and levelling Connecting the water and electricity supplies Advice regarding the first wash cycle Technical data Electrical connection Overall view Control panel Lower rack Cutlery basket Upper rack Starting the dishwasher Measuring out the detergent Wash options Table of wash cycles...
- Page 2 Keep this instruction manual in a safe place for future reference. If the appliance is sold, given away or moved, • To a suitable cold water connection point: before attaching please ensure the manual is kept with the machine, so that the the hose, run the water until it is perfectly clear so that any new owner may benefit from the advice contained within it.
- Page 3 After installing the dishwasher, open the door and stick the adhesive transparent strip under the wooden shelf in order to Connect the outlet hose (without bending it) to a drain duct with a minimum diameter of 4 cm. Alternatively, rest it over a protect it from any condensation which may form.
- Page 4 Electrical Connection As the colours of the wires in the mains lead may not correspond with the coloured markings identifying the If your appliance is supplied with a 13 amp. fused plug terminal in your plug, proceed as follows: it can be plugged into a 13 amp socket for immediate connect Green &...
- Page 5 Upper rack Upper sprayer arm Tip-up compartments Rack height adjuster Lower rack Lower sprayer arm Cutlery basket Washing filter Salt dispenser Detergent and rinse aid dispensers Data plate Control Panel*** ***Only in completely built-in models. * Only available in selected models. The number and type of wash cycles and options may vary depending on the dishwasher model.
- Page 6 Before loading the racks, remove all food residues from In order to make it easier to arrange the crockery, the upper the crockery and empty liquids from glasses and cups. rack may be moved to a higher or lower level. The lower rack can hold pans, lids, plates, salad bowls, cutlery, etc.
- Page 7 A good wash result also depends on the correct amount 1. Turn the water tap on. of detergent being used; exceeding the stated amount 2. Open the door and press the ON/OFF button: you will does not result in a more effective wash and increases hear a short beep and the ON/OFF and wash cycle environmental pollution.
- Page 8 Wash cycle Detergent duration Wash cycle selection Wash (A) = compartment A Drying (tolerance instructions cycle (B) = compartment B ±10%) Hrs. Min. Powder Liquid Tablets 1 (A) Extremely soiled dishes and 30 g (A) 30 ml (A) 1 (bottom pans (not to be used for 1:54’...
-
Page 9: Water Hardness Table
slowly on the control panel (the water softening system is set to number 3). - Press the P button repeatedly until the desired hardness level has been reached (1-2-3-4-5* see Water hardness table ). - To exit the function, wait approximately 30 seconds or switch off the machine using the ON/OFF button. - Page 10 The filter assembly consists of three filters which remove food residues from the washing water and then recirculate the water. They should be cleaned if you wish to achieve the best results in every wash. Clean the filters regularly. The dishwasher should not be used without filters, or if the filter is loose.
- Page 11 This appliance was designed and manufactured in compliance with current international safety standards. The following information has been provided for safety reasons and should therefore be read carefully. • Only begin a wash cycle when the dishwasher is full. While waiting for the dishwasher to be filled, prevent unpleasant odours using the Soak cycle ( see Wash cycles ).
- Page 12 07/2007- Xerox Business Services Whenever the appliance fails to work, check for a solution from the following list before calling for Assistance.


