Advertisement
Quick Links
Assembly Instructions
for the Mountain Pass
2XTE and 3XTE
Component List:
1 Tent Body 1 Tent Fly 1 Carry Bag 2 Tent Poles 1 Pole Bag 1 Fly Rod
14 Stakes & 4 Guy Ropes w/Bag
1 Gear Loft
NOTE:
Do not drop tent bag or pole bag on its end. Do not bounce tent bag on its end to get
the tent out. These actions may cut the shock cord and/or damage the pole ends.
Assembly:
• Unpack the tent bag. Unfold the tent and lay it out, with the floor on the
ground with a grommeted web in each corner. Pull the tent into a rough
rectangle. Do not stake down the tent just yet; but in windy conditions,
stake down one corner that faces into the wind.
• Assemble the shock corded long tent poles and shorter fly rod. Carefully
seat each section. Try to keep the poles from snapping together as this
can damage the ends.
• At the front of the tent body at A, lay a long tent pole diagonally across
the tent to the opposite side B. Do the same with the second long pole
from C to D. See fig.1.
D
A
fig.1
• Insert the post end of a
pole into a grommet on
the corner stake-out web.
fig.2
See fig.2.
• At the opposite corner, grasp the web and simultaneously push the
pole to form an arc. Insert the post end into the grommet on the
corner stake-out web. Do this again with the second pole. See fig.3.
fig.3
fig.4
fig.5
• Working your way around the
tent, attach all the clips from the
corners of tent to the poles. See
fig.6 & 7.
B
• The tent is now freestanding.
Place it in the desired location.
C
• With the poles and tent body
firmly attached, square the
tent and pull the wrinkles
out of the floor. Use a
metal skewer to stake
out each corner web.
See fig.7.
• Unroll the fly, upside down, on the ground. Locate the web pockets on
the fly and insert the assembled fly rod into these pockets. Wrap the
Velcro® strap around the center of the fly rod. See fig.8 & fig.9.
• Raise both poles over the center of the tent
and secure to the tent fabric with the loop /
dog bone. Capture both poles at the top. See
fig.4 and 5.
fig.6
fig.7
fig.8
• Turn the fly right side up and drape it over the tent with
the fly rod pointing over a door. Align the orange web on
the fly to the orange web on the tent.
• Reach under the fly and wrap each Velcro® strap around
its pole. See fig.10.
• Attach the clips from the fly to the rings near the floor on
each side of the tent. See fig.11.
• Attach the web buckle from each corner of the fly to its
mate on the tent web. See fig.12. Adjust the corner webs
to proper tension. Pull out the side webs, stake down and
adjust. Take care, the fly must not contact the tent wall.
• Lift the side vents to open and secure the support arm to
the Velcro® tab. See fig.13.
• Attach a guy-out cord to each corner loop and stake them
out. See fig.14.
Take down:
• Pull up stakes, remove the fly and open tent doors. Pull posts out of the grommets
and remove the clips. Collapse the tent poles and stow. Fold the tent and fly. Lay the
fly and poles on the folded tent. Roll up all towards the door and stow.
fig.9
fig.10
fig.11
fig.12
fig.13
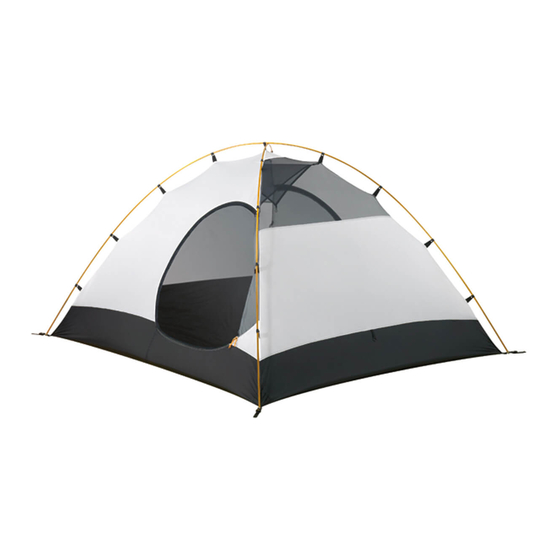
Your Tent
is Ready!
REV C 4.09
Advertisement

Related Manuals for Eureka Mountain Pass 2XTE


Summary of Contents for Eureka Mountain Pass 2XTE
- Page 1 1 Gear Loft NOTE: Do not drop tent bag or pole bag on its end. Do not bounce tent bag on its end to get the tent out. These actions may cut the shock cord and/or damage the pole ends.
- Page 2 Cross ventilation becomes more important in • Once the tent body is erected, stake it out before the fly is put on. This enables you very humid or extremely cold conditions when the permeable roof is less to square the tent up to ensure that the fly goes on properly and that the seams...