Oki proColor pro900DP Series Manual
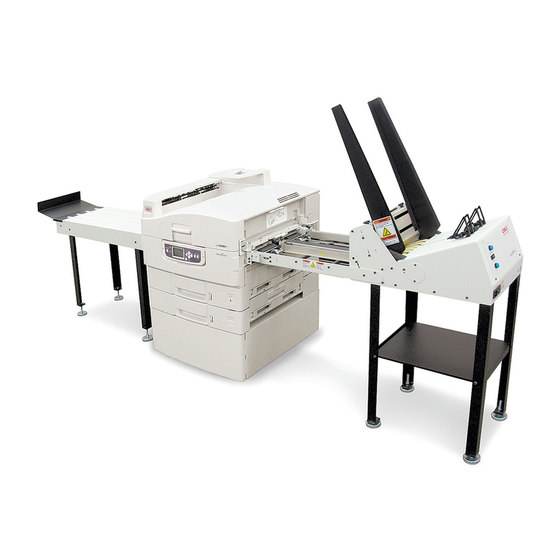
Feeder/printer
Hide thumbs
Also See for proColor pro900DP Series:
- User manual (127 pages) ,
- Warranty manual (41 pages) ,
- Assembly manual (18 pages)
Table of Contents
Advertisement
Quick Links
Advertisement
Table of Contents

Related Manuals for Oki proColor pro900DP Series


Summary of Contents for Oki proColor pro900DP Series
-
Page 3: Table Of Contents
Jog Function ..............9 Preparing for Print ..............10 Adjusting Print Driver Settings ........... 11 Overview of Key Driver Settings ........11 Media Weight Settings / Print Quality ......... 15 Troubleshooting Feed/Print Issues ..........16 ______________________________________________________________________________________ Pro900DP Set-Up and Print Overview... -
Page 4: Media Feeder Quick Start
Setting the position of the ‘wedge’ o Setting the position of the guide rails (in the discharge area) o ‘Jogging’ the feeder (stepping media through the feeder) o Setting Print driver for optimum print ______________________________________________________________________________________ Pro900DP Set-Up and Print Overview... -
Page 5: Initial Gate Adjustment
- The opening of the feeder is now ready for the initial feed test. Next Step: Loading the ‘pre-shingled’ stack into the feeder guides ______________________________________________________________________________________ Pro900DP Set-Up and Print Overview... -
Page 6: Feeder Side Guide Adjustment
1/16” from each edge. - Tighten the lock knobs (a) to set the feeder side guides into place for the initial feed test. Next Step: Setting the wedge to support media stacking ______________________________________________________________________________________ Pro900DP Set-Up and Print Overview... -
Page 7: Initial Wedge Set-Up
- Slide the wedge until the bottom sheet of media is against the belt/deck plate, and the rear ¼” edge of the sheet, is just on the sloped surface of the wedge. Tighten the wedge adjustment knobs to lock in place. ______________________________________________________________________________________ Pro900DP Set-Up and Print Overview... - Page 8 If the wedge is too far back, there will be a greater tendency to double feed media. If the wedge is too far forward there will be a tendency to not feed. Next Step: Pre-setting the side guides (discharge area) ______________________________________________________________________________________ Pro900DP Set-Up and Print Overview...
-
Page 9: Pre-Setting The Side Guides
These can be further adjusted once the feeder is powered on for the initial test. - Collect sheets of media and return them to the 2” stack in the hopper. Next Step: Jogging the system (stepping media through the feeder) ______________________________________________________________________________________ Pro900DP Set-Up and Print Overview... -
Page 10: Jog Function
(1/8-1/4”) between each side of the media and the guide rails. There should be no binding of the media and the guide rails. - If feeding problems persist, refer to Troubleshooting section of this guide, or the Feeder/Conveyor Product Guide. ______________________________________________________________________________________ Pro900DP Set-Up and Print Overview... -
Page 11: Preparing For Print
- Send the print job or (recommended !) test job of 10-15pages to the printer, and press the OnLine switch of the printer, if requested on the printer’s operator panel. - To stop the feeder at any time, press the SUSPEND switch. ______________________________________________________________________________________ Pro900DP Set-Up and Print Overview... -
Page 12: Adjusting Print Driver Settings
Output Bin – should be set to Stacker (Face-up). This is where the conveyor is located. o Collate – generally, this should be set to ‘No’, and should always be set this way for a single image printed many times. ______________________________________________________________________________________ Pro900DP Set-Up and Print Overview... - Page 13 Note: The Basic tab can be set-up (using the ‘Customization’ button) to keep all the most used settings for the pro900DP in one place. Refer to the Fiery Printing for Windows Reference (on CD) for more details.
- Page 14 For additional detail, please refer to the Fiery Color Technical Reference, the Fiery Printing for Windows (Mac) Reference, and the Fiery Print Options Guide on the CD. ______________________________________________________________________________________ Pro900DP Set-Up and Print Overview...
- Page 15 - Image Smoothing: this can be used to minimize graininess in the output when using low resolution images. - Brightness: globally adjusts darkness of the output. Lightening the image can help fusing on difficult media. ______________________________________________________________________________________ Pro900DP Set-Up and Print Overview...
-
Page 16: Media Weight Settings / Print Quality
Heavy (Envelopes) (20ppm or lower) 120 чm Heavy (Glossy Media) Slower engine speeds strongest transfer of (20ppm or lower) image Heavy (Postcard) Slower engine speeds (20ppm or lower) Media Weight Settings / Print Quality ______________________________________________________________________________________ Pro900DP Set-Up and Print Overview... -
Page 17: Troubleshooting Feed/Print Issues
Damage to Media Gate adjusted too low Re-set gate by removing media and re- checking with a single sheet. Media binding in side guides Re-adjust side guides using 2” stack of or in hopper media ______________________________________________________________________________________ Pro900DP Set-Up and Print Overview... - Page 18 OKI ® Oki Electric Industry Company, Ltd. © 2010 Oki Data Americas, Inc. 5940xxxx...