
Related Manuals for Waring PRO MG855


Summary of Contents for Waring PRO MG855
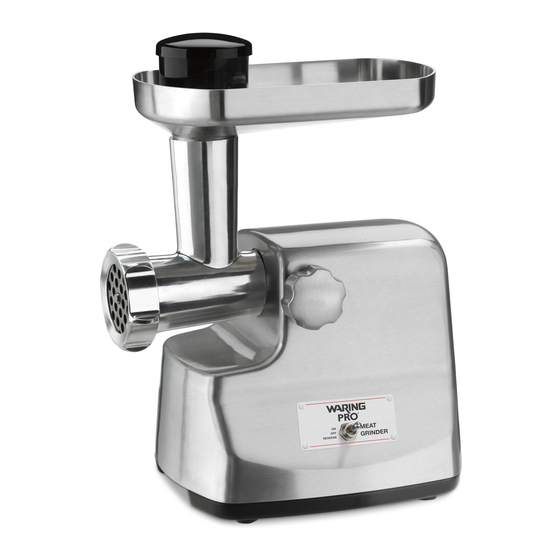
- Page 1 Professional MeaT GrinDer MG855 For your safety and continued enjoyment of this product, always read the instruction book carefully before using.
-
Page 2: Important Safeguards
IMPORTANT SAFEGUARDS When using electrical appliances, basic safety precautions should always be followed, including the following. READ ALL INSTRUCTIONS. Unplug from outlet when not in use, before putting on or taking off parts, and before cleaning. To protect against risk of electrical shock, do not put appliance in water or other liquids. - Page 3 23. This appliance has a polarized plug (one blade is wider than the other). To reduce the risk of electric shock, this plug will fit in a polarized outlet only one way. If the plug does not fit the outlet perfectly, reverse the plug.
-
Page 4: How To Use
ASSEMbLING 1. Make sure unit is unplugged while assembling. 2. Place grinder/feeder head tightly into attachment opening. Holding head with one hand, place locking knob into the hole on the side of the motor housing and tighten knob by turning clockwise. -
Page 5: Helpful Hints
CUTTING PLATES Fine Cutting Plate – Great for spreads, patés, baby food, and hamburgers Medium Cutting Plate – Great for ground meat used in soups, or for relishes Coarse Cutting Plate – Great for ground meat used in chili, or for vegetables ThESE PLATES ARE NOT DIShwAShER-SAFE. - Page 6 Grinder/Feeder Head Screw Spanner Ring Motor Housing 1. Assemble grinder/feeder 5. Tighten screw ring onto the head to motor housing. grinder/feeder head. Use spanner to secure screw ring. Grinder/Feeder Head Feed Screw Pusher Die Cast Hopper 2. Insert feed screw into the grinder/feeder head.
- Page 7 13. Place seasoned meat into Sausage Making the large die-cast hopper Ring and turn the unit on. Using pusher, push the meat into the opening in the large die-cast hopper using pusher until the mixture appears at the end of the sausage attachment.
-
Page 8: Cleaning And Maintenance
CLEANING AND MAINTENANCE • Always unplug motor unit when not in use, before inserting or removing parts, and before cleaning. • Never immerse power unit in water or other liquids. • Wash all parts except motor unit in hot soapy water, using care when handling the sharp blades. • Rinse these parts with clear hot water, then dry. REMOvAbLE PARTS ARE NOT DIShwAShER SAFE! • Wipe motor unit with a damp cloth. Do not use harsh or abrasive cleaners. • Cutting blade and cutting plate should be coated with cooking oil after washing and then wrapped in grease-proof paper to keep them lubricated and rust-free. - Page 9 Chicken, Feta & Spinach Sausage Makes 5 pounds of sausage pounds boneless, skinless chicken thighs pound boneless, skinless chicken breasts ounces crumbled feta cheese garlic cloves, peeled and minced tablespoon oregano teaspoons basil teaspoon chopped lemon zest teaspoons kosher salt teaspoon freshly ground black pepper teaspoon red pepper flakes ounces fresh spinach, shredded/chopped...
-
Page 10: Spicy Venison Sausage
–1 tablespoon cayenne pepper, to taste tablespoon onion powder teaspoons dry thyme teaspoon freshly ground black pepper teaspoon crushed red pepper teaspoon rubbed sage teaspoon allspice Remove any gristle from meat. Cut into 1-inch cubes. Place meat in a large bowl and combine with remaining ingredients. Cover and refrigerate for at least 12 and up to 24 hours for best flavor. - Page 11 making sausages (follow "To Make Sausages" instructions on page 5). Ground sausage may be stuffed into prepared casings or formed into patties. Fresh sausage should be cooked within 24 hours or double wrapped and frozen. Cook thoroughly before serving – internal temperature should register 160°F when tested with an instant-read thermometer.
- Page 12 Trademarks or service marks of third parties used herein are the property of their respective owners. ©2011 Waring Consumer Products 150 Milford Rd. East Windsor, NJ 08520 www.waringpro.com Printed in China MG855 IB 11WR122847 IB-10765...