Table of Contents
Advertisement
Quick Links
Download this manual
See also:
Owner's Manual
owner's manual
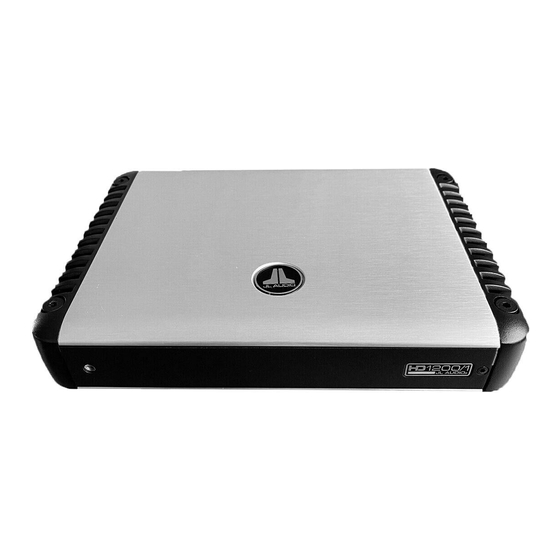
Monoblock Wide-Range Amplifier
Thank you for purchasing a JL Audio amplifier for
your automotive sound system.
Your amplifier has been designed and manufactured to exacting
standards in order to ensure years of musical enjoyment in your vehicle.
For maximum performance, we highly recommend that you have
your new amplifier installed by an authorized JL Audio dealer. Your
authorized dealer has the training, expertise and installation equipment
to ensure optimum performance from this product. Should you
decide to install the amplifier yourself, please take the time
to read this manual thoroughly so as to familiarize yourself
with its installation requirements and setup procedures.
If you have any questions regarding the instructions in this
manual or any aspect of your amplifier's operation, please contact your
authorized JL Audio dealer for assistance. If you need further assistance,
please call the JL Audio Technical Support Department
at (954) 443-1100 during business hours.
Advertisement
Table of Contents

Related Manuals for JL Audio HD1200/1


Summary of Contents for JL Audio HD1200/1
- Page 1 For maximum performance, we highly recommend that you have your new amplifier installed by an authorized JL Audio dealer. Your authorized dealer has the training, expertise and installation equipment to ensure optimum performance from this product.
-
Page 2: Protect Your Hearing
Left & Right Preamp Remote Level Connector Connector Output Jacks Control Knob (pgs. 6-7) (pgs. 6-7) (pg. 12) (pg. 13) +12 VDC Ground +12 VDC Ground Remote Remote Inputs Preouts Remote Level Control 2 | JL Audio - HD1200/1 Owner’s Manual... -
Page 3: Product Description
ProduCt desCriPtion tYPiCal installation sequenCe The JL Audio HD1200/1 is a very powerful The following represents the sequence for 7) Securely mount the amplifier using and compact monoblock (single channel), a typical amplifier installation, using an appropriate hardware. (See page 8 for detailed... - Page 4 Preouts Remote Level wire, such as JL Audio’s Premium Power Wire. recommend the use of a JL Audio master ground be necessary to strip 1 inch of insulation from Control Tinned copper wire (silver color) is acceptable lug (XB-MGLU). Alternatively, a sheet metal...
-
Page 5: Input Controls
RCA plugs for each input pair Check before drilling any holes in your vehicle or use the JL Audio ECS Speaker Wire to RCA to make sure that you will not be drilling adaptor (XD-CLRAIC2-SW). -
Page 6: Crossover Controls
1/3 octave or better. If you would like to select the filter cutoff frequency with a higher level of precision, consult the charts in Appendix B (page 18) of this manual. 10 | JL Audio - HD1200/1 Owner’s Manual... -
Page 7: Preamp Outputs
The RBC-1 Remote Bass Control used with JL Audio Slash, Slash v2, e-Series, A-Series and If you connect a load higher than 4Ω nominal, G-Series amplifiers is NOT compatible with the power will drop by half with every doubling of HD Series amplifiers. - Page 8 This LED’s behavior that may require service of the amplifier, its that it may be sent in to JL Audio for service. is as follows: wiring or the vehicle’s charging system. Audio There are no user serviceable parts or fuses inside speaker Connector Plugs is muted when this fault occurs.
- Page 9 10.74 in. x 7.85 in. x 1.93 in. (273 mm x 199.5 mm x 49 mm) Dimensions do not include connectors. Due to ongoing product development, all specifications are subject to change without notice. 16 | JL Audio - HD1200/1 Owner’s Manual...
- Page 10 Sens.” for the affected channels if any equalizer boost is activated after setting the “Input Sens.” with this procedure. This applies to any EQ boost circuit, source unit tone controls or EQ circuits. EQ cuts will not require re-adjustment. 18 | JL Audio - HD1200/1 Owner’s Manual...
- Page 11 Plugs. The speaker wire connectors are designed to accept up to 12 AWG wire. Make sure to strip the wire to allow for a sufficient connection with the metal inside each terminal. 20 | JL Audio - HD1200/1 Owner’s Manual...
- Page 12 22 | JL Audio - HD1200/1 Owner’s Manual...
- Page 13 - amPliFiers (usa) JL AUDIO warrants this product to be free of defects in materials and workmanship for a period of two (2) years. The warranty is extended to three (3) years total if installation is performed by an authorized JL Audio dealer using a JL Audio Premium Power Connection System for power wiring.