Table of Contents
Advertisement
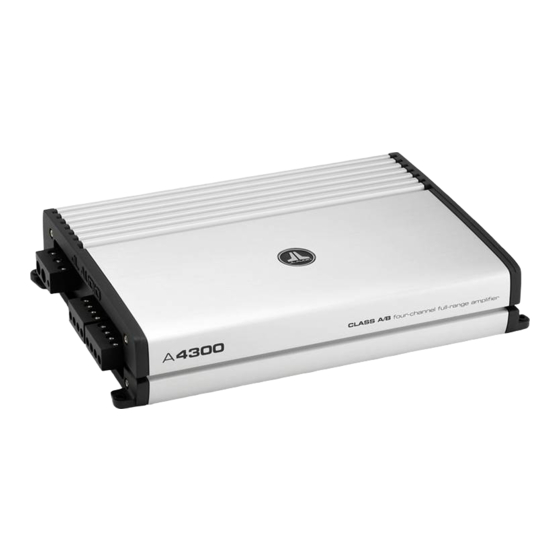
A4300
four-channel full-range amplifier
OWNER'S MANUAL
Thank you for purchasing a JL Audio amplifier for
your automotive sound system.
Your amplifier has been designed and manufactured to exacting
standards in order to ensure years of musical enjoyment in your vehicle.
For maximum performance and extended warranty
coverage, we highly recommend that you have your new amplifier
installed by an authorized JL Audio dealer. Your authorized
dealer has the training, expertise and installation equipment to ensure
optimum performance from this product. Should you
decide to install the amplifier yourself, please take the time
to read this manual thoroughly so as to familiarize yourself
with its installation requirements and setup procedures.
If you have any questions regarding the instructions in this
manual or any aspect of your amplifier's operation, please contact your
authorized JL Audio dealer for assistance. If you need further assistance,
please call the JL Audio Technical Support Department
at (954) 443-1100 during business hours.
Advertisement
Table of Contents

Related Manuals for JL Audio A-Series A4300


Summary of Contents for JL Audio A-Series A4300
- Page 1 If you have any questions regarding the instructions in this manual or any aspect of your amplifier’s operation, please contact your authorized JL Audio dealer for assistance. If you need further assistance, please call the JL Audio Technical Support Department...
-
Page 2: Protect Your Hearing
Cooling Efficiency Considerations: The outer shell of your JL Audio amplifier is designed to remove heat from the amplifier circuitry. For optimum cooling performance, this outer shell should be exposed to as large a volume of air as possible. - Page 3 6) Find a good, solid metal grounding point close to the amplifier and connect the negative power wire to it using appropriate hardware (use of the JL Audio ECS master ground lug, XA-MGL-1 is recommended). Use the same size power wire as the wire connected to the “+12VDC”...
-
Page 4: Input Section
Correct use of these filters can substantially increase the longevity and fidelity of your audio system. JL AUDIO A4300 JL AUDIO A4300 1) “Filter Mode” Control: The A4300 employs a 12dB per octave filter for each pair of channels (one filter for channels 1&2 and another filter... -
Page 5: Bass Boost Controls
(sold is not affected by the “CH 3&4 Bass Boost” separately as JL Audio Model RBC-1) that can processing selected for the amplifier or by any be mounted in the front of the vehicle. With... - Page 6 JL Audio dealer so that it may be sent in to JL Audio for service. 2) “Protect” (Red): Indicates that the amplifier There are no user serviceable parts or fuses inside protection circuitry has been activated to the amplifier.
- Page 7 HF channels will be fixed by the A4300’s subwoofer amplifier has a built-in low-pass filter. “Input Sens.” settings and will not be user All JL Audio amplifiers have this feature. adjustable from the front of the vehicle. In this configuration, channels 1&2 of the A4300...
- Page 8 38 ..“200” ..218 39 ......225 Full-clockwise: 225 JL AUDIO A4300 JL AUDIO A4300 APPENDIX C:...
-
Page 9: Appendix D: Trouble Shooting
“My amplifier shuts off once in a while, usually at higher volumes” “My amplifier turns on, but there is no output” JL AUDIO A4300 JL AUDIO A4300 Check your voltage source and grounding point. The power supply of the A4300 will operate with charging system voltages down to 10V. -
Page 10: Installation Notes
INSTALLATION NOTES: Use this diagram to document your amplifier’s switch and control positions. JL AUDIO A4300 JL AUDIO A4300... - Page 11 LIMITED WARRANTY - AMPLIFIERS (USA) JL AUDIO warrants this product to be free of defects in materials and workmanship for a period of ninety (90) days from the original date of purchase. The warranty term is extended to two (2) years if installation is performed or approved by an authorized JL AUDIO dealer (proof of installation or approval required on purchase receipt).