
Related Manuals for VeriFone RP-300

Summary of Contents for VeriFone RP-300
- Page 1 RP-300 / 310 ::: Receipt Printer User’ s manual ::: All specifications are subjected to change without notice...
-
Page 2: Table Of Contents
TABLE OF CONTENTS 1. Parts Identifications 2. Setting up the printer 2.1 Unpacking 2.2 Connecting the cables 2.3 Loading the roll paper 2.4 Dip switch setting 3. Control panel and other functions 3.1 Control panel 3.2 Error Indicating 4. Self Test 5. -
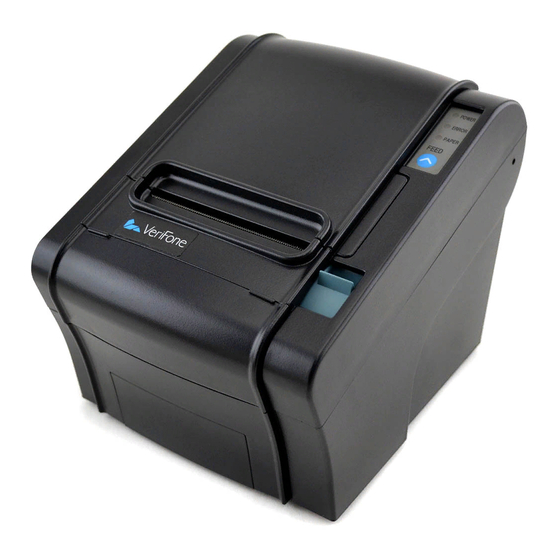
Page 3: Parts Identifications
1. Parts Identifications Page - 2-... -
Page 4: Setting Up The Printer
2. Setting Up the Printer 2-1. Unpacking Your printer box should include these items. If any items are damaged or missing, please contact your dealer for assistance. Adaptor (Option) Interface Cable (Option) Page - 3-... -
Page 5: Connecting The Cables
2-2. Connecting the Cables You can connect up the cables required for printing to the printer. They all connect to the connector panel on the back of the printer, which is shown below : Before connecting any of the cables, make sure that both the printer and the computer are turned off. -
Page 6: Interface Connector
<D -SUB Centronics Parallel Port> DESCRIPTION Output Printer transmit data line RS-232C level Input Printer receive data line RS-232C level Output Printer handshake to host line RS-232C level Input Data Send Ready System Ground DESCRIPTION Printer transmit data line Printer transmit data line... -
Page 7: Centronics Parallel Interface
GROUND SELLECT IN- 2-2-2. Cash Drawer Connector The printer can operate two cash drawers with a 6 pin RJ-11 modular connector. The driver is capable of supplying a maximum current of 1.0A for 510ms or less when not printing. SIGNAL... -
Page 8: Loading The Roll Paper
2-3. Loading the Roll Paper Notes: Be sure to use paper rolls that meet the specifications. Do not use paper rolls that have the paper glued to the core because the printer cannot detect the paper end correctly. (Turn off power switch) ? Turn off power switch. - Page 9 5. Be sure to note the correct direction that the paper comes off the roll. 6. Pull out a small amount of paper, as shown. Then, close the cover. 7. Tear off the paper as shown. Page - 8-...
-
Page 10: Dip Switch Setting
2-4. DIP SWITCH SETTING The RP-300 is set up at the factory to be appropriate for almost all users. It does, however, offer some settings for users with special requirements . It has DIP switches that allow you to change communication setting, such as handshaking and parity check, as well as print density. -
Page 11: Parallel Interface Specification
(? 1) The detecting function of [Paper Low] is an option. Please set Dip Switch (2-6) [OFF] if you don ’t need any option. If Dip Switch is [ON] without any special option purpose. Printer detects [Paper is Low] and it could cause error. - Page 12 If Dip Switch is [ON] without any special option purpose. Printer detects [Paper is Low] and it could cause error. CAUTION: Turn off the printer while removing the DIP switch cover to prevent an electric short, which can damage the printer. 1. Make sure the printer is turned off.
- Page 13 The new settings take e ffect when you turn on the printer. CAUTION: When the paper is jammed with cutter, the top cover might be stuck. In this case, repeat power on and off several times. If the top cover is still stuck, please follow the steps to release the papers from jamming.
-
Page 14: Control Panel And Other Functions
3. Control panel and other functions. 3-1. Control panel You can control the basic paper feeding operations of the printer with the button on the control panel. The indicator lights help you to monitor the printe r ’ s status. -
Page 15: Self Test
To use the hex dump feature, follow these steps: 1. After you make sure that the printer is off and Dip s/w 1-2 is ON, turn on the printer. 2. Run any software program that sends data to the printer. The printer prints “... -
Page 16: Specifications
6. Specifications Important! When using a printer power supply other than optional AC adaptor (HT -U1135, LSE 9901B2460), be sure that the following cautions are observed. Use a power supply of DC 24V ± 10% and more than 1.5A. Be careful about installing the printer in an area where there is noise. -
Page 17: Command List
Print and carriage return Print end position label to start printing Cancel print data in page mode DLE EOT Real-time status transmission DLE ENQ Real-time request to printer DLE DC4 Generate pulse at real-time ESC FF Print data in page mode ESC SP... - Page 18 GS H Select printing position of HRI characters GS I Transmit printer ID GS L Set left margin GS P Set horizontal and vertical motion units GS V Cut paper GS W Set printing area width GS \ Set relative vertical print position in page mode...
- Page 19 :: MEMO :: Page - 18-...
- Page 20 :: MEMO :: Page - 19-...
- Page 21 :: MEMO :: Page - 20-...