Table of Contents
Advertisement
Advertisement
Table of Contents

Related Manuals for M-Audio Audiophile 192


Summary of Contents for M-Audio Audiophile 192
- Page 1 High-Definition 4-in/4-out Audio Card with Digital I/O and MIDI user guide...
-
Page 2: Table Of Contents
Table of Contents Introduction ........................................................3 Overview ..........................................................3 Features ..........................................................3 What’s in the Box ......................................................3 Minimum System Requirements ................................................. 3 Windows ........................................................3 Macintosh ........................................................4 Copyrights, etc ......................................................4 Installation Procedures ..................................................... 4 Windows XP/2000 ....................................................4 Hardware Installation .................................................. -
Page 4: Introduction
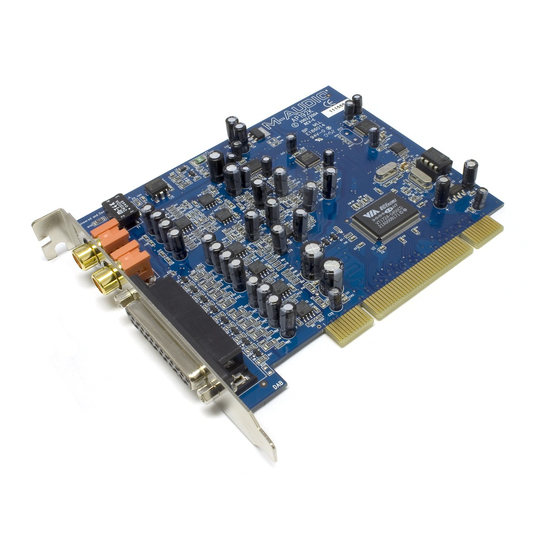
Digital Audio Workstation software. The Audiophile 192 provides your computer with a high-resolution four-input, four-output audio interface, as well as sixteen channels of MIDI in and out. The Audiophile 192 is the latest in M-Audio’s acclaimed Delta series of digital recording interfaces, based on a proven solid hardware design and innovative software driver technology. -
Page 5: Macintosh
To Install the Audiophile 192 In all operating systems, begin by inserting the M-Audio Audiophile 192 driver CD-ROM into your computer’s CD-ROM drive, then browse to the installer file for your particular operating system. If your system has AUTORUN CD enabled, the installation wizard will take you through the install process step by step. -
Page 6: Hardware Installation
When the installer has completed copying the files, you will be prompted to power your computer off and install the hardware. Select the middle option, “Yes, Power off my computer to install hardware.” Hardware Installation Turn OFF the power to your computer system and disconnect the power cords. Touch a metal plate on your computer system chassis to ground yourself and discharge any static electricity. -
Page 7: Driver Installation
Unscrew and remove the slot cover for your selected PCI slot. Insert the Audiophile 192 PCI into the selected PCI slot and press it down so that the contacts are securely seated all the way into the slot. Secure the bracket of the Audiophile 192 PCI card to the computer chassis using a chassis screw or retaining bracket. Replace the computer chassis cover and reconnect the power cords. - Page 8 During the installation, you will be prompted with a message warning that the driver software has not passed Windows Logo testing. Select “Continue Anyway” and proceed with the installation. NOTE: In Windows 2000, this message will refer instead to the drivers not passing Windows Logo testing. Again, it is safe to select Continue Anyway and proceed with the installation.
- Page 9 Once the installer has finished copying the files, you will be prompted to reboot your computer. When your computer restarts, you will see the M-Audio mixer icon in your system tray. (Note that in some cases you may not be prompted to restart. In order to make certain all files have been copied to their proper directories, it is always advisable to restart your computer again.)
-
Page 10: Mac Os X Version 10.2.X (Jaguar)
Insert the Audiophile 192 driver CD into your CD-ROM drive and open the CD to view its contents. Double-click the .dmg file, which contains the M-Audio Audiophile 192 Installer. An M-Audio volume icon will appear on your desktop. If necessary, double-click on the M-Audio volume icon to open, then click on the M-Audio installer to launch it. - Page 11 The Read Me box will appear next. This box contains important information on changes that may have occurred since the writing of this manual, so be certain to read through it. You will then be presented with the License Agreement. Click “Continue,” and then click “Agree” if you agree with the License Agreement.
- Page 12 Select a destination disk for the installation, and then click “Continue.” On the Easy Install box, click “Install.”...
- Page 13 On the following box, click “Continue Installation.” Your M-Audio drivers will install. You will then see the Installation Completed box, and be prompted to click “Restart” and reboot your computer. After the computer has rebooted, you may shut down the computer completely, disconnect your power cords, open the computer chassis and...
-
Page 14: Mac Os X Version 10.3.X (Panther)
Insert the Audiophile 192 driver CD into your CD-ROM drive and open the CD to view its contents. Double-click the .dmg file, which contains the M-Audio Audiophile 192 Installer. An M-Audio volume icon will appear on your desktop. If necessary, double-click on the M-Audio volume icon to open it. - Page 15 You will then be presented with the License Agreement. Click “Continue,” then click “Agree” if you agree with the License Agreement. Select a destination disk for the installation, and then click “Continue.”...
- Page 16 In the Easy Install box, click ’Install.” You will need to type in your Administrator Password for the next step.
-
Page 17: Hardware Installation
In the following box, click “Continue Installation.” Your M-Audio drivers will install. You will then see the Installation Completed box, and be prompted to restart your computer. After the computer has rebooted, you may shut down the computer completely, disconnect your power cords, open the computer chassis and install the Audiophile 192 into an available PCI slot. -
Page 18: Connecting The Audiophile 192
Unscrew and remove the slot cover for your selected PCI slot. Insert the Audiophile 192 PCI into the selected PCI slot and press it down so that the contacts are securely seated all the way into the slot. Secure the bracket of the Audiophile 192 PCI card to the computer chassis using a chassis screw or retaining bracket. Replace the computer chassis cover and reconnect the power cords. -
Page 19: Using The Control Panel
The Audiophile 192 control panel is installed in your system when you complete the driver installation procedure. To open the control panel: In Windows – A tiny “M,” which is the M-Audio logo, will by placed in the system tray, generally located at the bottom of your Windows desktop. -
Page 20: H/W In S/Pdif
H/W in S/PDIF These faders control the mixer level of the audio stream output connected directly to the S/PDIF digital Inputs, providing for zero-latency hardware monitoring. NOTE that the S/PDIF Inputs and S/PDIF Outputs cannot be monitored at the same time. This selection must be made on the S/PDIF page of the control panel. -
Page 21: Hardware Settings Page
When synced to external clock via S/PDIF, you must set the sample rate manually on this page to match that of your external clock source. MultiTrack Driver Devices As with all M-Audio Delta series audio devices, the Audiophile 192 is capable of synchronizing with multiple Delta cards when running DAW software that supports simultaneous multiple channels. -
Page 22: Asio Options
As a rule, lower latency is preferable when recording, while maximum stability is desired when mixing. Try to select the lowest buffer setting your system will allow for recording, and a higher buffer setting for mixing. ASIO Options Checking this box will disable your DAW application’s ASIO drivers from using the Monitor Mixer and Router, allowing you to use your DAW application’s internal routing. -
Page 23: About Page
Alternatively, you can email us at Or contact us by phone at: (626) 633-9055 Technical support is available by telephone from 7am - 7pm PST M-AUDIO U.S. M-AUDIO Deutschland (Germany) 5795 Martin Road, Irwindale, CA 91706-6211, U.S.A. Kuhallmand 34, D-74613 Ohringen, Germany Sales Information:... -
Page 24: Specifications
Warranty Terms M-Audio warrants products to be free from defects in materials and workmanship, under normal use and provided that the product is owned by the original, registered user. Visit www.m-audio.com/warranty for terms and limitations applying to your specific product. - Page 25 AP192_UG_EN1...