
Related Manuals for Zanussi FLS 879 C


Summary of Contents for Zanussi FLS 879 C
-
Page 1: Washing Machine
WASHING MACHINE FLS 879 C F L S - 8 7 9 C 10 11 12 13 INSTRUCTION BOOKLET 35.292.488/0... -
Page 2: Your New Washing Machine
Your New Washing Machine Your new washing machine, meets all modern needs for effective treatment of laundry with low water, energy and detergent consumption. The special wool programme with its new delicate In the interest of the wash system treats your woollen with extreme environment gentleness. -
Page 3: Important Safety Information
Keep all detergents in a safe place out of children’s Under no circumstances should you attempt to repair the reach. machine yourself. Repairs carried out by inexperienced persons may cause injury or serious malfunctioning. Contact your local Zanussi Service Centre. Always insist on genuine Zanussi spare parts. -
Page 4: Table Of Contents
Contents For the User For the Installer Your New Washing Machine Installation Instructions Important Safety Information Technical Specifications Unpacking Description of the Appliance Positioning The Control Panel Water inlet Water drainage Operating sequence Levelling Before the first use Special conditions Load the laundry Electrical connections Measure out the detergent... -
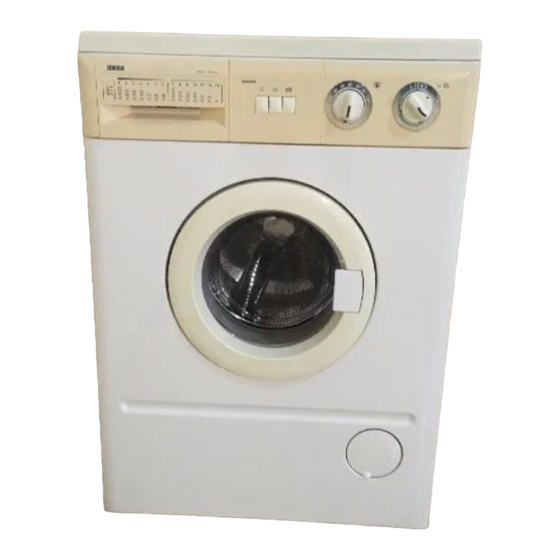
Page 5: Description Of The Appliance
Description of the Appliance 1 Detergent dispenser drawer 4 5 6 2 Programme guide 3 “Mains-on” light 4 “Options” buttons F L S - 8 7 9 C 10 11 12 13 5 Temperature selector dial 6 Program selector dial & ON/OFF switch 7 Door opening handle 8 Filter 9 Adjustable feet... -
Page 6: The Control Panel
The Control Panel F L S - 8 7 9 C 10 11 12 13 1 Programme Guide 5 Reduced spin button By depressing this button the spin speed will be reduced 2 ON/OFF LAMP as follows: - cotton and linen programmes: from 850 to 400 rpm It lights when the appliance is operating. -
Page 7: Operating Sequence
Operating Sequence Before your first wash, we recommend that you run a cotton cycle at 60°C, without any laundry in the machine, to remove any manufacturing residue from the drum and tub. Pour 1/2 a measure of detergent into the dispenser drawer and start the machine. -
Page 8: Select The Required Programme
5. Select the required programme Turn the programme selector dial CLOCKWISE to the required programme. P0215 6. Start the machine Before starting up the machine check that: the appliance is plugged in the water supply tap is turned on the door and the detergent dispenser drawer are closed. -
Page 9: Washing Programmes
Washing Programmes Programmes for cotton and linen Maximum load 5 kg Program. Compartments Possible dial Program Temperature ˚C Degree of soil Description to use options position Prewash at 40 ˚C Whites with Wash at 60˚- 90˚C 60°- 90° Heavy soiled prewash 4 rinses Spin at 850 rpm... -
Page 10: Washing Programmes
Washing Programmes Programmes for synthetics, delicates and wool Maximum load 2 kg (wool maximum load 1 kg) Program. Compartments Possible dial Program Temperature ˚C Degree of soil Description to use options position Prewash at 40 ˚C Wash at 40˚- 60˚C Mixed 40°- 60°... -
Page 11: Washing Hints
Washing Hints Do NOT overload the machine. Weigh the laundry the Some stains such as fruit, wine, grass, rust etc. are first few times you use the appliance. difficult to remove and should be treated before washing with specific products, which can be found The average weights of the most common items are in most household shops. -
Page 12: Wash Care Symbols
Wash Care Symbols Wash care labels inside garments recommend how to launder your clothes with the best results. The care labelling code is in line with care labelling used in the rest of Europe. The symbols used make it easy to select the correct programme on your washing machine. -
Page 13: Maintenance And Cleaning
Maintenance and Cleaning Before any maintenance or cleaning is carried out you must DISCONNECT tha appliance from the electricity supply Descaling The water we normally use contains lime. It is a good idea to periodically use a water softening powder in the machine. -
Page 14: Cleaning The Filter
Cleaning the filter The water drain filter A clean filter is important for the correct functioning of the machine, and should therefore be cleaned after every washing programme. Open the filter door and place a container underneath to catch any spillage. If the filter is blocked and the machine is unable to drain you will need to drain the water manually from the machine at this stage. -
Page 15: Something Not Working
Something Not Working Certain problems are due to lack of simple maintenance or oversights, which can be solved easily without calling out an engineer. Before contacting your Local service Force Centre, please carry out the checks listed below. Symptom Possible causes The machine does not start The door has not been closed. - Page 16 Symptom Possible causes The door will not open The programme is still running. The door lock has not yet released The water level in the drum is too high or the machine is heating. Spinning starts late or the machine The electronic unbalance detection device has cut in because the does not spin laundry is not evenly distributed in the drum.
-
Page 17: Installation Instructions
Installation Instructions It is dangerous to alter the specifications or attempt to modify this product in any way. Care must be taken to ensure that the appliance does not stand on the electrical supply cable. Any electrical work required to install this appliance should be carried out by a qualified electrician or competent person. -
Page 18: Unpacking
Unpacking Before starting the machine up, the transport security bolts must be removed as follows: You are advised to keep all the packaging for re-use in case the appliance has to be transported again. Unscrew and remove the three rear transit bolts (using a spanner). -
Page 19: Positioning
Positioning Your new Zanussi washing machine has been designed to be permanently plumbed in to you home’s water supply and drainage system. However, if this is not possible, it may be connected to suitable existing taps, with the drain hose discharging into the sink. -
Page 20: Water Drainage
Water drainage If you intend the drain hose from the machine to empty into a sink, make sure that the sink is empty and that the plug hole is not blocked. Place the drain hose in the sink with the aid of the bent piece delivered separately. -
Page 21: Levelling
Levelling Level the washing machine by loosening or tightening the feet. Once in the right position fix the feet by pushing the nuts against the base of the case Accurate levelling prevents vibration, noise and displacement of the machine during operation. After levelling the machine, secure the feet by tightening the ring nuts with the aid of a screwdriver. -
Page 22: Electrical Connections
The cover/carrier is indicated by the coloured insert at the base of the plug. A replacement cover/carrier must be obtained from your local Zanussi Service Centre, whose address is listed in the Customer Care Booklet which accompanies your instruction manual... - Page 23 EPESL...