Table of Contents
Advertisement
User's Manual
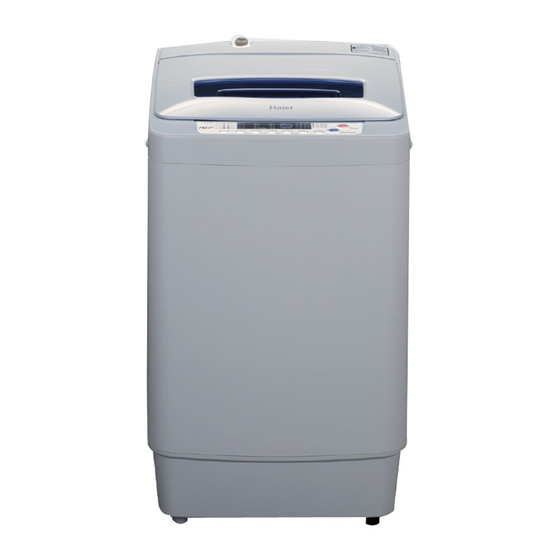
Fully Automatic Washing Machine
This manual is for
HWM70-918NZP
Please read this manual carefully before using.
Retain it for future reference.
Index
adjustment............................5
washing ................................9
to question..........................
...............2
...........................4
...............4
.......
.......................
0030809432
.... 11
13
15
16
Advertisement
Table of Contents

Summary of Contents for Haier HWM70-918NZP
-
Page 1: Table Of Contents
Use the operation buttons ..11 Disposal after washing .. Trouble-shooting Answer to question......Specification ....... This manual is for HWM70-918NZP Please read this manual carefully before using. Retain it for future reference. 0030809432 ... -
Page 2: Safety Precautions
Safety precautions Meaning and description of the symbols Contents marked with that symbol are related to the safety of the product and the personal safety of the users. Please operate in strict conformity to the contents, otherwise it may cause damage of the machine or injure the personal safety Warning sign of the user. - Page 3 In case the washing machine is installed on ground with carpet, do not block the ventilation hole with carpet. Do not put the machine at damp place like the bathroom. Never wash it with water. Do not put wet laundries on the control panel.
-
Page 4: Packing List
Packing list Fully automatic Water inlet hose Bottom plate Tapping screws User’s manual washing machine (One Package) Warranty card Names of the parts Top lid component Detergent box Control panel seat Outer tub cover Lint filter(2 pieces) Liquid whitener inlet Filter cover(2 pieces) Screw cover(right) Balance ring... -
Page 5: Installation And Adjustment
Installation and adjustment Please install and adjust the machine according to the requirement of the manual. It is very important to your security and correct operating the machine. 2.Caste hit the control handle position 1. Move the control handle of trundle to shown in the figure ,the control handle the point 1 and the control handle fix on will be fixed by the frist reference... - Page 6 Confirm the water faucet It is required that the front end shall be longer than 10mm. The exit end face of the faucet shall be flat and smooth.If not please file it to avoid leakage. water faucet, not suitable water faucet, suitable The exit end face of the faucet Connection between the water inlet hose jointer and the...
-
Page 7: Connection Between The Water Inlet Hose And The Washer
Connection between the water inlet hose and the washer 1.Do not take off the water absorption cushion. Please check if the cushion is dropped or damaged before nut of the water each usage. If it happens please contact our inlet hose after-sale department immediately. -
Page 8: How To Change The Direction Of The Drain Hose
How to change the direction of the drain hose 1. Dismount the back cover of the 3. Extend the drain hose from the other washing machine. side, then fix the screw of the drain hose 2. Put down the drain hose. Take off rack, fix the drain hose hook and hang the drain hose hook. -
Page 9: Preparation Before Washing
Preparation before washing Connect the water inlet hose. Open the water faucet. Confi rm that the washing machine is earthed reliably. Then insert the power plug into the receptacle. The earth terminal shall not link to gas pipeline and faucet water pipeline. Put down the drain hose. - Page 10 The capacity of washing and spinning of the machine refer to the largest weight of the standard laundries under dry condition that can be washed or spinned in one time. One time washing quantity shall be lower than the rated capacity. The thickness, size, type of the cloth will infl...
-
Page 11: Use The Operation Buttons
Use the operation buttons Push the “Power” button to switch on the power. On: indicate the program about to run,or indicate the selected mode or indicate the water level When the power is on, push it again to switch off the power. Flashing: indicate the running program Push the “Power”... - Page 12 Push the “ ” button to switch on the power It has the special power resume function. In the case of power failure or the power plug is loose during running, the machine can save the running program, and resume the program after the power supply is recovered.
-
Page 13: Disposal After Washing
Push the “ ” button to select suitable delay wash program After switching on the power, the delay time program is set to off mode automatically. If you need to set the washing procedure to be fi nished at delay time, please push the “DELAY” button to set the delay wash program. - Page 14 Cleaning the lint filter: Push down the spring piece at the top of the lint filter to make the claws out of the filter cover, and then pull out the lint filter to get it down.(figure 1) Pull the back cover of the lint filter, and then you can get down it off the front cover of the lint filter.(figure 2) Sweep the rubbish in the lint filter.Put the back cover of the lint filter into the front cover .
-
Page 15: Trouble-Shooting Answer To Question
Trouble-shooting Answer to question (If there’s breakdown, please pull off the power plug before checking) The following phenomenon are not breakdowns sometimes. Please confirm again before sending it to repair. If there are real breakdowns, please come to the special maintenance department or after-sale service department of our company. -
Page 16: Specification
Phenomena Explanation The spinning is intermittent when it starts. Balance the laundries to avoid slanting. Push the “spin” button to select “Spin”, but it doesn’t The program is setting the drain time. Some time is work. needed before it starts spinning. There may be some water flowing out of the drain hose It is the water remained in the factory inspection of in the first use of the machine.


