Table of Contents
Advertisement
Advertisement
Table of Contents

Related Manuals for Electrolux EOD43103


Summary of Contents for Electrolux EOD43103
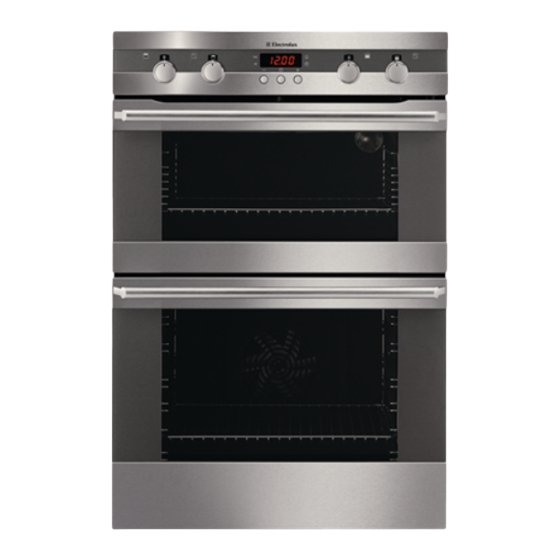
- Page 1 Built in double oven EOD43103...
-
Page 2: Table Of Contents
2 electrolux Share more of our thinking at www.electrolux.com Contents Safety information Product description Before first use Operation Care and cleaning What to do if… Installation Safety information These warnings are provided in the interests of your safety. Ensure that you understand them all before installing or using the appli- ance. -
Page 3: Product Description
• Only clean this appliance in accordance with the instructions given in this book. • Never use steam or high pressure steam cleaners to clean the appliance. Control panel Top oven handle Top oven Main oven handle Main oven electrolux 3... -
Page 4: Before First Use
4 electrolux Control Panel Overview Top oven function knoob Top oven temperature knob Decrease button Mode button Increase button Main oven function knob Main oven temperature knob Display Oven accessories 3 oven shelfs Before first use Rating plate This is situated on the front frame of the ap- pliance and can be seen upon opening the door. - Page 5 2. Remove all accessories and the shelf support rails and wash them with warm water and washing up liquid. 3. Then wash out the oven with warm water and washing-up liquid, and dry. 4. Wipe the front of the appliance with a damp cloth. electrolux 5...
-
Page 6: Switching Top Oven On/Off
6 electrolux Operation The top oven The top oven is the smaller of the two ovens. It is heated by elements in the top and bot- tom of the oven. It is designed for cooking smaller quantities of food. It gives especially good results if used to cook fruitcakes, sweet and savoury flans or quiche. - Page 7 2 minutes and the oven switches itself off. 3. The signal and the programme can be stopped by pressing any button. electrolux 7 Application button repeatedly un- or decrease lights up. button repeatedly un-...
- Page 8 8 electrolux End time 1. Press the Mode button repeatedly un- til the function indicator End time flashes. 2. Using the increase button set the desired switch-off time. After approx. 5 seconds the display re- turns to showing the current time. The...
- Page 9 Hints and tips when using the top oven • Arrange the shelves in the required posi- tions before switching the oven ON. Shelf positions are counted from the bottom up- wards. electrolux 9...
- Page 10 10 electrolux • There should always be at least 2.5cm (1”) between the top of the food and the ele- ment. This gives best cooking results and allows room for rise in yeast mixtures, Yorkshire puddings etc. When cooking cakes, pastry, scones bread etc., place the tins or baking trays centrally on the shelf.
- Page 11 20 - 30 190 - 200 30 - 50 150 - 170 90 - 120 170 - 180 40 - 50 electrolux 11 Grill Time (mins in total) 10 -12 4 - 6 12 - 18 6 - 10 20 - 30...
- Page 12 12 electrolux Food Pastry: - Choux - Eclairs, Profiteroles - Flaky/Puff Pies Shortcrust: - Mince Pies - Meat Pies - Quiche, Tarts, Flans Scones Shepard´s Pie Soufflés Vegetables: - Baked Jacket Pota- toes - Roast Potatoes Yorkshire Pudding: - Large...
- Page 13 1 - 1.5 kg Turbo Grill 1.5 - 2 kg Turbo Grill 3.5 - 5 kg Turbo Grill 2.5 - 3.5 Turbo Grill 4 - 6 kg Turbo Grill electrolux 13 Level Tempera- Time (h:min) ture (°C) 160 - 170 0:45 - 1:00...
- Page 14 14 electrolux Food Bacon Rashers Beefburgers Chicken Joints Chops - Lamb - Pork Fish - Whole Trout/ Makarel Fillets - Plaice/Cod Kebabs Kidneys - Lamb/Pig Sausages Steaks - Rare - Medium - Well Done Toasted Sandwiches Main Oven - Ultra Fan...
- Page 15 180 - 200 150 - 170 180 - 190 190 - 200 190 - 210 Follow manufacturer´s instructions 190 - 200 electrolux 15 Approx Cook Time (mins) 25 - 45 8 - 12 see Roasting Chart Cooking Time 20-35 minutes per ½ kg (1lb) and 20-35 minutes over 20-35 minutes per ½...
-
Page 16: Care And Cleaning
16 electrolux Food Quiches/Flans Scones Roasting: Meat and Poultry Main Oven - Pizza Setting Food Apple Pie Plate Tart Pizza Quiches/Tarts Care and cleaning Warning! When cleaning, the appliance must be switched off and cooled down. Warning! Cleaning the appliance with a steam jet or high-pressure cleaner is prohibited for safety reasons. - Page 17 To protect the oven light bulb and the glass cover, lay a cloth on the floor of the oven. Replacing the oven light bulb/Cleaning the glass cover 1. Take off the glass cover by turning it an- ticlockwise and clean it. electrolux 17...
- Page 18 18 electrolux 2. If necessary: replace with a 40 Watt, 230V, 300°C heat-resistant oven light bulb . 3. Refit the glass cover. Replacing the side oven lamp/Cleaning the glass cover (for selected models only) 1. Take out the left-hand side rails.
- Page 19 On the open side of the door strip (B) there is a guide bar (C). This must be pressed between the outer side of the door and the corner (D). The seal (E) must audibly click into place. electrolux 19...
- Page 20 20 electrolux 3. Open the door as far as it will go. 90° 4. Fold the clamp levers on both door hing- es (A) down into their original position. 5. Close the oven door. Warning! Before cleaning always allow the appliance to cool down before switching off at the electricity supply.
-
Page 21: What To Do If
The appliance should now be working normally. Ensure the cooling fan is running when the grill is on. If the cooling fan fails, the grill will not operate correctly. Contact your local serv- ice force centre. electrolux 21... -
Page 22: Installation
22 electrolux Problem The indicator neons are not work- ing correctly. The oven is not cooking evenly. The oven light fails to illuminate. The oven fan is noisy. The oven temperature is too high or too low. Installation • The set-up of the electrical installation is... - Page 23 23 600 min 550 min 2000 min 907 min 560 min 570 max 300 min...
- Page 24 24 electrolux 2x 3,5x25 Electrical Installation • Enquiries regarding the installation of the cooker point, if required, should be made to your Regional Electricity Company to ensure compliance with their regulations. • The appliance socket switch should be outside the cabinet but within 2m of the appliance to make it accessible to switch off the appliance in case of an emergency.
-
Page 25: Disposal
Packaging material GREAT BRITAIN & IRELAND - Guarantee/Customer Service Standard guarantee conditions We, Electrolux, undertake that if within 12 months of the date of the purchase this Elec- trolux appliance or any part thereof is proved to be defective by reason only of faulty work-... -
Page 26: Great Britain & Ireland - Guarantee/Customer Service
• Appliance hasn't been serviced, main- tained, repaired, taken apart or tampered with by person not authorised by us. • Electrolux Service Force Centre must un- dertake all service work under this guar- antee • Any appliance or defective part replaced shall become the Company's property. -
Page 27: Www.electrolux.com
Electrolux For Customer Service in The Republic of Ireland please contact us at the address below: Electrolux Group (Irl) Ltd, Long Mile Road, Dublin 12, Republic of Ireland Tel: +353 (0)1 4090751, Email: serv- ice.eid@electrolux.ie +35 5 4 261 450... - Page 28 040671 RO Industriestrasse 10, CH-5506 Mägenwil Gerbičeva ulica 98, 1000 Ljubl- jana Electrolux Slovakia s.r.o., Elec- trolux Domáce spotrebiče SK, Seberíniho 1, 821 03 Bratislava Electrolux Service, S:t Görans- gatan 143, S-105 45 Stockholm Tarlabaşı caddesi no : 35 Tak- sim İstanbul...
- Page 29 29...
- Page 30 30 electrolux...
- Page 31 31...
- Page 32 892930010-F-082009...