HP c150w User Manual
Hp c150w digital camera - user manual
Hide thumbs
Also See for c150w:
- Quick start manual (34 pages) ,
- User manual (13 pages) ,
- Product information (2 pages)
Table of Contents
Advertisement
Quick Links
Advertisement
Table of Contents

Related Manuals for HP c150w


Summary of Contents for HP c150w
-
Page 2: About This Manual
Preface About this Manual • The contents of this manual and the bundled Basic Reference are subject to change without notice. • Note that the example screens and product illustrations shown in this User’s Guide may differ somewhat from the screens and configuration of the actual camera. Copyright •... -
Page 3: Getting To Know Your Camera
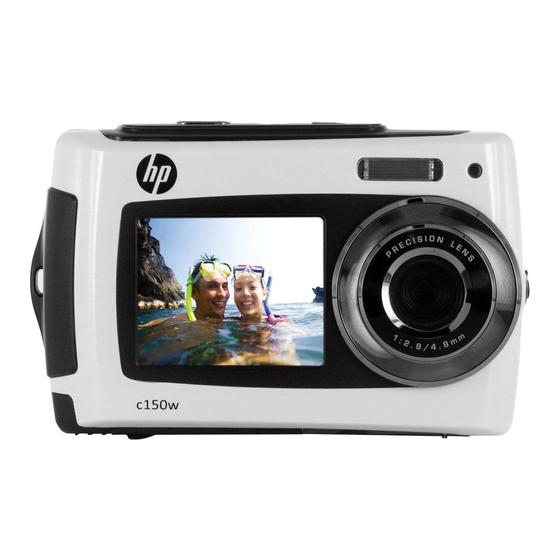
• Allow the camera to warm up when moving from cold to warm temperatures. • Do not touch the camera lens. • Do not expose the lens to direct sunlight for extended periods. • Do not use abrasive chemicals, cleaning solvents or strong detergents to clean the product. Wipe the product with a slightly damp soft cloth. - Page 4 button the big monitor. Strap hook Hook for attaching the wrist strap to the camera. Use the built-in flash to give the subject extra lighting if it is in dark Flash light surroundings(the best flash distance is recommended within 1.5m). Records the image to be taken.
-
Page 5: Explanation Of The Status Icons
Tripod To fix the camera on the tripod. connector Via this connection, you can download photographs and video 18 USB interface clips to a computer. Micro SD card Micro SD card storage location. slot Battery Compartment for 2 x AAA alkaline batteries compartment 3. -
Page 6: Details For Camera Setting
Zoom indicator Shows the zoom ratio in preview mode The micro SD card is inserted and will be The micro SD card used as storage for PHOTO and VIDEO indication White Balance Shows selected White-balance mode. Photo mode: No. of pictures that can be taken. Photo/Video counter Video mode: Recording time in seconds. -
Page 7: Using The Camera
White balance selected for Fluorescent fluorescent surrounding Sounds Off/On Sounds setting Select power frequency in Frequency 50Hz / 60Hz your location Power Save Off / 1Minute / 3 Minutes Auto power off selection English/ French/ Language Display language selection Deutsch/Italian/Spanish/ Portuguese/Japanese Date/Time YY/MM/DD... -
Page 8: Setting The Resolution
5.3 Formatting the micro SD card 1. Press the Menu button ( ) in PHOTO or VIDEO mode. 2. Select the setup mode by pressing the Right button. 3. Select the format icon by pressing the ) button and press the Shutter button to confirm. -
Page 9: Recording Video Clips
5.7 Self-photographying using the small monitor If you want to take a photo of yourself, you can simply use the small monitor LCD screen. Follow the steps below: 1. Press the LCD switch button to switch to the small monitor on the front of the camera. 2. -
Page 10: Connecting To A Pc
5.11 Protecting photographs/videos You can prevent the photographs/videos in the micro SD card from accidental erasure. Follow the instructions below to protect photographs/videos. 1. Press the Playback ( ) button to get into Photo playback mode. 2. Press the Left or Right button to select the photograph/video clip to be protected. 3. -
Page 11: Specifications
unlocked before open). 2. Insert the proper connector end of the provided USB cable into the camera port. 3. Connect the other end of the USB cable to available PC/Laptop USB port. 4. Press and hold the camera power button (2 seconds) to power on the camera so that a connection can be established. -
Page 12: Minimum System Requirements
8. Minimum system requirements WinXP (SP3)、 Vista32/64 Win7 32/64 and Mac OS X 10.6.8 Operating system or above Pentium III or above At least 64MB Interface Available USB 2.0 or USB 3.0 port 9. Troubleshooting Problem Cause Solution Cannot power on the Low battery power.