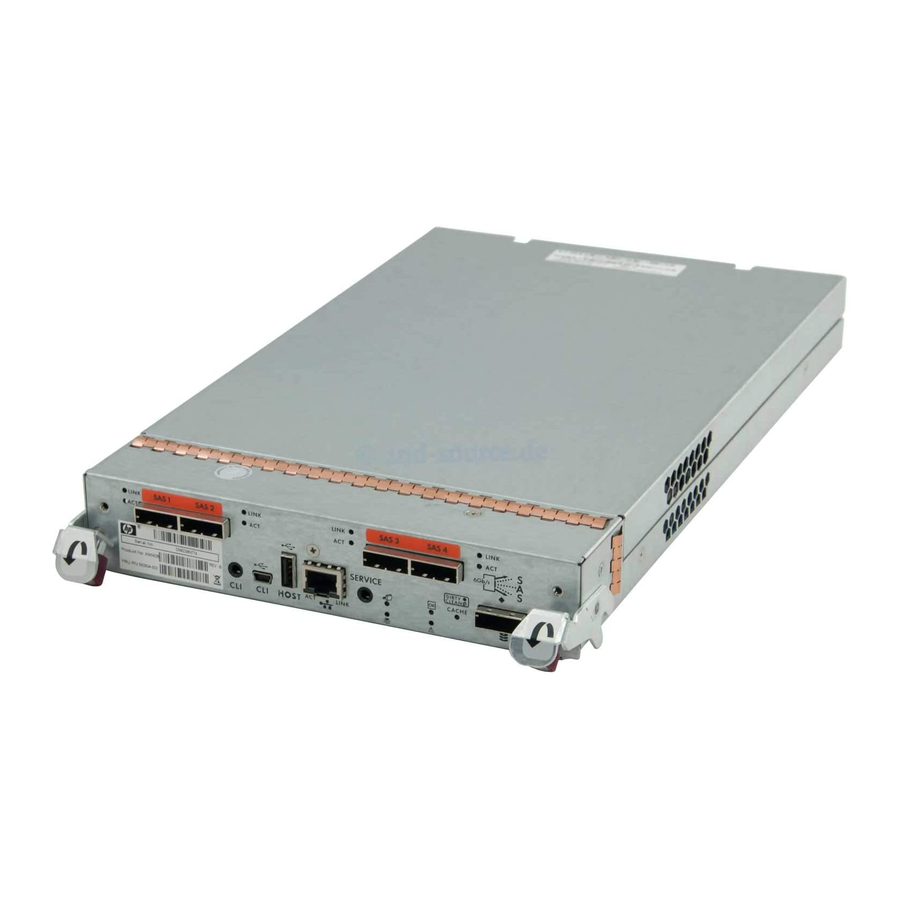
HP P2000 Instructions
Hp msa system racking instructions
Hide thumbs
Also See for P2000:
- Reference manual (448 pages) ,
- Deployment manual (74 pages) ,
- Release note (18 pages)
Advertisement
Quick Links
HP MSA System Racking
Instructions
This document provides instructions for installing this
racking kit and then mounting an HP MSA storage
enclosure.
© Copyright 2010, 2011 Hewlett-Packard Development Company,
L.P.
Fourth edition: April 2011
The information in this document is subject to change without notice.
Printed in China
www.hp.com
*494159-004*
Audience assumptions
This document is for the person who installs, administers, and
troubleshoots servers and storage systems. HP assumes that you are
qualified in the servicing and installation of computer equipment and are
trained in recognizing hazards in products and hazardous energy levels.
Rack planning and resources
HP Modular Smart Array (MSA) Systems are supported for installation
in the HP 10000 series of racks. (Other racks might also be suitable, but
have not been tested.) For information about setting up the rack, including
the appropriate warnings and cautions, see the documentation that came
with the rack. Updated rack information can be downloaded from the
HP website http://www.hp.com/products/racks.
Site requirements
Detailed site requirements are provided at the end of this document and
in the user guide. Before installing, verify that the installation site meets
the system requirements for:
Space and airflow
Temperature
Power and grounding
Rack kit contents
Item
Quantity
Rear rail brackets
2
Front rail brackets
2
Side brackets
2
Cage nuts
10
Hanger pins*
6
8-32 x 3/16 Phillips flat-head screws
4
6-32 x 1/4 Phillips pan-head screws
3
8-32 x 3/8 Phillips flat-head screws
6
10-32 x 3/4 Phillips truss-head screws
8
10-32 x 5/8 Phillips flat-head screws
2
* Hanger pins may be pre-installed on the front and rear rail brackets.
Rack installation
HP recommends installing all storage enclosures at the bottom of a rack.
To optimize cabling access, avoid interleaving enclosure and server
products.
Step 1: Install cage nuts on the rack
NOTE:
Markings shown are provided for illustration purposes only;
your device may be installed in a different location.
Front uprights
IMPORTANT:
Placement of the middle cage nut is different on the right and
left side on the front of the rack.
Rear uprights
Step 2: Assemble rails
1.
Slide the rear rails into the front rails.
2.
Align the first, third, and fifth holes in the rear rail bracket with the
slots of the front bracket. Loosely install three 8-32 x 3/8 Phillips
flat-head screws in each rail set. They will be tightened after rails
are installed.
Advertisement

Summary of Contents for HP P2000
- Page 1 Power and grounding Slide the rear rails into the front rails. Rack kit contents Item Quantity © Copyright 2010, 2011 Hewlett-Packard Development Company, L.P. Rear rail brackets Fourth edition: April 2011 Front rail brackets The information in this document is subject to change without notice.
-
Page 2: Space And Airflow Requirements
Install two hanger pins into the front and one into the rear of each Step 4: Prepare enclosure Step 6: Install enclosure ears rail set. Detailed site requirements Attach one side bracket to each side of the enclosure, using four 8-32 x 3/16 Phillips flat-head screws. -
Page 3: Rack Warnings
Additional websites wiring codes, such as the International Electrotechnical Commission (IEC) Code 364, parts 1 through 7. Furthermore, you must be sure that all P2000 G3 MSA Systems: http://www.hp.com/go/p2000 power distribution devices used in the installation, such as branch wiring and receptacles, are listed or certified grounding-type devices.


