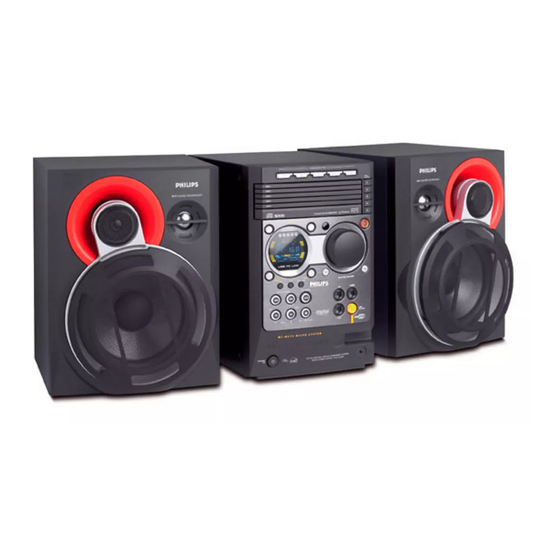
Philips MC-M570/37 Manual
Hide thumbs
Also See for MC-M570/37:
- User manual (26 pages) ,
- Specifications (2 pages) ,
- Service manual (60 pages)

Related Manuals for Philips MC-M570/37


Summary of Contents for Philips MC-M570/37
- Page 1 M570 M570 Micro Hi-Fi System visit our website www.audio.philips.com to download latest UPDATES of USB PC Link Driver MusicMatch Jukebox softwares and FAQs.
-
Page 2: How To Connect Plug
Italia U.K. DICHIARAZIONE DI CONFORMITA’ Mains plug Si dichiara che l’apparecchio MC-M570, Philips This apparatus is fitted with an approved 13 risponde alle prescrizioni dell’art. 2 comma 1 del Amp plug. To change a fuse in this type of plug D.M. - Page 3 5 D I S C D I R E C T P L AY DISC 1 DISC 2 DISC 3 DISC 4 DISC 5 5 D I S C D I R E C T P L AY OPEN/ DISC 1 DISC 2 DISC 3 DISC 4...
- Page 4 Den inbyggda nätdelen är därför ansluten till elnätet så länge stickproppen sitter i vägguttaget. Energy Star As an ENERGY STAR Partner, Philips has determined that this product meets the ENERGY STAR guidelines for energy efficiency.
- Page 5 Index English ------------------------------------------------ 6 Français -------------------------------------------- 26 Español --------------------------------------------- 42 Deutsch --------------------------------------------- 66 Nederlands ---------------------------------------- 86 Italiano -------------------------------------------- 106 Svenska ------------------------------------------- 126 Dansk --------------------------------------------- 146 Suomi --------------------------------------------- 166 Português ---------------------------------------- 186 ∂ÏÏËÓÈο ----------------------------------------- 206 Polski ---------------------------------------------- 228...
-
Page 6: Table Of Contents
Contents General Information Disc Operations Supplied accessories ..........7 Playable discs ............16 Environmental information ........ 7 Loading discs ............16 Care and safety information ......7 Basic playback controls ........16 Playing an MP3 disc ..........17 Repeat and Shuffle ..........17 Functional Overview Repeat play ............ -
Page 7: General Information
General Information This product complies with the radio Care and safety information interference requirements of the (page 3 – P2) European Community. Avoid high temperatures, moisture, Refer to the type plate on the rear or water and dust bottom of the system for identification –... -
Page 8: Functional Overview
Functional Overview 5 D I S C D I R E C T P L AY DISC 1 DISC 2 DISC 3 DISC 4 DISC 5 › OPEN/ CLOSE DISC 1 ¡ DISC 2 DISC 3 DISC 4 DISC 5 CD / CD - R / CD - RW COMPATIBLE MP3-CD &... -
Page 9: Control Buttons Available On The Remote Only
Functional Overview TITLE +- (í ë) Control buttons available on the – Selects an MP3 title /track. remote only ≤ Display screen REPEAT – Repeats a track /disc / all programmed tracks. Disc trays (1~5) ∞ SLEEP 5 DISC DIRECT PLAY 1~5 (CD 1~5) –... -
Page 10: Connections
Connections Refer to page 3 - P5 WARNING! Step 1: Connecting FM/ AM – Use only the supplied speakers. antennas The combination of the main unit and – Place the AM loop antenna on a shelf or speakers provide the best sound. Using other speakers can damage the attach it to a stand or wall. -
Page 11: Step 2: Connecting The Speakers
Connections Step 2: Connecting the Step 5: Inserting batteries into speakers the remote control Connect the speaker wires to the SPEAKERS terminals, right speaker to "R" and left speaker to "L", coloured (marked) wire to "+" and black (unmarked) wire to "-". Fully insert the stripped portion of the speaker wire into the terminal as shown. -
Page 12: Usb Pc Link
USB PC LINK, please refer to the FAQ application. Remember to (Frequently Asked Questions) stored in your USB PC un-install all other MusicMatch jukebox LINK installer disc or visit “www.audio.philips.com” software first from your PC system for latest update on FAQ. (if available). -
Page 13: English
USB PC Link Connecting to USB PC Link Enable digital CD audio output Before playing the CD through your PC’s USB PC LINK allows you to playback your music CD-ROM drive, it is necessary to configure your collection from the PC via the powerful amplifier PC’s hardware as follows: and speakers of this system. -
Page 14: Basic Operations
Basic Operations Switching on/off Setting the clock The clock can be set in either 12-hour or Switching to active mode 24-hour mode ("11:59 " or "23:59" for example). Press CD, TUNER, AUX or USB PC LINK. Switching to Eco Power standby mode (00: Press B. -
Page 15: Selecting Different Display Mode
Basic Operations Selecting different display mode Volume control Adjust MASTER VOLUME (or press Dim mode VOL +/- on remote) to increase or You can select the desired brightness for the decrease the sound level. "VOL MUTE" is the minimum volume level display panel. -
Page 16: Disc Operations
Disc Operations IMPORTANT! Basic playback controls – This system is designed for regular Load discs discs. Therefore, do not use any (page 3 – P4). accessories such as disc stabiliser rings or disc treatment sheets, etc., as offered on To play all discs on the disc trays the market, because they may jam the Press É... -
Page 17: Playing An Mp3 Disc
Disc Operations Playing an MP3 disc Repeat and Shuffle You can select and change the various play modes before or during playback. TITLE T008 Repeat play Press REPEAT on the remote repeatedly to select : 5 D I S C D I R E C T P L AY DISC 1 DISC 2 DISC 3... -
Page 18: Programming The Disc Tracks
Disc Operations Notes: Programming the disc tracks – If the total playing time reached 100 minutes or Programming tracks is possible when playback is if one of the programmed tracks has a number stopped. Up to 99 tracks can be stored in the greater than 30, then "-- : --"... -
Page 19: Tuner Operations
Tuner Operations Press É Å on the main unit to start IMPORTANT! Make sure the FM and MW antennas are installation. "INSTALL TUNER" is displayed. connected. All previously stored radio stations will be replaced. Tuning to radio stations Once completed, the last tuned radio station Press TUNER to enter tuner mode. -
Page 20: Selecting A Preset Radio Station
Tuner Operations Selecting a preset radio station RDS (Radio Data System) is a service that In tuner mode, press í or ë. allows FM stations to show additional The preset number, radio frequency, and information. If you are receiving a RDS station, waveband are displayed. -
Page 21: News
Tuner Operations NEWS You may set up the tuner in such a way that listening to CD or external source is interrupted by the NEWS of a RDS station. This only works if the RDS station broadcasts a NEWS signal while sending the news. -
Page 22: Timer Operations
Timer Operations At the preset time, the selected sound Timer setting source will be played for 30 minutes The system can switch on to CD, TUNER or before it switches to Eco Power standby USB PC LINK mode automatically at a preset mode (if no button is being pressed within the time, serving as an alarm to wake you up. -
Page 23: Temporarily Deactivating The Wake Up Timer
Timer Operations Other Connection Listening to an external source Temporarily deactivating the wake up timer You can listen to the sound of the connected You are only able to activate the Snooze external device through your system’s speakers. function within 30 minutes after the timer wake up from standby mode. -
Page 24: Specifications
Specifications AMPLIFIER Output power 2 x 200 W MPO 2 x 100 W RMS ≥ 75 dBA (IEC) Signal-to-noise ratio Frequency response 50 – 20000 Hz, –3 dB Input sensitivity AUX/CDR In 500 mV/1V Output ≥ 6 Ω Speakers 32 Ω – 1000 Ω Headphones (1) (6 Ω, 1 kHz, 10% THD) DISC PLAYER... -
Page 25: Troubleshooting
Do not open the system as there is a risk of electric shock. If a fault occurs, first check the points listed below before taking the system for repair. If you are unable to remedy a problem by following these hints, consult your dealer or Philips for help. Problem... -
Page 26: Laser Product
Meet Philips at the Internet http://www.philips.com MC-M570 CLASS 1 LASER PRODUCT 3139 115 22161 SgpJP-0308/22-12...