Table of Contents
Advertisement
Quick Links
4-Source Multi-Zone Central
Audio Controller/Amplifiers
CAi-Series
Instruction Manual
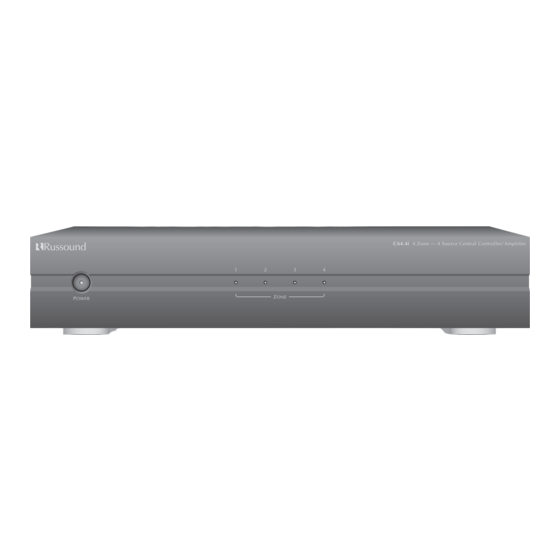
CA 6.4i 6-Zone, 4-Source Central Controller/Amplifier
P
OWER
CA 4.4i 4-Zone, 4-Source Central Controller/Amplifier
P
OWER
1
2
3
4
Z
ONE
1
2
3
Z
ONE
ROCK
R&B
JAZZ
CHILDRENS
• ON / OFF
• VOLUME
• SOURCE
REMOTE SENSOR
CA-KP2
CA-LCD2
CA6.4i 6 Zone — 4 Source Central Controller/ Amplifier
5
6
CA4.4i 4 Zone — 4 Source Central Controller/ Amplifier
4
VOLUME
SOURCE
STORE
POWER
REMOTE SENSOR
Advertisement
Table of Contents

Related Manuals for Russound CAI


Summary of Contents for Russound CAI
- Page 1 4-Source Multi-Zone Central Audio Controller/Amplifiers CAi-Series ROCK R&B Instruction Manual JAZZ CHILDRENS VOLUME • ON / OFF • VOLUME SOURCE • SOURCE STORE POWER REMOTE SENSOR REMOTE SENSOR CA-KP2 CA-LCD2 CA 6.4i 6-Zone, 4-Source Central Controller/Amplifier CA6.4i 6 Zone — 4 Source Central Controller/ Amplifier OWER CA 4.4i 4-Zone, 4-Source Central Controller/Amplifier...
- Page 2 AC120V, 60 Hz. before the appliance is operated. 3. Do Not Touch The CAi With Wet Hands. Do not handle the CAi or power cord 2. Retain Instructions - The safety and operating instructions should be retained when your hands are wet or damp.
-
Page 3: Table Of Contents
ONTENTS Product Overview ....... . .4 Possible System Configurations ..... .4 Unpacking and Warranty . -
Page 4: Product Overview
Russound CAi allowing simple connections to each speaker in the system. Each zone is operated by an intuitive, easy-to-use keypad that controls all the functions of the CAi. The keypads also have a built-in infrared receiv- er that allows remote commands for your source equipment to be routed through the CAi. -
Page 5: Getting Started
CAT-5). This wire will be used to connect the keypads in each zone to the controller. Stranded, 16 Gauge mini- • Where is the CAi controller going to be located? mum, CL3 rated wire. This wire is used for direct connec- tion between the CAi and your speakers. -
Page 6: Rear Panel Connections
Connect each source output, left and right, using one room/zone. Wire your speakers by first removing the quality signal cables / patch cables to the CAi source input. connector for the chosen zone. Using wire strippers, strip Label each cable the name of your source and the input back 1/4"... -
Page 7: Zone Pre-Amp Outputs
FIXED FIXED position, the audio level will not be var- • In order for your CAi to transmit the IR signal from the ied by the keypad volume for the zone. keypads to a source, an emitter must be connected from Figure 5b - Fixed Output the IR outputs marked 1-4. -
Page 8: Keypad Connections At Controller
EYPAD ONNECTIONS ONTROLLER • Each keypad connection on the back panel of the CAi-Series Master List 4 – Room names should be written below. Controller corresponds to the room / zone number chosen for your speakers. Each zone operates independently, so it is very important to Zone 1 _________________ connect the keypad to the correct zone keypad input. -
Page 9: Installing Keypads
Figure 12 – Punching Down Wires sional installer or an electrician. • Route the wire to the junction box from the CAi location. • If using 22 AWG wire, connect each wire to the correct position 1 thru 8 using the included punchdown tool. -
Page 10: Setting The Keypads
NSTALLING EYPADS SETTING THE KEYPADS INFRARED KEYPAD PROGRAMMER — IKP-1 Before a keypad is installed into the j-box, turn on the The optional IKP-1 is a programmer used to simplify and power so that you can operate the keypad. speed up the IR programming for the DAN and DSC IR learn- ing keypads. -
Page 11: Srm-2.1 Speaker Relay Module Option
Figure 16 – SRM-2.1 connection to CA-LCD2 FINALLY!!! • Make sure that the voltage selector, located on the rear panel of the CAi, is on the correct current for your country, either 110V or 220V • Power up by plugging in all power cords and turning the CAi and sources on. -
Page 12: Operation
• Power switch: When the power switch is engaged, the CAi 1) Power On / Off: This knob on the CA-KP2 keypad con- power indicator will be lit an amber color. The CAi should be trols all functions except for the IR management. To turn left on at all times. -
Page 13: Operating The Ca-Lcd2 Keypad
38KHz to 56KHz. To control the functions of INFO MENU the keypad, use the CAi Remote control (see Figure 20). The CAi remote control will operate the lamp, source VOLUME selection, volume up / down and room on / off. -
Page 14: Specifications
Figure 21 - Balanced 1 2 3 4 5 6 7 8 Line Connections 1) Turn off the power switch on the front of the CAi-Series controller. 2) Disconnect all keypad connections from the rear of the controller. -
Page 15: Warranty
In these cases the repair will be made at the owners expense. To return for repairs, the unit must be shipped to Russound at the owners expense, along with a note explaining the nature of the service required. Be sure... - Page 16 D I S T R I B U T I O N & C O N T R O L S Y S T E M S 5 Forbes Rd. Newmarket, NH 03857 ☎ 603.659.5170 • Fax 603.659.5388 e-mail: tech@russound.com Come visit us at: 28-0106...