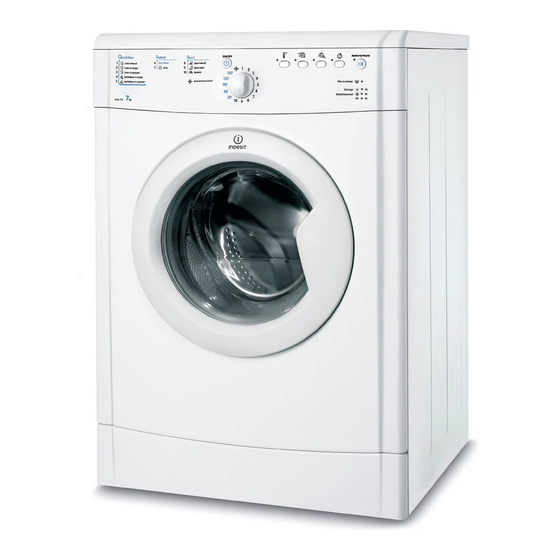
Indesit IDVA 735 Instruction Manual
Hide thumbs
Also See for IDVA 735:
- Instruction manual (80 pages) ,
- Instruction manual (20 pages) ,
- Instruction manual (20 pages)
Table of Contents
Advertisement
This symbol reminds you to read this instruction
manual.
Keep this manual at hand for immediate reference
whenever necessary. Always store this manual close to the
tumble dryer and remember to pass it on to any new owners
when selling or transferring the appliance, so they may
familiarise with the warnings and suggestions herein
contained.
Read these instructions carefully: the following pages
contain important information on installation and useful
suggestions for operating the appliance.
Special programmes
Checking the drum after each cycle
Advertisement
Table of Contents

Related Manuals for Indesit IDVA 735


Summary of Contents for Indesit IDVA 735
- Page 1 Where to install the tumble dryer Ventilation Electrical connections Levelling the tumble dryer Before you start your dryer Front side Rear side Control panel Starting and selecting a programme Programme chart Special programmes Options Opening the door Sorting laundry Care labels Special items Drying times General safety...
- Page 2 1. Leave an opening in the wall • Install the dryer far from gas to the left of the tumble dryer ranges, stoves, radiators or hobs, installation site. as flames may damage it. 2. Make the hose as short and If the dryer is installed below a straight as possible, in order to worktop, ensure there are 10 mm...
- Page 3 Before plugging the appliance into the socket, check the following: The tumble dryer should be installed level in order to • Make sure your hands are dry. operate correctly. • The socket must have an earth connection. • The socket must be able to withstand the machine’s After installing the tumble maximum power output as indicated on the data plate (see dryer in its permanent...
- Page 4 buttons and indicator button button lights and indicator light indicator light indicator lights...
- Page 5 Pressing the button normally will cause the machine to switch on or off. If the button is pressed for 3 seconds while the dryer is in function, the machine will switch off and the running cycle will reset. Allows for setting the programme: turn until the indicator points towards the desired programme (see Starting and selecting a programme).
- Page 6 Plug the dryer into the power supply socket. Select the programme according to the type of laundry (see Laundry). Open the door, ensure that the filter is clean and securely placed. Load the machine, making sure that no piece of laundry gets between the door and the door seal. Close the door. Press the ON/OFF button to start the machine.
- Page 7 Max. Cycle Programme load Compatible options duration (kg) Daily Ready to wear 160’ Max. Pre anti-crease – Post anti-crease – Delay start Cotton Cupboard dry 145’ Max. Pre anti-crease – Post anti-crease – Delay start Cotton Iron dry Max. Pre anti-crease – Post anti-crease – Delay start 108’...
- Page 8 This programme is designed for safely drying garments such as tracksuits and shorts bearing the symbol. It is ideal for clothes which do not need to be dried fully. Suitable for loads of up to kg, it lasts about , although it may last longer depending on the size and density of the load and of the spin speed used during the wash cycle.
- Page 9 The options allow for customising the selected programme according to one’s own needs. The start of some programmes (see Programmes and options) may be delayed up to 9 hours. Press the button repeatedly to enter the desired delay time. Before setting a delayed start, make sure that the filter is clean. When this option is selected, the drum rotates garments at intervals after the cold drying cycle has ended, in order to avoid creases forming on garments if they cannot be immediately removed at the end of the programme.
- Page 10 Check the symbols on the care labels of the various Always check the care labels, especially when placing garments to verify whether the garments can be safely garments in the tumble dryer for the first time. Below are the tumble dried. most commonly used symbols: •...
- Page 11 • Amount of laundry: single items and small loads may take longer to dry. acrylic items (Acilian, Courtelle, • Drying: if items are to be ironed, they can be removed Orion, Dralon) must be dried with great care at low heat. from the dryer while still slightly damp.
- Page 12 • Remove all objects from pockets, particularly lighters This appliance was designed and manufactured in (risk of explosion). compliance with current international safety standards. The • Do not tumble dry large, excessively bulky items. following information is provided for safety reasons and •...
- Page 13 Disconnect the dryer when not in use or during cleaning and maintenance operations. The filter is a fundamental component of the dryer: its function is to collect lint and fluff that form during drying. Clean the filter once drying is completed, by rinsing it under running water or cleaning it with a vacuum cleaner.
- Page 14 If you feel that the dryer is not working properly, consult the following troubleshooting suggestions before contacting the Technical Assistance Centre (see Assistance). • The plug has not been inserted far enough into the socket to make contact. • There has been a power cut. •...
- Page 15 This dryer is a complex machine. Attempting to repair it • Follow the troubleshooting guide to check whether personally or having an unqualified person may put the problems can be solved personally (see Troubleshooting). safety or people at risk, damage the machine or invalidate •...
- Page 16 NON-DOMESTIC PREMISES. Indesit also offers you a free 5 year parts guarantee. This additional guarantee is conditional on you registering your appliance with us and the parts being fitted by one of our authorised engineers. There will be a charge for our engineer's time.
- Page 17 No one is better placed to care for your Indesit appliance during the course of its working life than us - the manufacturer. We are the largest service team in the UK and Ireland offering you access to 400 skilled telephone advisors and 1100 fully qualified engineers on call to ensure you receive fast, reliable, local service.