Table of Contents
Advertisement
Quick Links
Advertisement
Table of Contents

Related Manuals for Airlink101 AWLH3026T


Summary of Contents for Airlink101 AWLH3026T
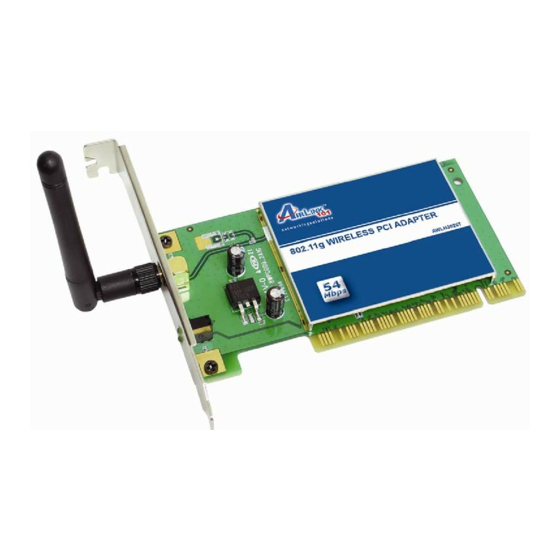
- Page 1 802.11g Wireless PCI Adapter Model # AWLH3026T User’s Manual Ver. 1A...
-
Page 2: Table Of Contents
1. Introduction ... 3 1.1 Package Contents ... 3 2. Installation ... 4 2.1 Install Driver & Utility... 4 2.2 Verify Driver Installation... 8 3. Configure the Wireless PCI Adapter... 10 4. Configure the WLAN Monitor ... 13 4.1 Configuration Tab ... 13 4.1.1 Configuring WEP Encryption... -
Page 3: Introduction
1. Introduction Thank you for purchasing the 802.11g Wireless PCI Adapter. The Wireless PCI Adapter is an advanced IEEE 802.11b/g compatible, high-performance wireless card that supports data transfer speeds of up to 54 Mbps. The adapter can be integrated into a network in either Ad-Hoc mode (without an Access Point) or Infrastructure mode (with an Access Point). -
Page 4: Installation
2. Installation 2.1 Install Driver & Utility This section provides instructions on how to install the Airlink101 802.11g Wireless PCI Adapter. The driver is installed along with the utility. Note: Be sure to power off your computer before inserting the PCI adapter. For Windows 98SE and ME users, you may be prompted to insert the Windows 98SE or ME CD during the driver installation. - Page 5 Step 3 The Autorun screen will appear. Select Install Utility and Driver from the menu. Note: If the Autorun screen doesn’t appear automatically go to Start, Run, and type D:\utility\setup.exe (where D is the letter of your CD drive) and click OK. Step 4 Click Next at the welcome screen.
- Page 6 Step 5 Click Next to accept the default destination folder. Step 6 Click Next to accept the default program folder.
- Page 7 Step 6 Click Continue Anyway at the Windows Logo Screen. (For Windows 2000, click Yes at the Digital Signature Not Found prompt). Step 7 Verify Yes, I want to restart my computer now is selected and click Finish to restart your computer.
-
Page 8: Verify Driver Installation
2.2 Verify Driver Installation To verify if the driver has been installed successfully, please perform the following steps. Step 1 Right-click on My Computer from your desktop and select Properties. Step 2 Select the Device Manager tab. (For Windows 2000/XP, select the Hardware tab first and then click on Device Manager). - Page 9 Expand Network adapters from the list and verify that Airlink101 802.11g PCI Adapter is listed and no yellow question mark is beside it. If Airlink101 802.11g PCI Adapter is not listed, or you see a yellow question mark beside it, please re-install the driver again.
-
Page 10: Configure The Wireless Pci Adapter
3. Configure the Wireless PCI Adapter This section describes how to connect your Airlink101 802.11g Wireless PCI Adapter to a wireless network. Note to Windows XP Users: You must disable the Wireless Zero Configuration Utility in order to use the WLAN Monitor. - Page 11 To open the Wireless PCI Adapter’s utility go to Start > (All) Programs > Airlink101 > WLAN Monitor. Note: The utility automatically adds an available wireless network to the Preferred WLANs box. If no SSID is added, or if the SSID is wrong, please refer to the following steps to join the appropriate wireless network.
- Page 12 Step 2 If you are connecting to an unsecured wireless network, a caution message will appear. Click OK to exit the message. Step 3 Verify the SSID you have selected is in the Preferred WLANs box and click Apply. Step 4 A blue circle appears indicating a connection is established.
-
Page 13: Configure The Wlan Monitor
4. Configure the WLAN Monitor This section describes the various functions of the WLAN Monitor that you can configure, including the settings of wireless encryption. 4.1 Configuration Tab The Configuration Tab displays all available Access Points detected. Available WLANs: Displays all available Access Points detected. To update the list, click on Refresh. -
Page 14: Configuring Wep Encryption
listed beginning from the top of the list. If you wish to configure the properties of a WLAN, highlight it and click on Properties. Profile Group Control: Once you have added all the SSIDs you want to the Preferred WLANs box, you can group them by giving them a name in the Profile Group Control box and click New. - Page 15 Step 2 Select WEP from the Data Encryption drop-down list. Step 3 Select the appropriate Key length and Default key and enter the password in the Network Key field and click OK. The Key length, Default Key, and password must all be the same as the wireless network you are connecting to.
-
Page 16: Configuring Wpa-Psk Encryption
4.1.2 Configuring WPA-PSK Encryption Step 1 Select the SSID you wish to configure the encryption for from the Preferred WLANs box and then click Properties. Step 2 Select WPA-PSK from the Authentication Mode drop-down list and then click on the Authentication Config button. - Page 17 Step 3 Enter the password in the WPA Passphrase field. The password must be the same as the wireless network you are connecting to. Step 4 Click OK and then OK again. Step 5 Click Apply and then OK at the Configuration Tab.
-
Page 18: Status Tab
4.2 Status Tab The Status Tab displays information about the Connection State, Hardware Information, and Advance State. Connection Status: Displays the status of the connection SSID: The SSID that the wireless adapter is connected to BSSID: The MAC Address of the Access Point that the wireless adapter is connected to Network Type: The network connection type Frequency: The frequency that the wireless adapter is using... -
Page 19: Option Tab
4.3 Option Tab The Option Tab allows you to configure the wireless adapter’s General and Advanced Settings as well as its Connection Type. General Setting Auto launch when Windows starts up: Check the box to launch the WLAN Monitor when Windows starts up Remember mini status position: Remembers the mini status screen position Auto hide mini status: Auto hides the mini status screen Set mini status always on top: The mini status screen will always stay on top of the... - Page 20 Advance Setting Disable Radio: Check the box to disable the radio signal Fragmentation Threshold: Set the desired fragmentation threshold RTS Threshold: Set the desired RTS threshold Frequency: 802.11b/g switches automatically between 802.11b and 802.11g speed depending on the other wireless device. 802.11b will only connect at 802.11b speed (11 Mbps or lower).
-
Page 21: About Tab
4.4 About Tab The About Tab displays the Driver and Utility’s version number. -
Page 22: Specifications
5. Specifications Frequency Band • 2.4 - 2.5 GHz ISM bandwidth Standards • IEEE 802.11b / 802.11g Host Interface • 32-bit PCI Antenna type • Omni-direction +2dBi dipole detachable antenna Security • 64 / 128-bit WEP Encryption • TKIP, AES Transmitted Power •... -
Page 23: Technical Support
(e.g., cordless telephones and microwaves) as well as network overhead lower actual data throughput rate. Specifications are subject to change without notice. All products and trademarks are the property of their respective owners. Copyright ©2006 AirLink101™...