Guardian AC5109 - GermGuardian 23" Air Purifier Console Manual
- Use & care instructions manual (16 pages)
Advertisement
SPECIFICATIONS
Air purifier with HEPA Filter

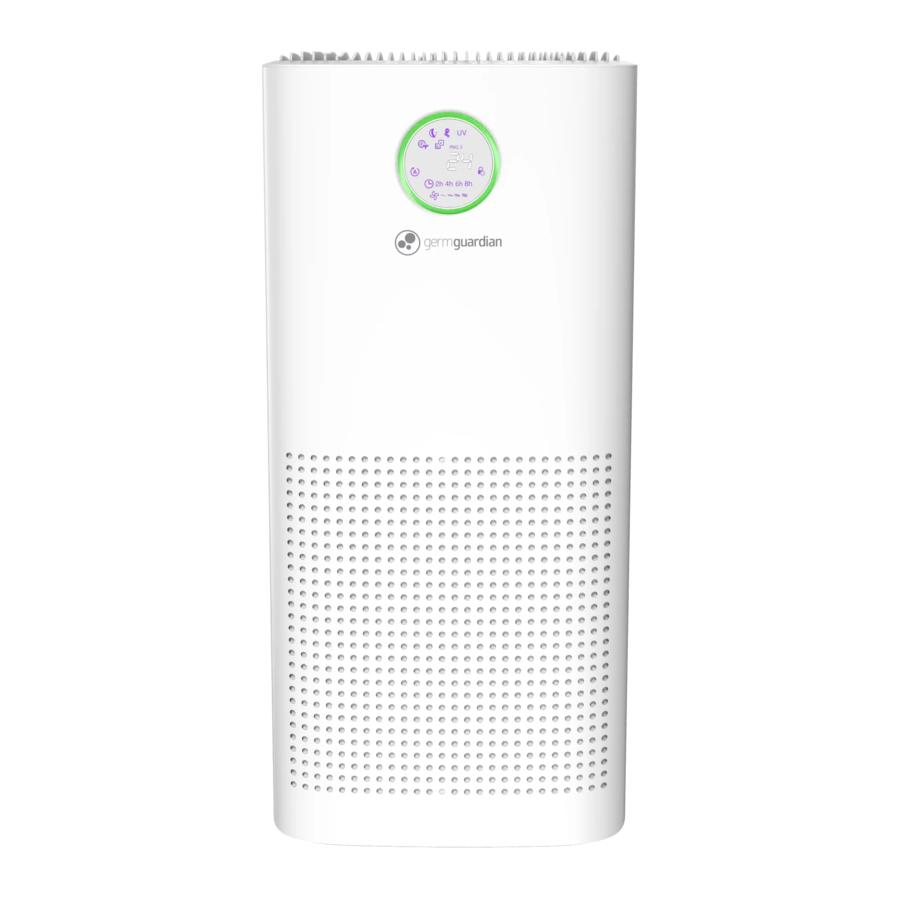
DISPLAY PANEL
Lights will appear on display based on feaures selected from Control Panel.

AIR CLEANING SYSTEM
Improve your indoor air quality with your new Germguardian Air Purifier. The HEPA filter captures allergens and includes a charcoal filter layer to help reduce household odors. The UV-C light helps to kill airborne germs.

CONTROL PANEL
 |  |  |  |  |  |  |
| FILTER-RESET | IONIZER | UV-C MODE | SLEEP/LOCK | TIMER | SPEED/AUTO | ON/OFF |

The air purifier is shipped with the filter stored in the filter compartment.
The filter is shipped in a bag to prevent degradation. Before using, remove and discard bag.
OPERATING INSTRUCTIONS
The air purifier is shipped with the filter stored in the filter compartment.
The filter is shipped in a bag to prevent degradation. Before using, remove and discard bag.
Proper filter and back panel installation is necessary for unit to turn on and run.
BEFORE OPERATING THE AIR PURIFIER
- Select a firm, level and flat location for the air purifier.
- For proper air flow, locate the unit at least 1 foot from any wall or furniture.
- Make sure none of the grills are blocked.
- Plug the power cord into a 120V AC outlet. An audible chime will sound when plugged in.
OPERATING THE AIR PURIFIER
- Turn unit power ON by pressing the ON/OFF control.
![]()
The purifier will not work if the back panel is not closed or the filter is not in place. An error code (ES) will be displayed if the panel is not closed properly and (EO) if the filter is not in place.
Note: The first time the unit is plugged in and powered on, the air quality sensor will take a few minutes to calibrate.
![]()
- Select Fan Speed or Auto Mode
Fan Speed – press SPEED/AUTO and select speed level 1-4. The fan speed will light on the display.
Auto Mode – press SPEED/AUTO and select AUTO, 5th level on the fan control. An "A" will light on the display. When in AUTO the fan speed will change depending on the air quality level in the room. See AQM below. To exit AUTO mode, press SPEED/AUTO.
![]()
- Timer – Select if you prefer to run the purifier for a specific number of hours. Press timer control and press to select 2h, 4h, 6h or 8h (hours). The hours will light on the display. To cancel timer, toggle through the hours until the feature is turned off.
![]()
- Sleep Mode – Press Sleep/Lock control to turn display lights on/off. When selected, the sleep light will dim, the other lights on the display will turn off and the purifier will run in low speed. Press any control to wake up the unit, then press the Sleep/Lock control to exit from sleep mode. Your unit will return to the speed it was on before it went to sleep mode.
![]()
- Child Lock – Press and hold Sleep/Lock control for 3 seconds to lock control panel so controls cannot be adjusted, except power. The lock icon will light on the display. To unlock hold the Sleep/Lock control again for 3 seconds.
![]()
- UV Mode – Press to turn on UV-C light feature which helps kill germs. "UV" will light on the display. Press again to turn off.
![]()
- Ionizer – Press to run the ozone-safe ionizer function. The Ionizer can enhance ability to remove particles and keep the air fresh. The Ionizer icon will light on the display. Press again to turn off.
![]()
- Filter Reset Indicator flashes to indicate it is time to change the filter. Replace the filter according to the instructions. Press and hold Filter-Reset control for approximately 5 seconds, the unit will beep before flashing indicator stops.
![]()


AIR QUALITY MONITOR
Air Quality Monitor senses and detects the amount of particulate matter (PM2.5) in the air.
The light circle around the display will change colors, indicating the air quality level in the room. The particulate matter numeric value (AQI) will be displayed. See values and status ranges in chart below.
Also listed are the color values displayed in the circle and the fan speed "AUTO" mode will select based on the particulate matter that is detected.
| Light Color | Particulate Matter Value (Range) | Air Quality Status | Auto Fan Speed |
| Green | 0-100 | Good | 1 |
| Yellow | 101-200 | Average | 2 |
| Red | 201-300 | Poor | 3 |
| Red | 301-500 | Very Poor | 4 |
ERROR CODES
- Err: The motor is in an over-temperature protection mode.
Wait 10 minutes and restart by unplugging and plugging in again. - FC: The filter cover is not installed and the power will not turn on.
Re-install the filter cover, and the machine can return to the original operating mode. - FL: The filter is not installed properly and the power will not turn on.
Re-install the filter, and the machine can return to the original operating mode. - dS: The dust sensor or its connection line is damaged, please contact customer service for repair.
RESETTING THE AIR PURIFIER
The air purifier is equipped with a motor protection circuit. If activated, the overload warning will initiate and cut off the power. An audible warning "chime" will sound for 60 seconds along with a flashing "Err" warning on the display. To restart the unit, unplug the unit for 10 minutes, then plug back in and power on.
FILTER REPLACEMENT
The filter reset indicator light will flash when it is time to replace your filter. Depending on usage and environmental conditions the filter will last approximately 6 months. The inside pleats of the filter will turn from white to grey when it is dirty and needs replacing. It is important to maintain and change the filter to continue to optimize the performance of the air purifier.
Do NOT wash and re-use the filter. Please contact Customer Service or visit our website www.guardiantechnologies.com to purchase a replacement filter. Use only Genuine Guardian Technologies replacement parts to optimize the performance of your air purifier.
REMOVE AND REPLACE FILTER
- Turn off and unplug the unit.
- Remove the back panel then remove and dispose of the filter.
- Replace with new filter – pushing completely into unit.
- Return back panel, first insert the panel hooks then close.
![]()
Make sure filter is installed and back panel is closed properly, otherwise unit will not function.
RESET THE FILTER LIGHT by holding the Filter Reset control for 5 seconds.
UV-C LIGHT REPLACEMENT
UV-C Bulb Replacement Indicator:
The UV light on the display will flash blue when it is time to replace the UV bulb.

- Remove the filter from the unit.


- After removing the filter, use a Philips head screwdriver to remove 4 screws and detach the UV-C bulb cover.

- The UV-C bulb is removed by carefully grasping the bulb with a clean cloth or tissue and twisting the bulb ¼ turn. Remove from unit.
- The UV-C bulb is reinstalled by reversing the process in Step 3.
- Replace the UV-C cover and re-attach with 4 screws.
- Return filter and back panel before operating unit.
- Reset the UV light by holding the "UV" button down for 5 seconds.

The UV-C bulb should be replaced every 10 months depending on use.
Visit our website www.guardiantechnologies.com to purchase a replacement bulb.
REPLACEMENT PARTS
FILTER: 
Model No. FLT5100

Replacement Bulb
Model No. LB5100

Carbon Replacement 4-PACK
Model No. FLT51CB4

Check out our AutoShip & Save

Filter Replacement Program ™
www.guardiantechnologies.com
To maintain performance of the air cleaner, use Guardian Technologies GENUINE Replacement Parts only. To purchase visit our website www.guardiantechnologies.com.
CLEANING & MAINTENANCE
CLEANING
- Always unplug the appliance before you clean it.
- Never immerse the appliance in water or any other liquid.
- Never use aggressive or flammable cleaning agents such as bleach or alcohol to clean any part of the appliance.
BODY OF THE APPLIANCE
Regularly clean the inside and outside of the body to prevent dust from collecting.
- Wipe away dust with a soft dry cloth from the body of the appliance.
- Clean the air inlet and the air outlet with a soft dry cloth.
PRE-FILTER SCREEN
The pre-filter/charcoal layer collects larger dust and debris and should be cleaned monthly or more frequently depending on use. Remove and clean regularly with the brush attachment of your vacuum cleaner. This will remove the lint and dirt and help maintain the life of the filter.
(See filter replacement to locate and clean or remove the filter).
Replacement pre-filters are available by visiting our website at www.guardiantechnologies.com.
Note: Do NOT stick any foreign objects or your fingers inside the unit.

Do NOT use gasoline, benzene, thinner, harsh cleaners, etc. on and/or in the unit while cleaning as they will damage the products. NEVER use alcohol or other solvents.
What is CADR?
CADR stands for "Clean Air Delivery Rate," which indicates the volume of filtered air delivered by an air purifier. CADR ratings show the effectiveness of how efficient the air purifier is at capturing fine particles from things like tobacco smoke and plant pollens from the room.
Clean Air Delivery Rate
From air cleaner to air cleaner, compare the CADR numbers. First look at suggested room size. Then refer to the Clean Air Delivery Rate (CADR) numbers. The higher the number, the faster the unit filters the air.
Refer to website for individual model CADR numbers.
TROUBLESHOOTING GUIDE
| PROBLEM | SOLUTION |
| Unit shuts off unexpectedly or does not operate. | Check that the unit is plugged into a working electrical outlet. Check to see if the motor protector is triggered. Check that the filter and back panel are installed correctly. Unplug/replug into the outlet. Call customer service. |
No air circulating from the unit | Unplug unit. Check filter. Clean or replace filter if necessary. |
Odors not removed | Make sure the filter is clean. Replace if necessary. |
Discharged air has an odor | Check to see if the filter is heavily soiled. Replace if necessary. Turn off the ionizer. |
Increase in noise level | Make sure the filter is clean. Replace if necessary. |
Filter indicator light on display is flashing | Replace filter and reset light. |
UV-C indicator light on display is flashing | Replace bulb and reset light. |
Air quality status remains poor | Check to see if the filter is heavily soiled. Replace if necessary. Increase the fan speed to circulate air. |
SAFETY INSTRUCTIONS
READ AND SAVE THESE INSTRUCTIONS

Failure to comply with the warnings listed below may result in electric shock or serious injury.
 This product should be used only in accordance with the specifications outlined in this manual. Usage other than what has been specified here may result in serious injury.
When using electrical appliances, basic precautions should always be followed to reduce the risk of fire, electric shock and injury to persons, including the following:
- Read all instructions before using appliance.
![]()
This appliance has a polarized plug (one blade is wider than the other). To reduce the risk of electric shock, this plug is intended to fit in a polarized outlet only one way. If the plug does not fit fully in the outlet, reverse the plug. If it still does not fit, contact a qualified electrician. Do not attempt to defeat this safety feature.![]()
To reduce the risk of fire or electric shock do not use with an extension cord.- To avoid fire or shock hazard, plug the appliance directly into a 120V AC electrical outlet.
- Keep the cord out of heavy traffic areas. To avoid fire hazard, NEVER put the cord under rugs, near heat registers, radiator, stoves or heaters.
- To protect against electrical hazards, DO NOT immerse in water or other liquids. Do not use near water.
- Extreme caution is necessary when any appliance is used by or near children or people with disabilities and whenever the appliance is left operating unattended.
- This appliance is not intended for use by persons (including children) with reduced physical, sensory or mental capabilities, or lack of experience and knowledge, unless they have been given supervision or instruction concerning use of the appliance by a person responsible for their safety. Children should be supervised to ensure that they do NOT play with the appliance.
- Always unplug the air purifier before moving it, opening the grill, changing filters, cleaning or whenever the air purifier is not in use. Be sure to pull by the plug and not the cord.
- NEVER drop or insert any object into any openings.
- DO NOT run cord under carpeting.
- DO NOT cover cord with throw rugs, runners, or similar coverings.
- DO NOT route cord under furniture or appliances. Arrange cord away from traffic area and where it will not be tripped over.
- DO NOT operate any appliance with a damaged cord or plug, if motor fan fails to rotate, after the appliance malfunctions, or if it has been dropped or damaged in any manner. Call Customer Service for assistance.
- If the SUPPLY CORD is damaged, it must be replaced by the manufacturer, service agent or similarly qualified persons in order to avoid a hazard.
- Use appliance only for intended household use as described in this manual. Any other use not recommended by the manufacturer may cause fire, electric shock or injury to persons.
- DO NOT use outdoors.
- DO NOT place anything on top of unit.
- NEVER block the air openings, grills/outlets or place on a soft surface such as a bed or sofa, as this could cause the unit to tip over, blocking the air intake or outtake opening.
- DO NOT attempt to repair or adjust any electrical or mechanical functions on this unit.
Doing so will void your warranty. The inside of the unit contains no user serviceable parts. All servicing should be performed by qualified personnel only. ![]()
To reduce the risk of fire or electric shock, do not use this purifier with any solid-state speed control device.![]()
Skin or eye damage may result from directly viewing the light produced by the lamp in this apparatus. Always disconnect power before replacing lamp or servicing.
Replace Lamp With Lamp Model No. LB5100, Manufactured by Guardian Technologies.- Always unplug the unit before before cleaning or servicing in any way.
![]()
Do NOT use gasoline, benzene, thinner, harsh cleaners, etc. on and/or in the unit while cleaning as they will damage the product. NEVER use alcohol or other solvents.
![]()
THIS EQUIPMENT SHOULD BE INSPECTED AND CLEANED IN ACCORDANCE WITH THE MANUFACTURER'S INSTRUCTIONS ON A REGULAR BASIS TO PREVENT EXCESSIVE ACCUMULATION OF DUST PARTICLES THAT CAN RESULT IN FLASHOVER OR A RISK OF FIRE.

The 8 hour TWA Ozone for this product is 0.001 ppmv when tested in a 30 m3 chamber. The product complies with the maximum allowable concentration of ozone of 0.050 parts per million by volume (ppmv) in a 24-hour period. The Health Canada Guideline 2010 recommends that the maximum exposure limit, based on averaging time of 8 hours, is 0.020 ppmv or less when tested in a sealed, controlled room approximately 30 m3.
Cancer and Reproductive Harm.
For more information go to www.P65Warnings.ca.gov.
This product earned the ENERGY STAR label by meeting strict energy efficiency guidelines set by the U.S. EPA. Room air cleaners have demonstrated the potential for improving air quality and providing health benefits. EPA does not endorse manufacturer claims regarding the degree to which a specific product will produce healthier indoor air. The energy efficiency of this ENERGY STAR certified model is measured based on a ratio between the model's CADR for Smoke and the electrical energy it consumes, or CADR/Watt.

LAMP CONTAINS MERCURY


Manage in accordance with Spills, Disposal and Site Cleanup Requirements. In case of breakage, follow clean-up procedures provided by contacts below.
www.epa.gov/cflcleanup
1-866-284-4010
Customer Service 1.866.603.5900
www.guardiantechnologies.com

Documents / Resources
References
![www.guardiantechnologies.com]() Lasko, GermGuardian, B-Air, BlueDri | Fans, Heaters, Air Purifiers – GuardianTechnologies
Lasko, GermGuardian, B-Air, BlueDri | Fans, Heaters, Air Purifiers – GuardianTechnologies![www.p65warnings.ca.gov]() http://www.p65warnings.ca.gov
http://www.p65warnings.ca.gov![www.epa.gov]() Cleaning Up a Broken CFL | US EPA
Cleaning Up a Broken CFL | US EPA

Download manual
Here you can download full pdf version of manual, it may contain additional safety instructions, warranty information, FCC rules, etc.
Download Guardian AC5109 - GermGuardian 23" Air Purifier Console Manual
Advertisement
Thank you! Your question has been received!


Need Assistance?
Do you have a question about the AC5109 that isn't answered in the manual? Leave your question here.