Table of Contents
Advertisement
Quick Links
Advertisement
Table of Contents

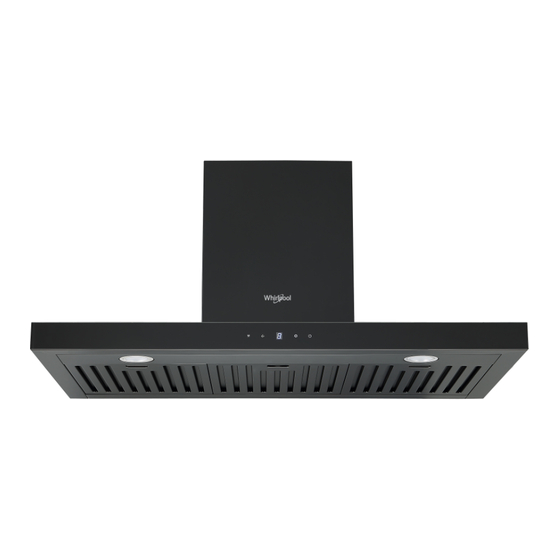
Summary of Contents for Whirlpool WT9BTABC
-
Page 2: Table Of Contents
Contents Important Safety Instructions…………………………………………………………………………….…..2 Before Using the Hood………………………………………………………...…………….…………2 Environmental Protection ..……………………………………..…………………………………...4 Declaration of Content of Restricted Substances……………………....…………….5 Packing List………………….………………………………………………………………………………….……..5 Installation………………………………………………………………………………………………….….…..6 Hood Operation…………………………………..………………………………………….………….…..11 Maintenance & Cleaning…………………………………………………………………………..…..13 Replacing Lamps ………………………………………………………………………….……………….…..14 Troubleshooting………………………………..………………………………………………………..…..…14 Hood Measurement…………………………………………………………………………….…….…………..15 Explode Diagram ……………………………………………………..……………………………….…………..16 Wiring Diagram ……………………………………………………………………………………….…..………..17 Specifications…………………………………………………………………..…………………………………….17... -
Page 3: Important Safety Instructions
After unpacking the appliance, check for any transport damage. Do not install the appliance if it has been damaged. In the event of problems, contact Whirlpool Customer Service. To prevent any damage, only remove the appliance from its polystyrene foam packaging at the time of installation. - Page 4 or other fuels, but must have a separate outlet. All national regulations governing extraction of fumes must Range hoods and other cooking fume extractors may adversely affect the safe operation be observed. of appliances burning gas or other fuels (including those in other rooms) due to back flow of combustion gases.
-
Page 5: Environmental Protection
For safety reason, please use only the same size of fixing or mounting screw recommended in this instruction manual. Regarding details about cleaning method and frequency, please refer to maintenance and cleaning section in this instruction manual. Regarding hood installation and operation details, please refer to operation and Installation sections in this manual. -
Page 6: Declaration Of Content Of Restricted Substances
Declaration of Content of Restricted Substances Model No.:WT9BTABC Restricted substances and chemical symbols (Pb) (Hg) (Cd) (Cr+6) (PBB) (PBDE) Power cord ○ ○ ○ ○ ○ ○ PCB Board ○ ○ ○ ○ ○ ○ Heat Element ○ ○ ○... -
Page 7: Installation
Installation 1. Location Air turbulence from window/door may reduce the effectiveness of hood. Suggest to close window or door before using the hood. (FIG. 1) The hood has to rise up to 250 mm from cooktop in order to bring up the efficiency and deliver the best performance. - Page 8 Pin ③ should face up Axis ④ should be inserted in holes ⑤ on the hood body Repeat above steps to install the other half v-flap ② Mounting Method Warning: Electrical connections must be carried out by a specialized technician, this appliance must be connected with earth wire.
- Page 9 3. Draw and mark a center vertical line C on the wall (See FIG 4). 4. Mark hood height line B. (303 mm from line A) 5. Mark screw holes for hooking the hood on line B, total length is 230mm (from left to right). 6.
- Page 10 inside chimney expansion pipe V-flap outside chimney bracket outside chimney (FIG 6) FIG 7) 9. Put the cooker hood on the hook. See FIG 8. (FIG 8) (FIG 9) (FIG 10) 10. Fix the body with 2pcs ST4*30mm safety screw. Note: The two safety vents are positioned on the back housing, with diameter of 6mm.
- Page 11 Install the carbon filter: Note: For Singapore market, carbon filter is included in the carton box with hood; For other countries, please contact Whirlpool to purchase the carbon filter if need. 1. Purchase carbon filter according to the model stated above.
-
Page 12: Hood Operation
NOTE: Make sure the filter is affixed properly. Otherwise, it will be loosen and cause dangerous. When carbon filter attached, the suction power will be lowered. Do not clean or wash the carbon filter; carbon filter replacement frequency should be determined based on cooking habits. - Page 13 Press button again when it is working at low speed, cooker hood will switch to operate at mid speed and the LED display will show “2”. Press button again when it is working at mid speed, cooker hood will switch to operate at high speed and the LED display will show “3”.
-
Page 14: Maintenance & Cleaning
If speed is being adjusted during delay function is in operation, the hood will automatically turn off the delay function. Maintenance & Cleaning Caution Before maintenance or cleaning is carried out, the cooker hood should be disconnected from the main power supply. Ensure the cooker hood is switched off at the wall socket and the plug is removed from the socket. -
Page 15: Replacing Lamps
Baffle Filter Baffle filters can be cleaned by hand. Soak them for about 5-10 minute in water(40-50℃) with a neutral detergent, then use the soft cloth or soft brush to gently clean it. Please do not apply too much force when cleaning, to avoid damage. (Baffle filter can be dried naturally under the sunlight). ... -
Page 16: Hood Measurement
Fault Possible Cause Solution Lights not working Broken or faulty bulbs Contact service center. The distance between the cooker Low suction Contact service center. hood and the gas top is too far The Cooker hood The fixing screw is not tight enough Contact service center. -
Page 17: Explode Diagram
Explode Diagram Ref. Part name Plastic extension pipe (not included) Inside chimney Outside chimney Bracket for inside chimney Bracket for outside chimney Mounted bracket Junction box cover Capacitor PCB board Junction box seal cover Junction box Plug and cord V-flap Motor casing Touch control board Box Touch control board... -
Page 18: Wiring Diagram
Wiring Diagram Specifications Model WT9BTABC Rated voltage & Frequency 220-240V / 50Hz Motor power 320W Light power LED 1W*2 Total power 322W Product Size 900x505x830mm Packing size 995x465x600mm Product Net weight 16.0 KG Product Gross weight 20.4 KG Information for dismantling Do not dismantle the appliance in a way which is not shown in the user manual.


