Table of Contents
Advertisement
Quick Links
Important Safety Instructions
Please read the following instructions carefully. This manual should be retained
for future use.
1.
To clean the monitor screen, first, make sure the monitor is in the power off
mode. Second, stand away from the monitor and spray cleaning solution onto
a rag. Without applying excess pressure, clean the screen with the slightly
dampened rag. Do not spray liquid cleaners directly onto the unit.
2.
Do not place your monitor near a window. Exposing the monitor to rain,
water, moisture or sunlight can severely damage it.
3.
The ventilation openings are necessary for air circulation, and should not be
obstructed to protect the device against overheating.
4.
Do not lay anything on top of the monitor-to-PC signal cord. Furthermore,
make sure the cord is placed in an area where it will not be stepped on.
5.
Do not remove the cover or attempt to service this unit by yourself. You may
void your warranty. Servicing of any nature should be performed only by an
authorized technician.
6.
Safe storage of the monitor is in a range of minus 20 to plus 60 degrees
Celsius. Storing your monitor outside this range could result in permanent
damage.
7.
If any of the following occur, immediately unplug your monitor and call an
authorized technician.
=
The power monitor-to-PC signal cord is frayed or damaged.
=
Liquid has been spilled into the monitor, or it has been exposed to rain.
=
The monitor has been dropped or the case has been damaged.
The device shows obvious signs of a defect.
=
8.
Please turn to your service center for all questions concerning service and
repair to guarantee the devices performance reliability.
i
Advertisement
Table of Contents

Related Manuals for Sceptre D95


Summary of Contents for Sceptre D95
-
Page 1: Important Safety Instructions
Servicing of any nature should be performed only by an authorized technician. Safe storage of the monitor is in a range of minus 20 to plus 60 degrees Celsius. Storing your monitor outside this range could result in permanent damage. -
Page 2: Federal Communications Commission
FEDERAL COMMUNICATIONS COMMISSION (FCC STATEMENT) This equipment has been tested and found to comply with the limits for a Class B digital device, pursuant to Part 15 of the FCC Rules. These limits are designed to provide reasonable protection against harmful interference in a residential installation. -
Page 3: Table Of Contents
Getting Started _________________________________________ 2 Choosing a Workstation________________________________ 2 The AC Connection ___________________________________ 3 The Signal Cable Connection____________________________ 3 Monitor Adjustments __________________________________ 4 Chapter 2 _________________________________________ 5 Adjusting the Brightness and Contrast_____________________ 6 The On-Screen Display (OSD) __________________________ 7 Color Temperature Setup _______________________________ 9... -
Page 5: Chapter 1
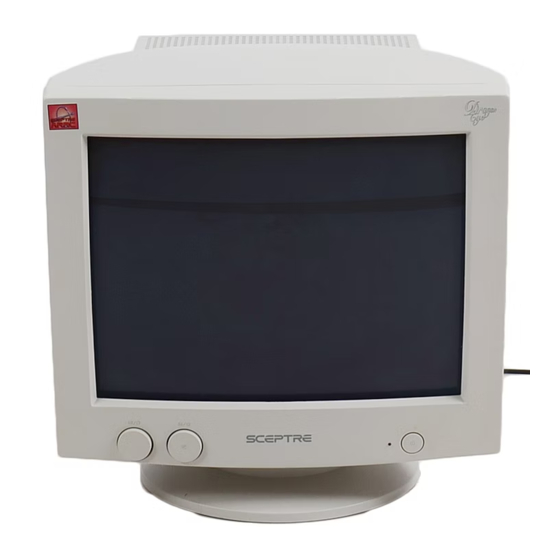
Introduction Congratulations on your purchase of the new high performance 19" Monitor. Much consideration has gone into the design of the monitor in order to meet your requirements for full compatibility and versatility as well as quality. Using state-of-the-art electronics, the monitor can support a resolution of 1200. -
Page 6: Getting Started
Chapter 1 — Getting Started This chapter covers setting up the monitor and stand in a suitable workplace, and connecting the power cord and signal cable. Choosing a Workstation Keep the following in mind when choosing a work place for the Monitor. -
Page 7: The Ac Connection
The AC Connection Locate the AC port on the rear of the monitor (refer to Figure 3). Plug the female end of the AC cord into the AC port. Plug the male end into the power supply. Figure 3: Connecting the Power Cord The Signal Cable Connection Make sure that the monitor is powered Off. -
Page 8: Monitor Adjustments
The monitor is capable of both tilt and swivel adjustments. Figure 5: Tilt Adjustment With the tilt feature, the monitor is capable of vertical adjustments of +5 to -15 . The swivel feature allows for horizontal monitor adjustments of +45 to -45 . -
Page 9: Chapter 2
Power LED The Power LED (3) informs you of the monitor’s current operating status. The Power LED will light Green when the monitor is powered On. In Standby mode the LED lights Amber. When powered Off the LED is not lit. -
Page 10: Adjusting The Brightness And Contrast
This field displays the current Horizontal Scan Frequency. . Display only field V. Frequency This field displays the current Refresh Resolution This field shows the display resolution to which your monitor is set. This is a display only field. Rate. Display only field. — 6 —... -
Page 11: The On-Screen Display (Osd)
Chapter 2 — The On-Screen Display (OSD) The monitor features an intuitive, on-screen display (OSD), making changes to the display settings convenient and simple. You can access the OSD any time your PC is powered On. If the PC is in Standby mode, or is powered Off, the OSD cannot be accessed. - Page 12 Chapter 2 — H-Center Scroll to the H-Center icon. Turn the Contrast Control to position the display along the horizontal axis of the screen. V-Size Scroll to the V-Size icon. Turn the Contrast Control to adjust the vertical size of the display.
- Page 13 Unbalance Scroll to the Unbalance icon. Turn distorion Corner Scroll to the corner icon. Turn the Contrast Control to correct distortion corners of your screen. H. Moire Scroll to the H. Moire icon. Turn the Contrast Control to correct the undesireable interference pattern.
-
Page 14: Color Temperature Setup
To access the Color setup menu, scroll to the Display Color Setting icon. The following screen appears: This screen allows you to select a color temperature for your monitor. Turn the Contrast Control to select the desired option. The available options are: 9300ºK... -
Page 15: Osd Window Status
Green Gain Scroll to the Green Gain icon. Turn the Contrast Control to adjust the green gain for your display. Blue Gain Scroll to the Blue Gain icon. Turn the Contrast Control to adjust the blue gain for your display. Reset Scroll to the Reset icon. -
Page 16: Reset And Degauss
Reset and Degauss The Reset All option allows you to reset all display settings to their default values. Use the Degauss option to remove unwanted magnetism from the monitor’s CRT. Reset All Scroll to the Reset All icon. Turn the Contrast Control to reset all display options. -
Page 17: Self-Test Screen
D-Sub and BNC connector. Self-Test Screen When the monitor is powered On, but there is no video signal, the following self- test screen will appear. This screen indicates the monitor itself is OK. If this screen appears, it is possible that the monitor’s VGA cable is not connected properly to your computer’s VGA... - Page 18 Chapter 2 — If the VGA cable is properly connected but the monitor screen is blank, (i.e., there is no picture and none of the above icons appear), then there may be a problem with the monitor. — 14 —...
-
Page 19: Summary Of Osd Icons
Summary of OSD Icons Icon Functio H-Size Use this option to adjust the horizontal size of the display. H-Center Use this option to position the display along the horizontal axis of the screen. V-Size Use this option to adjust the vertical size of the display. - Page 20 Degauss DSUB/BNC SW This concludes Chapter 2. The following appendix provides details on your monitor’s technical specifications. You will also find tips on troubleshooting any problems you may run into. information. Description Select this option to set the monitor for the CIE coordinate 9300 color temperature.
-
Page 21: Troubleshooting
Troubleshooting This section will try to anticipate potential problems that you may encounter in the day-to-day use of your monitor. Included in this section is information which should help solve these problems for you. If after trying the suggested solutions, your monitor’s symptom remains the same, contact your authorized service center. - Page 22 The picture is bouncing or a wave Move any electrical devices away from the monitor pattern is present in the display. which may cause display interference. Please refer to the FCC statement at the beginning of the manual for more details on display interference.