Advertisement
"Technics Audio Connect"

Android: Google Play


iOS: App Store


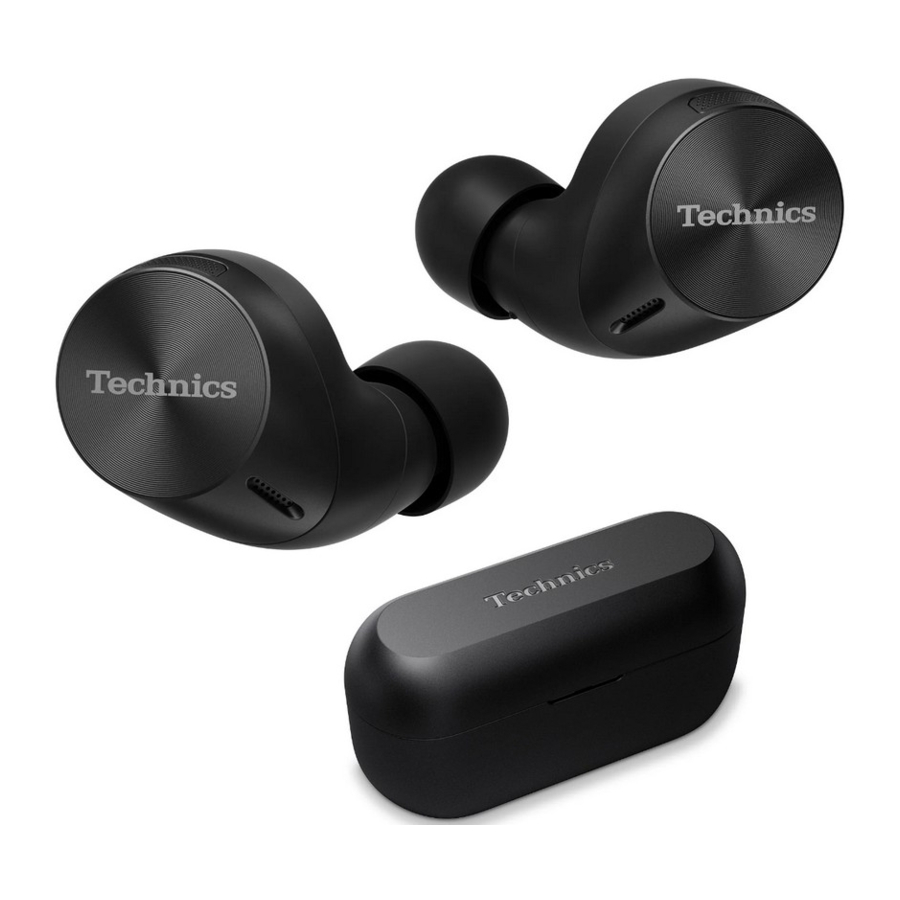
Part names

Main unit (earphones)
- Touch sensor (L) (left)
- Touch sensor (R) (right)
- Earpieces
- Raised dot indicating the L side
- Charging terminals
Main unit (charging cradle)
- Earphone charging LED
- Certification information label
- Terminal section
- Charging terminal
- Charging cradle LED
Behavior when charging with the USB charging cord with the earphones stored in the charging cradle
| Charging cradle | Charging status | |||
| Outer LED | Inside LED | Lid | ||
 | Lights off | Open | Earphones btteries are full. | |
| | Red*1 | Charging the earphones | ||
| Lights off | | Close / Open | Charging cradle's batteries are full. | |
| Green*2 | | Charging the charging cradle There is plenty of charge in the battery.  The charge in the battery is running low. | ||
| Yellow*2 | | |||
| Red*2 | | |||
*1 Blinking rapidly twice when the Earphone is set to charging cradle, and lights continuously during charging.
*2 Blinking rapidly when the lid is open / Blinking slowly when the lid is close.
Charging
The rechargeable battery (installed in the unit) is not charged initially. Charge the battery before using the unit.
- Proper charging is not possible if there is dust or droplets of water on the charging terminal and the terminal sections of the earphones or charging cradle. Remove the dust or water droplets before charging.

- Use the USB charging cord (supplied) (
![]() ) to connect the charging cradle to a 5.0 V power source (500 mA or higher) (
) to connect the charging cradle to a 5.0 V power source (500 mA or higher) (![]() ).
). - The charging cradle outer LED lights (green, yellow or red) while the charging cradle is charging.
- Put the earphones into the charging cradle.
- When the earphones are inserted, the charging cradle inside LED (red) flashes twice. If it is not flashing, the earphones are not inserted correctly.
- Confirm that the charging cradle inside LED (red) has flashed. (charging starts)
- While charging the cradle, the charging cradle outer LED (green, yellow or red) lights when the lid of the charging cradle is closed.
 ) to connect the charging cradle to a 5.0 V power source (500 mA or higher) (
 ).
). - Do not use any other USB charging cords except the supplied one. Doing so may cause malfunction.
- Qi charging is possible if using Qi charger (not included).
Charging time
| Earphones | Approx. 2 hours |
| Charging cradle | Approx. 2.5 hours |
| Earphones with Charging cradle | [ EAH-AZ60M2 ] Approx. 3.5 hours [ EAH-AZ40M2 ] Approx. 3 hours |
Pairing

Connecting by pairing (registering) your earphones with a Bluetooth® device
Using the "Technics Audio Connect" app (free of charge) makes connecting with Bluetooth® simple.
- Take both earphones out of the charging cradle.
- When pairing your earphones for the first time:
The earphone will be stand-by for pairing. - In the about 5 seconds from earphones take out from the charging cradle, touch and hold the sensor (L or R) for 7 seconds, the earphones will be entered the pairing mode.
- When pairing your earphones for the first time:
- Turn on the Bluetooth® device and enable the Bluetooth® function.
- From the Bluetooth® menu of the Bluetooth® device, select device name "Techinics EAH-AZ60M2" or "Technics EAH-AZ40M2".
- When the earphone sounds signal of pairing, pairing has been completed and connection has been established.
- Confirm by the Bluetooth® device that the earphones and the Bluetooth® device are connected.
Fit the earphones

Fit the earphones correctly in order to get adequate noise cancelling effect and acoustics.
- Check the orientation and L (left) and R (right) of the earphones.
- Fit the earphones firmly as per the illustration.
- Confirm that the earphones will not fall from your ears after you have fitted them.
- The left earphone has a raised dot indicating the L side.
- If the earphones fall out easily, replace with earpieces (supplied) of a different size.
Operating with the Touch sensors

| Operation | Touch sensor (L) | Touch sensor (R) | |
| Touch once |  | ||
| Touch rapidly 2 times | Volume – |  | |
| Touch rapidly 3 times | Volume + |  | |
| Touch and hold for about 2 seconds | Start the voice assistant | Change control of external sounds*1 | |
| Operation | Touch sensor (L) | Touch sensor (R) | |
| Touch once | Receive phone call | ||
| Touch rapidly 2 times | Volume – | Mute the voice of the call*2 | |
| Touch rapidly 3 times | Volume + | Switch the level of noise from the other party | |
| Touch and hold for about 2 seconds | Reject a phone call End a phone call | ||
*1 Noise cancelling ![]() Ambient sound
Ambient sound
*2 To cancel muting, touch the touch sensor (R) twice again while muting.
- You can customize the touch sensor operation in the app.
Tips for better sound quality (Changing earpieces)

The sound quality and the level of fit vary depending on the earpiece size.
Choose earpieces with a size that snugly fits your left and right ears so they can be worn with comfort.
(The earpiece size that fits best may be different for the left and right ears.)
Remove the earpieces
Hold the earpiece with your fingertips and twist slightly to pull it out.
Attach the earpieces
Make sure the earpieces are fitted firmly into your ears and confirm that they are not at an angle.
Restoring to the factory settings
- Put both earphones (L and R) into the charging cradle to charge the earphones fully.
- Take the R side earphone out of the charging cradle.
- While the earphone LED lights (blue) (about 5 seconds), touch and hold the touch sensor (R) for about 7 seconds.
- The earphone LED will light alternately in blue and red.
- Release your finger from the touch sensor (R).
- Touch and hold the touch sensor (R) for about 10 seconds.
- The earphone LED (blue) blinks rapidly, and when the power turns off, the earphone returns to the factory settings.
- Do the same Steps 2 to 5 above for the L side earphone.
- To re-pair the earphones with a Bluetooth® device, delete the registered information (device name: EAH-AZ60M2 or EAH-AZ40M2) on the device, then pair the earphones with the Bluetooth® device again.
Troubleshooting
Before requesting service, make the following checks. If you are in doubt about some of the check points, or if the remedies indicated in the chart do not solve the problem, refer to "Customer Services Directory" if you reside in the U.S.A., or refer to "CONTACT INFORMATION" if you reside in Canada, or consult your dealer for instructions.
Does not connect with the Bluetooth® device.
- Delete the registration information for this unit from the Bluetooth® menu, etc., of the Bluetooth® device, then pair again.
Cannot charge the unit.
- Make sure to charge in a room temperature between 10 ºC and 35 ºC (50 ºF to 95 ºF).
- Is the unit already fully charged? The charging cradle LEDs will turn off immediately if the unit is fully charged.
- Have the earphones been put into the charging cradle correctly?
- If the charging cradle LED (cyan) does not flash even after putting the earphones into the charging cradle, then there is no charge remaining in the charging cradle battery. First charge the charging cradle.
- Is the USB charging cord connected firmly to the USB terminal of the computer?

Documents / Resources
References
Download manual
Here you can download full pdf version of manual, it may contain additional safety instructions, warranty information, FCC rules, etc.
Download Technics EAH-AZ60M2, EAH-AZ40M2 - Digital Wireless Stereo Earphones Manual
Advertisement
Thank you! Your question has been received!


Need Assistance?
Do you have a question about the EAH-AZ60M2 that isn't answered in the manual? Leave your question here.