Table of Contents
Advertisement
Maintaining your controller settings
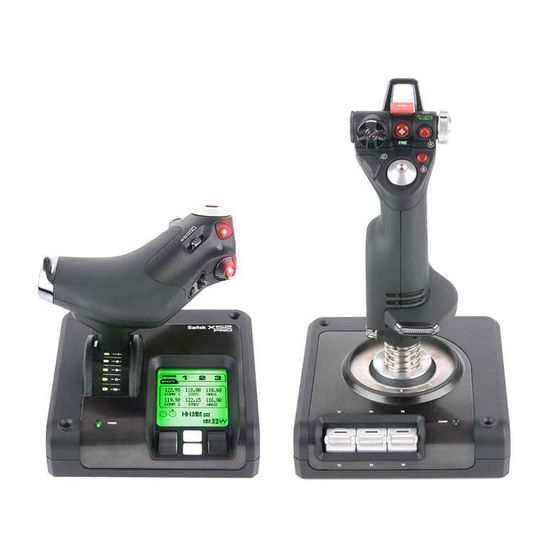
Your Saitek X52 Pro Flight Control System (FCS) is supplied ready for use. However, we want you to use it in the
way that suits you best. We've therefore included the facility for you to change various settings on your stick and
throttle units. You can, for example, vary the brightness of the LED buttons, check your stick is working correctly or
change the way the date is displayed on your Multi-Functional Display (MFD).
You change your controller settings in the Saitek X52 Pro Flight Stick properties window. There are two ways you
can open this window. Either:
Double-click on the Game Controllers icon in the Control Panel and then click Properties in the Game
Controllers window that is displayed. Or,
If the SST programming software has been installed, right-click on the Saitek X52 Pro Flight Stick profiler
icon in your task bar and select Control Panel from the popup list of options displayed.
The Saitek X52 Pro Flight Stick properties window consists of five separate tabs. You can view and change
various controller settings in each tab. The settings you can change are described in the following sections.
Testing your controller
You can make sure that the various features of your controller are working correctly. You do this in the Test tab of
the Saitek X52 Pro Flight Stick properties window.
To test your controllers, follow the steps below:
1.
Click the Test tab.
The controller features that you can test are displayed right.
2.
Test each feature as required.
1 of 10
20/12/2006 08:47
Advertisement
Table of Contents

Related Manuals for Saitek Pro Flight X52 Pro


Summary of Contents for Saitek Pro Flight X52 Pro
- Page 1 Maintaining your controller settings Your Saitek X52 Pro Flight Control System (FCS) is supplied ready for use. However, we want you to use it in the way that suits you best. We've therefore included the facility for you to change various settings on your stick and throttle units.
- Page 2 The way you do this varies, depending on what the feature does. It may, for example, involve pressing the corresponding button, or turning the corresponding rotary control. The features you can test are explained in the following sections. Testing axes You can test the following axes and controls: Feature Explanation X/Y Axes Move the flight stick backwards and forwards or from left to right.
- Page 3 You can clear existing deadzones for an axis by right-clicking anywhere in the white box and selecting Clear Deadzone. You can maintain deadzones for the following features of the Saitek X52 Pro FCS: Feature Explanation X Axis Movements of the stick from left to right or right to left.
- Page 4 Maintaining your LED brightness The authenticity of the flight control experience provided by your Saitek X52 Pro FCS is enhanced by a number of LEDs on the throttle unit and flight stick. You can control the appearance of these LEDs, making them brighter or dimmer according to your preference.
- Page 5 Maintaining MFD settings Your Saitek X52 Pro FCS flight stick unit includes an MFD, or Multi-Functional Display. You can control the way information is displayed in your MFD by changing various settings in the MFD tab: What is the MFD? The MFD is a screen that displays a variety of different information including, for example, the mode currently selected and today's date.
- Page 6 To change your date settings Click the MFD tab. The format the date is currently displayed in on your MFD is shown in the Date Settings panel. Select the format you want the date to be displayed in from the drop-down list. Click Apply.
- Page 7 Working with modes The Saitek X52 Pro FCS offers extensive opportunities for you to configure your controller to work the way you want it to. You do this by creating profiles, using the SST programming software. (See the SST programming software manual for details.) Within each profile, you can create up to six different modes that determine the...
- Page 8 You can change the way the clutch button works via the MFD tab of the Saitek X52 Pro Flight Stick properties window. See Changing the way your clutch button works in Maintaining your controller settings for details.
- Page 9 Note: When supplied, the clutch is set up so that you must keep it depressed for as long as you want it to be engaged. You can change the way the clutch works via the MFD tab of the Saitek X52 Pro Flight Stick properties window.
- Page 10 seconds, i.e. 59:59, it changes to show hours and minutes. This means the next reading after 59:59 is 01:00. Using the rudder lock You can deactivate the rudder feature on your flight stick by engaging the rudder lock. When you do this, the flight stick no longer rotates.