Table of Contents
Advertisement
Quick Links
Advertisement
Table of Contents

Related Manuals for Cisco 550XG Series


Summary of Contents for Cisco 550XG Series
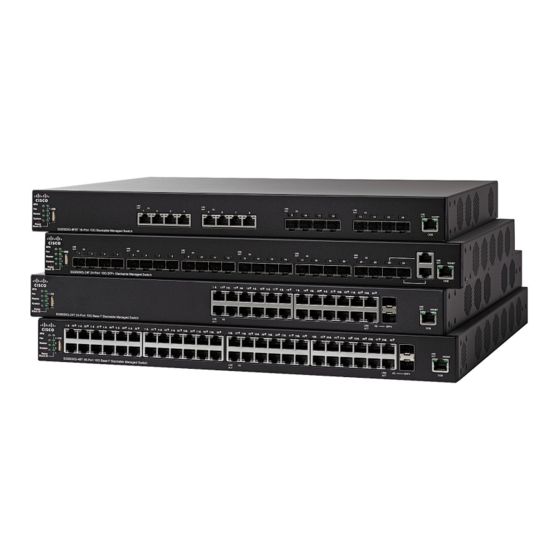
- Page 1 Quick Start Guide Cisco 550XG Series 10G Stackable Managed Switches...
-
Page 2: Before You Begin
Welcome Thank you for choosing the Cisco 550XG Series 10G Stackable Managed Switch, a Cisco network communications device. This device is designed to be operational right out-of-the-box as a standard layer 2 and 3 switch. In the default configuration, it will forward packets between connecting devices after power up. -
Page 3: Placement Tips
For stability, load the rack from the bottom to the top, with the AUTION heaviest devices on the bottom. A top-heavy rack is likely to be unstable and might tip over. Cisco 550XG Series 10G Stackable Switches Quick Start Guide... -
Page 4: Connecting Network Devices
Cisco 550XG Switches Features for details about the different ports and LEDs on each switch. Repeat Step 1 Step 2 for each device that you want to connect to the switch. Cisco 550XG Series 10G Stackable Switches Quick Start Guide... - Page 5 You must enter the new IP address that the switch is using into your browser to use the web-based interface. If you are managing the switch through a console port connection, the link is retained. Cisco 550XG Series 10G Stackable Switches Quick Start Guide...
- Page 6 When the login page appears, choose the language that you prefer to use in the web-based interface and enter the username and password. The default username is cisco. The default password is cisco. Usernames and passwords are both case sensitive. Click Log In.
-
Page 7: Configuring Your Switch Using The Console Port
Save icon. Exiting before you save your configuration will result in all changes being lost. The Getting Started page opens. You are now ready to configure the switch. Refer to the Cisco 550XG Series 10G Stackable Managed Switches Administration Guide or see the help pages for further information. - Page 8 A stack can have up to eight 550XG series switches in it. Any port of the switch can be used for stacking. The switch can only be stacked with the Cisco 550 series switches without Mesh topology.
- Page 9 SYSLOG files through the connected USB device. RJ-45 Ethernet Ports—The RJ-45 Ethernet ports connect network devices, such as computers, printers, and access points, to the switch. Cisco 550XG Series 10G Stackable Switches Quick Start Guide...
- Page 10 • The SFP+ ports are compatible with Cisco modules MGBSX1, MGBLH1, MGBT1, MGBLX1, MGBBX1, as well as other brands of modules. • The Cisco SFP+ 10G optical modules that are supported in the Cisco 550XG series switches are: SFP-10G-SR, SFP-10G-LRM, and SFP-10G- •...
-
Page 11: Reset Button
The power port and console port are located on the back panel of the switch. Power—Connects the switch to AC power. RPS2300—Connects the switch to the Cisco RPS2300 module. The Cisco RPS2300 can provide backup power to the switch when the main power supply has a failure. - Page 12 Power up the switch and your computer if they are turned off. Bad Ethernet connection: Check the LEDs for proper indications. Check the connectors of the Ethernet cable to ensure that they are firmly plugged into the switch and your computer. Cisco 550XG Series 10G Stackable Switches Quick Start Guide...
- Page 13 Unusually long access time: Due to the standard spanning tree loop detection logic, adding new connections may take 30 to 60 seconds for the affected interfaces and/or LAN to become operational. Cisco 550XG Series 10G Stackable Switches Quick Start Guide...
-
Page 14: Where To Go From Here
Warranty Information www.cisco-warrantyfinder.com This is a class A product. In a domestic environment this ARNING product may cause radio interference in which case the user may be required to take adequate measures. Cisco 550XG Series 10G Stackable Switches Quick Start Guide... - Page 15 Cisco 550XG Series 10G Stackable Switches Quick Start Guide...
- Page 16 Cisco and the Cisco logo are trademarks or registered trademarks of Cisco and/or its affiliates in the U.S. and other countries. To view a list of Cisco trademarks, go to this URL: www.cisco.com/go/trademarks. Third-party trademarks mentioned are the property of their respective owners.