Advertisement
Introduction
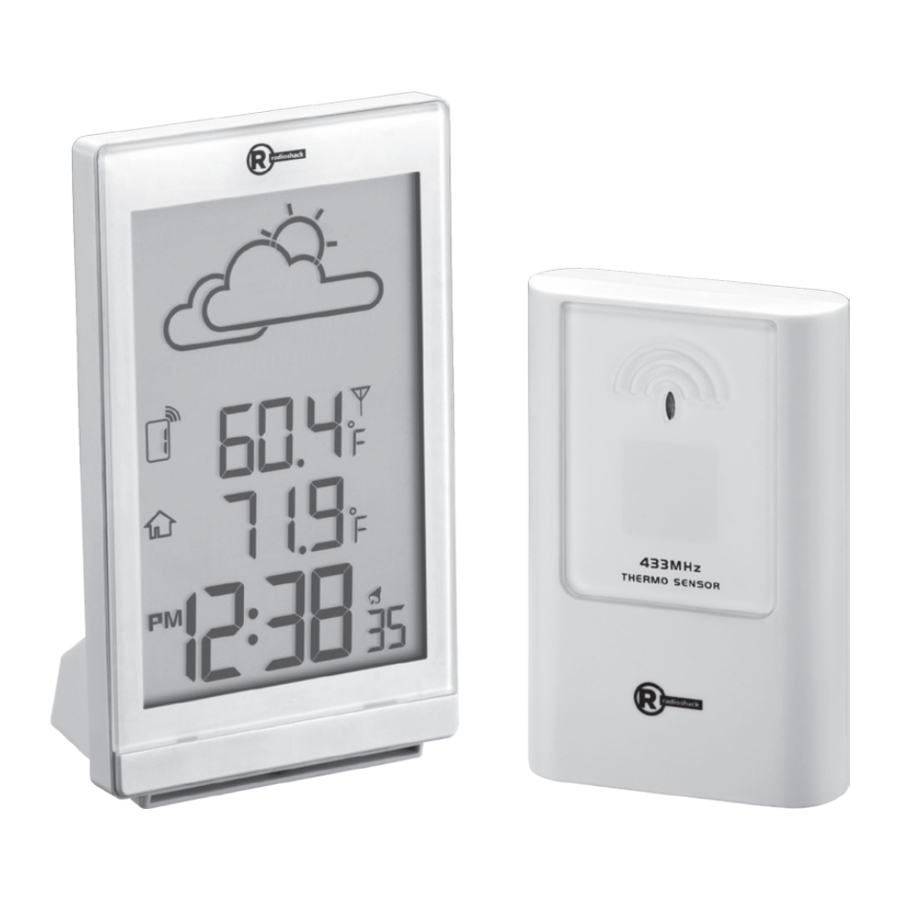
We hope you enjoy your Wireless Weather Station from RadioShack. This weather station features a clock with alarm function, and minimum and maximum indoor/outdoor temperature display. It works with up to three sensors (additional sensors not included). Please read this user's guide before using your new weather station.
Package Contents
- Weather Station
- Thermo Sensor
- User's Guide
Specifications
| Indoor Temperature Range | 32–122°F (0–50°C) | |
| Outdoor Temperature Range | -4 – 140°F (-20–60°C) | |
| Sensor RF Frequency | 433 MHz | |
| RF Operation Range | 98 ft (30 m) | |
| Channel Number | 3 | |
Specifications are subject to change and improvement without notice. Actual product may vary from the images found in this document.
Important Installation and Location Notes
- During initial installation, the sensor may take up to an hour or more to acclimate to current conditions.
- Place the weather station indoors away from vents, heating or cooling elements, and direct sunlight.
- Stand the sensor on a flat surface indoors or outdoors away from direct sunlight and moisture. Or use a screw (not included) to mount it on a wall.
Make sure the sensor is within 98 feet (30m) of the weather station, without obstructions between them. To avoid interference, place the weather station and sensor away from other electronic devices.

- If the sensor is placed outdoors, mount it high enough off the ground where water, snow, and rain cannot accumulate and also high enough where it is out of reach for children. The sensor should be mounted onto a vertical flat surface. Avoid location where rain and water falls directly onto the sensor.

Install Batteries
- Insert two AA batteries (not included) into the weather station and thermo sensor respectively, matching the polarity symbols (+ and –) marked inside each battery compartment.

- Press RESET on both units.

Battery Note:
- Dispose of old batteries promptly and properly. Do not burn or bury them.
- Use only a fresh battery of the required size and type.
- Use alkaline batteries for longer usage, or use lithium batteries in temperatures below -4°F (-20°C).
- Do not mix old and new batteries, or batteries of different types, capacities, or chemistries.
- If you do not plan to use your weather station for more than a month, remove the batteries. Batteries can leak chemicals that can damage electronic parts.
Set the Device and Sensor

SNOOZE / LIGHT
- Silence the alarm for 5 minutes when the alarm sounds.
- Turn the backlight on.
ALARM SET
- Enter and confirm alarm settings.
- View the set alarm time.
- Activate the alarm.
CH +
- Set the hour and minute.
- Select a sensor. MEM –
- Set the hour and minute.
- View maximum (MAX), minimum (MIN) or current indoor/outdoor temperature.
DISPLAY SET
Enter and confirm clock settings.
- Place the weather station and sensor close together indoors to communicate.
- Slide the sensor's CH 1 2 3 switch to select a channel, and press the weather station's CH + button to select the same channel. If you are using more than one sensor (up to three), select a different channel for each sensor.
![]()
- Press the weather °C/°F station's SENSOR button to scan sensor signal. Scanning may take some time.

Note: If the weather station does not connect to the sensor, relocate the sensor and/or the settings.weather station until connection is established.
Main Unit Display

Note:
- For temperatures from -2°C to 3°C (28°F–37°F), the ice alert icon (T) appears on the display.
- If the weather station malfunctions, reset it by pressing the RESET button, change the batteries or wait for more moderate temperatures to resume.
Set the Time
- Press and hold DISPLAY SET until the digits 12 or 24 (time format) flash.
- Press CH+ or MEM– to select a time format. Press DISPLAY SET to confirm and go to the next setting.
- The setting order is 12/24 hour format, hour, minute, and second.
- When you select the 12-hour format, AM or PM displays.
Set the Alarm
- Press and hold ALARM SET until the alarm hour digits flash.
- Press CH+ and MEM– to set the hour. Press ALARM SET to confirm and go to the minute setting.
- Press CH+ and MEM– to set the minute and press ALARM SET to confirm.
Note: After setting the alarm, press ALARM SET again to activate the alarm.  displays.

Documents / ResourcesDownload manual
Here you can download full pdf version of manual, it may contain additional safety instructions, warranty information, FCC rules, etc.
Download Radio Shack 6301469 - Wireless Weather Station Manual
Advertisement
Thank you! Your question has been received!


Need Assistance?
Do you have a question about the 6301469 that isn't answered in the manual? Leave your question here.