Rimage Desktop 2000i Setup And Installation
For windows using officenet software suite
Hide thumbs
Also See for Desktop 2000i:
- User manual (192 pages) ,
- Knowledge base (43 pages) ,
- Alignment manual (6 pages)
Advertisement
Quick Links
Rimage 2000i
Setup and Installation
for Windows
Using OfficeNet Software Suite™
If you are unfamiliar with the procedures in this document, ask your
computer technician for help or refer to your computer documentation.
Before you begin:
• You must have administrative privileges to install the OfficeNet
software on your computer.
• If you have the Rimage 2000i Software installed on your PC, you
must uninstall it before you install OfficeNet. For more information,
refer to the Uninstall the Rimage 2000i Software section of this
document.
• Do not plug in any cables until you are instructed to do so.
• Obtain a computer that meets the computer specifications listed in
the 'Learn more' section of your Rimage 2000i User Guide.
Uninstall the Rimage 2000i Software
™
If you have the Rimage 2000i Software installed on your PC, you must
uninstall it before you install OfficeNet. Use the procedure below to
uninstall the Rimage 2000i Software.
Before you begin:
. Stop all jobs in progress.
®
2. Close all applications.
3. Power off the Rimage system.
4. Disconnect all cable connections from the Rimage system to the PC.
Uninstall the Rimage 2000i Software
. At the PC where the Rimage 2000i Software is installed, navigate to
the Control Panel.
In Windows 2000 Professional – Navigate: Start > Settings >
Control Panel. The Control Panel window opens.
In Windows XP Professional – Navigate: Start > Control Panel. The
Control Panel window opens.
2. Uninstall the Rimage 2000i Software.
a. In the Control Panel window, select Add or Remove programs.
The Add or Remove Programs window opens.
b . From the Currently installed programs list, select the Rimage
2000i Software.
c. Select Remove.
d. Select Next.
e. Follow the onscreen prompts to remove the Rimage 2000i
Software.
3. Select Yes, I want to restart my computer now. The PC restarts.
4. When the PC has started, delete the following folders:
Important! Ensure that there are no files saved to these folders
before you delete them.
• C:\Rimage
• C:\Program files\Rimage
1
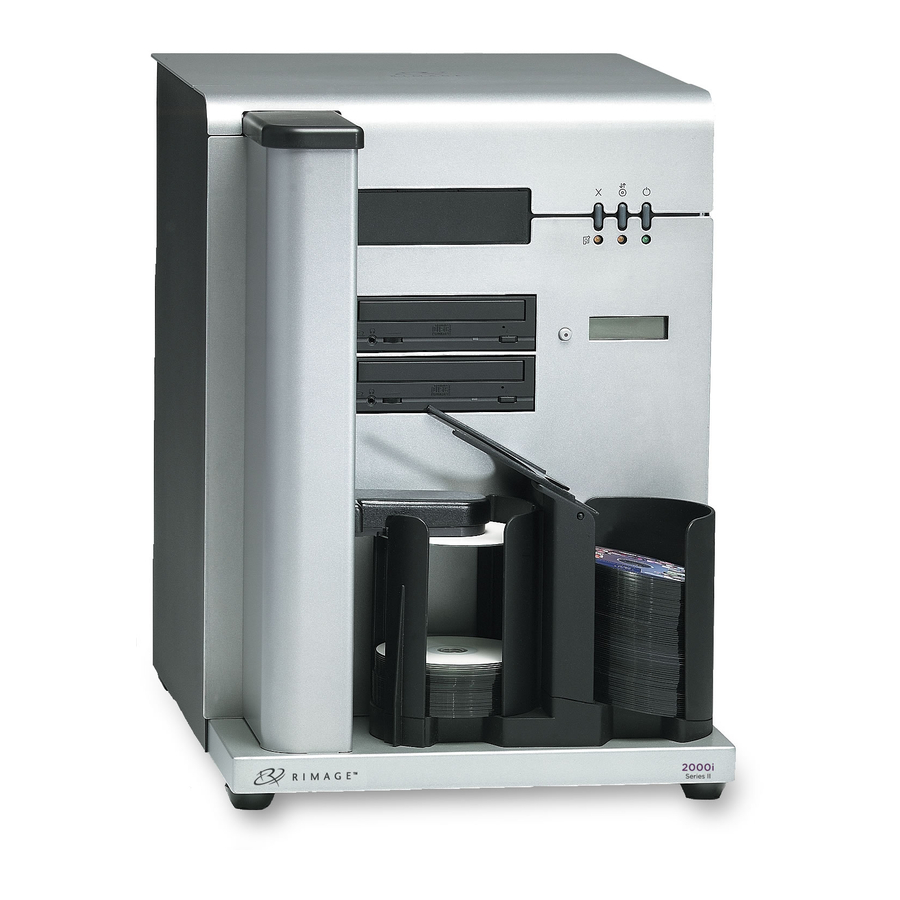
Set up the Rimage 2000i.
a. On the Rimage
b. On the bin assembly, flip the
2000i, install the bin
diverter tray from the right
assembly.
to the left.
2
Connect the Rimage 2000i power cable.
Important! Do not connect the USB
cable from the Rimage 2000i to your
computer until until the software
instructs you to do so!
a. Connect the power cord from the
Rimage 2000i to a power outlet.
b. Press the power switch to power
on the Rimage 2000i.
Diverter tray
0764_G
Advertisement

Related Manuals for Rimage Desktop 2000i


Summary of Contents for Rimage Desktop 2000i
-
Page 1: Setup And Installation
Before you begin: • You must have administrative privileges to install the OfficeNet software on your computer. • If you have the Rimage 2000i Software installed on your PC, you must uninstall it before you install OfficeNet. For more information, refer to the Uninstall the Rimage 2000i Software section of this document. -
Page 2: Install The Rimage Software
Activate your Rimage software. You have 30 days to activate your Rimage software. Until your software is activated, you will be prompted to activate your software each time you start the Rimage software. When the activation dialog displays, select an option and follow the onscreen prompts to activate your software.