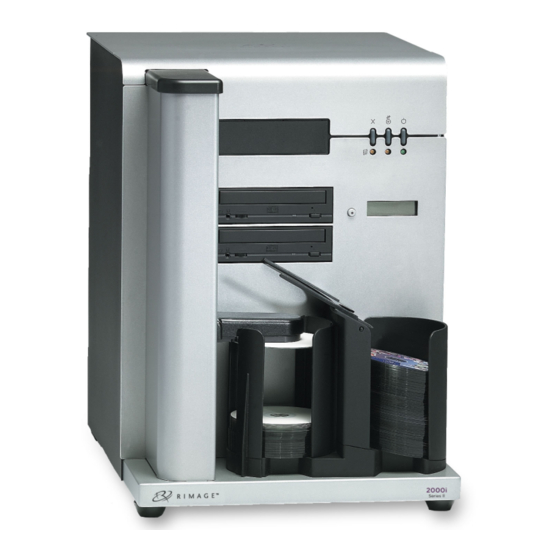
Rimage 2000i Quick Start Manual
Hide thumbs
Also See for 2000i:
- User manual (192 pages) ,
- Knowledge base (43 pages) ,
- Alignment manual (6 pages)
Advertisement
Quick Links
Align the Printer on the Rimage 2000i
The printer is aligned at the factory. However, the printer can come out of alignment during shipping. If the lift arm is not
picking or placing discs on the printer tray properly, or if you receive clamping errors, you need to align the printer. Use the
following procedure to align the printer.
#
Required tools:
•
Torx T25 screwdriver
•
11/32" nut driver
•
5/32" Allen wrench
1.
Stop or pause all jobs.
2.
Make sure that the printer cables are connected.
3.
Test the printer alignment.
a.
Make sure the printer tray is closed.
Access diagnostic test mode. Refer to the Access Diagnostic Test Mode section in the Rimage 2000i User Guide.
b.
c.
Press the operator button four times and hold it in on the fourth press. [JOG LIFT DIAGNOSTIC] displays on the
operator panel. This lift arm moves to the top of the lift column.
d.
When [STARTING TEST RELEASE BUTTON] displays on the operator panel, release the operator button.
e.
Press
. The printer tray opens.
f.
Place a disc (Qty. 1) on the printer tray so that the two small pins are aligned at the front of the hole in the disc, and
the disc lays flat on the printer tray. Refer to the images below.
g.
Press the operator button. The lift arm picks up the disc.
h.
Press the operator button again. The lift arm releases the disc onto the printer tray.
•
If the printer is properly aligned, the lift arm smoothly sets the disc onto the printer tray, and the disc sits on the
printer tray as shown in the photos above
The two small pins are aligned at the front of the hole in the disc.
ƒ
The disc lays flat on the printer tray.
ƒ
•
If the disc is seated on the printer tray as shown above, the printer is aligned. Remove the disc from the printer
tray and continue to step 9.
•
If the disc is not seated on the printer tray as shown above, you must align the printer. Continue to step 4.
100763_M
Align the Printer
1
Advertisement

Related Manuals for Rimage 2000i


Summary of Contents for Rimage 2000i
- Page 1 Make sure the printer tray is closed. Access diagnostic test mode. Refer to the Access Diagnostic Test Mode section in the Rimage 2000i User Guide. Press the operator button four times and hold it in on the fourth press. [JOG LIFT DIAGNOSTIC] displays on the operator panel.
- Page 2 Rimage 2000i™ Access the printer. Open the printer service door to access the hex nuts at the rear of the printer. Note: You may need to prop this door open or have someone hold the door for you. With the 11/32" nut driver, loosen the hex nuts (Qty. 2) at the rear of the printer. The printer frame loosens, allowing you to use the alignment screws (Qty.
- Page 3 11. Press and hold the operator button until [EXIT TEST MODE DIAGNOSTIC] displays on the operator panel. 12. When [EXIT TEST MODE DIAGNOSTIC] displays on the operator panel, release the operator button. Note: If [PAUSE…] displays on the operator panel, press and release the operator button. [RIMAGE 2000i READY] displays on the operator panel.