Table of Contents
Advertisement
Quick Links
MODEL DESIGNATION
REAR TINE MODEL
C – Commercial Model
I – Intermediate Size Model
C – Counter Rotating Tines
F – Forward Rotating Tines
R – Rear Tine Type Model
Thank you for buying a SNAPPER Product! Before operating your TILLER, read this manual carefully and pay
particular attention to the "IMPORTANT SAFETY INSTRUCTIONS" on Pages 2 & 3. Remember that all power
equipment can be dangerous if used improperly. Also keep in mind that SAFETY requires careful use in
accordance with the operating instructions and common sense!
COPYRIGHT © 2003
SNAPPER PRODUCTS INC.
ALL RIGHTS RESERVED
Safety Instructions & Operator's Manual for
MODEL NUMBER EXPLANATION
I
C
55 – 5.5 HP (Horse Power)
70 – 7.0 HP (Horse Power)
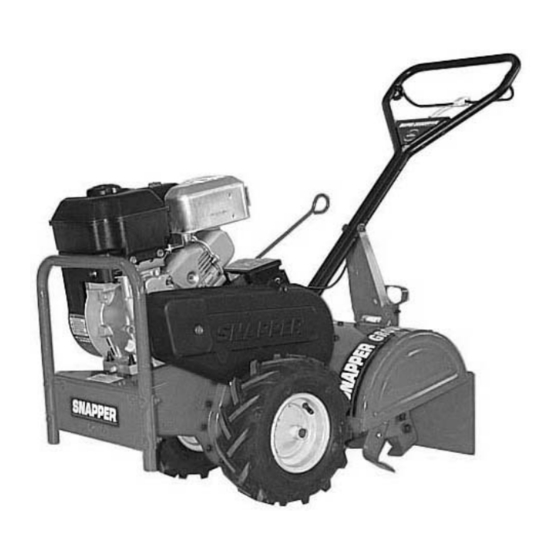
REAR TINE TILLER
F
R
70
5 - Series Designation
INTERMEDIATE
SERIES 5
MODEL
ICFR7005BV
CICFR5505HV
05
BV
ENGINE MODEL
SERIES DESIGNATION
B – Briggs Engine
H – Honda Engine
V–Over Head Valve
MANUAL No. 7-5736 (I.R. 5/15/03)
ENGINE HP
Advertisement
Table of Contents

Related Manuals for Snapper 5 Series


Summary of Contents for Snapper 5 Series
- Page 1 F – Forward Rotating Tines R – Rear Tine Type Model Thank you for buying a SNAPPER Product! Before operating your TILLER, read this manual carefully and pay particular attention to the “IMPORTANT SAFETY INSTRUCTIONS” on Pages 2 & 3. Remember that all power equipment can be dangerous if used improperly.
-
Page 2: Important Safety Instructions
If you have any questions pertaining to your tiller which your dealer cannot answer to your satisfaction, call or write the Customer Service Department at SNAPPER, McDonough, Georgia, 30253. Phone: (1-800-935-2967). - Page 3 4. Have your tiller inspected and serviced each year by attempting to till too deep at too fast a rate. an authorized Snapper dealer. Determine if any 9. Be extra careful when tilling hard ground. Use less additional devices are available which might upgrade tine engagement to maintain control of tiller.
-
Page 4: Table Of Contents
! IMPORTANT ! The pictures and illustrations in this manual are provided for reference only and may differ from your specific model. Contact your local SNAPPER dealer if you have questions. -
Page 5: Section 1 - Familiarization
1.1 INTRODUCTION: This manual covers the recommended operating procedure and routine service requirements on SNAPPER Intermediate Rear Tine Tiller. It is recommended that all operators of this Tiller become thoroughly familiar with the controls and proper operation of the unit before operating. Specific details involving the engine are found in the separate engine owner’s manual. -
Page 6: Section 2 - Operating Instructions
Section 2 - OPERATING INSTRUCTIONS 2.1 BEFORE OPERATING: 2.3A HONDA ENIGNE STARTING - STOPPING Be thoroughly familiar with the operation of ALL controls and The Honda engine is stopped by moving the ENGINE how to use them BEFORE operating your Tiller. Transmission KILL SWITCH to the “OFF”... -
Page 7: Starting & Stopping
Section 2 - OPERATING INSTRUCTIONS STARTING – STOPPING Step 2: Honda Engine - For cold starts, move the ENGINE KILL SWITCH to the “ON” position. See Figure 5A. Move the CHOKE CONTROL on the engine rearward into CHOKE position. See Figure 5B. TO STOP WHEEL &... -
Page 8: Handlebar Adjustment
Section 2 - OPERATING INSTRUCTIONS 2.4 ENGINE STARTING PROCEDURE Step 4: Move to the right side of Tiller and place your Step 3: Briggs Engine - Move ENGINE SPEED foot on top of the right wheel (See starting procedure CONTROL to FAST position and turn FUEL VALVE to decal located on top of the tine cover), hold handle bar, then pull the ROPE STARTER HANDLE in smooth, ON position. -
Page 9: Transporting
Section 2 - OPERATING INSTRUCTIONS STEP 5: Engage the WHEEL and TINE CONTROL. 2.6 TRANSPORTING Machine will start forward movement and tilling. 2.6.1 FORWARD/REVERSE: To transport the Tiller to a new tilling site using its own power, raise IMPORTANT: To STOP forward movement and tine the tines to clear lawn and paved surfaces to rotation, release the wheel and tine control. -
Page 10: Section 3 - Adjustments & Repair
Check the level of the grease in the chain case at model and serial number as found on the nameplate of the beginning of each tilling season. Remove your Tiller when contacting your SNAPPER Dealer for clevis pin and cotter pin that secures left hand parts or service assistance. -
Page 11: Tiller Tines
Section 3 - ADJUSTMENTS & REPAIR 3.4 TILLER TINES 3.5 BELT ADJUSTMENT - REPLACEMENT Your Snapper Tiller has right hand and left hand tines. BELT TENSION ADJUSTMENT: Remove the cotter pin Replace both tines if blades become bent or are badly that secures clevis pin to left wheel hub. -
Page 12: Off Season Storage
Section 3 - ADJUSTMENTS & REPAIR STEP 5: Before starting, move the ENGINE CONTROL to 3.5.1 TENSION TEST: Start the engine with tiller in OFF and pull rope starter slowly several times. If neutral. Shift transmission into FWD & TILL excessive resistance is felt, remove the spark plug and and pull the wheel and tine control bail up pull rope starter rapidly to spin the engine and clear oil... -
Page 13: Warranty
For two (2) years from purchase date for the original purchaser's residential, non-commercial use, SNAPPER, through any authorized SNAPPER dealer will replace, free of charge (except for taxes where applicable), any part or parts found upon examination by the factory at McDonough, Georgia, to be defective in material or workmanship or both. -
Page 14: Primary Maintenance
PRIMARY MAINTENANCE... - Page 15 PRIMARY MAINTENANCE...
- Page 16 PRIMARY MAINTENANCE...
- Page 17 PRIMARY MAINTENANCE...
-
Page 18: Product Registration Form
Date of Purchase ___________________________________________________________ Retailer ___________________________________________________________________ Retailer’s Phone Number____________________________________________________ It is very important that you register your purchase with Snapper to ensure warranty coverage. Please mail your product registration card to: Snapper at P.O. Box 777, McDonough, Georgia 30253. Or you may register on line at www.snapper.com. - Page 19 Read, Understand, and Follow all warnings and instructions in this manual, the engine manual, and on the machine, engine and attachments. If you have any questions about your Snapper product, contact your local authorized Snapper dealer or contact Snapper Customer Service at Snapper, McDonough, GA.